
The purpose of automobile bumpers is to protect functional and cosmetic areas of the car from damage during low-speed impacts. For many decades, bumpers were heavy chrome-plated steel bars bolted onto a vehicle's front and rear. Today's vehicles still have an actual metal bumper beam, but it's structural only and lighter in weight. A plastic piece known as a bumper cover fits over that structural beam, and is painted to create a seamless look on the front or rear of a vehicle. In between a bumper cover and reinforcement beam (made of steel or aluminum), you'll find additional impact-absorbing materials such as Styrofoam or plastic honeycomb mesh.
In this article, we'll cover a brief history of bumpers and bumper covers, how to perform minor paint repairs to plastic bumper covers, and how to remove and replace a bumper cover should it need more than a touch-up.
History Of U.S. Federal Bumper Regulations
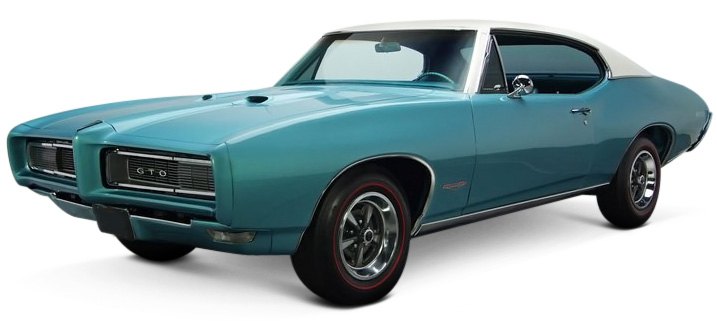
Until the 1973 model year, there were no standards governing how much protection bumpers provided. Form over function often ruled in design studios, leaving consumers with expensive repairs after stylish bumper pieces provided little damage protection. The United States Federal Motor Vehicle Safety Standard No. 215 mandated that 1973 model year bumpers must be strong enough to prevent headlights, tail lights, fuel system components, and other safety items from damage after a 5 mile-per-hour frontal impact and 2.5 mile-per-hour rear impact.
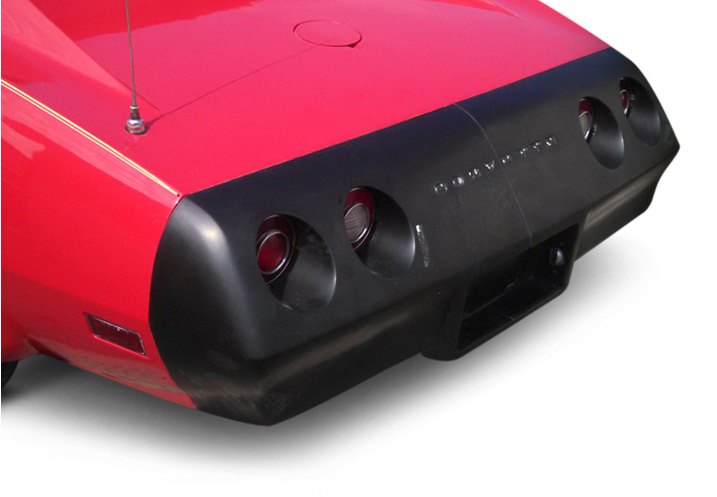
For the 1974 model year, front and rear bumpers were required to protect lights, engine, and safety systems from 5 mph impacts tests that were now performed at an angle. Regulations were upped further on 1979 models, stating that all body panels must be protected from any damage in 5 mph tests instead of just lights. The toughest standards were put into place during the 1980-82 model years, which limited how much damage the bumpers themselves were allowed to sustain. For the 1983 model year, requirements were dropped back to 2.5 mph on front and rear barrier tests and 3 mph on corner impact tests. Bumpers and attachments could again be damaged as long as body panels and lights were unaffected.
Regulations Affected Bumper Design Trends
These 1973 regulations requiring lights remain free from damage in bumper tests led to a change. Turn signal lights and taillights that had previously been integrated into the bumper design were relocated onto the body out of necessity, and manufacturers used either permanently fixed bumper designs with solid rubber guards or bumpers designed to retract through the use of telescoping shock absorbers.
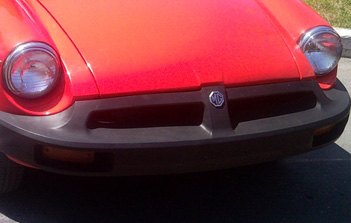
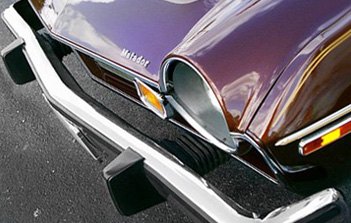
Once bumpers needed to withstand harder impacts and from an angle in 1974, steel bumpers were made larger and sturdier to accomplish this. Energy absorption requirements usually forced engineers to mount them further away from the vehicle to provide clearance for larger mounts and shock absorbers. As the 1970s progressed, new vehicle designs used filler panels that more successfully disguised how far bumpers protruded.
It was during this time that automakers also began experimenting with plastic covers that surrounded or completely enveloped the more massive metal bumper structures. This new design saw increased use on late-1970s Porsches, Camaros, Firebirds, BMWs, and others.
What we take for granted as today's wraparound plastic bumper cover (which runs around the vehicle from one wheel well opening to the other) did not appear as a design feature until the new-for-1980 Mercedes S-class debuted. Before then, plastic bumper covers were merely end caps that did not extend to wheel well openings. By the end of the 1980's they had eclipsed plastic end caps as the predominant style.
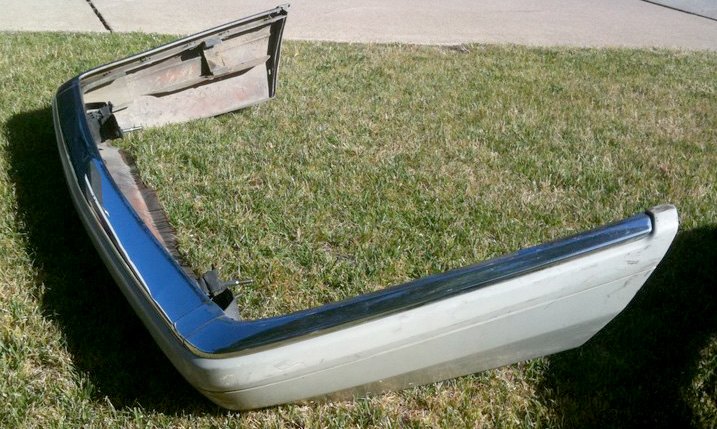
Traditional steel-and-chrome exposed bumpers saw continued use through the 1980's on American vehicles nearing the end of their design cycles. Be the early 1990's, the only vehicles for sale on the U.S. market with the old-school bumpers were pickups and sport utility vehicles.
Savings In Weight And Fuel
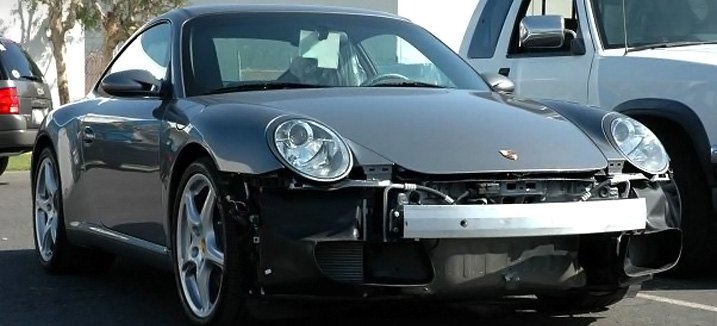
The weight savings in switching from chrome-plated steel bumpers to plastic bumper covers with an aluminum bar can be up to 50 pounds per vehicle. Weight is the enemy of fuel economy, so losing about 50 pounds can lead to a small but worthwhile gain in gas mileage. Depending on the overall weight of your vehicle, this is also the equivalent of gaining 5-10 horsepower.
Repairing Bumper Cover Chips Or Scratches With Touch-Up Paint
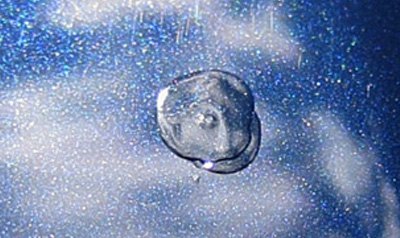
One disadvantage of the painted bumpers is that they can be more easily damaged in low-mileage parking-lot situations. For unsightly scratches or paint chips in your bumper cover, touch up paint and wet sanding can create a nice-looking fill in many cases. After cleaning the chipped or scratched area, apply paint inside the area as well as over the edges of it because the paint will contract after drying.
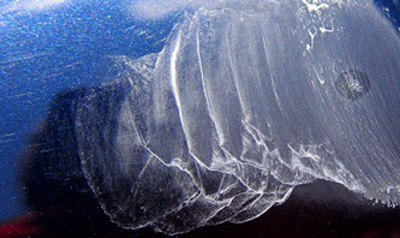
After the paint has dried, and using wet-dry sandpaper that's been dipped in a bucket of water, sand the area using a very fine 2000-grit paper until it is flat and level with rest of the bumper cover. Buff the area using a medium weight buffing compound and a soft terry cloth towel. Repeat for several buffing and wipe-off cycles until you're satisfied with the results. Then apply a last-stage wax or protectant and wipe it off as directed.
Replacing A Damaged Bumper Cover
Tools needed:
- flat wrenches
- socket wrenches
- drill
- drill bits
- rivet gun
- screwdriver
- torx head bits
If the bumper is damaged beyond repair, replacement may be your only option. Fortunately, there is a large choice of replacement bumpers to fit most late-model vehicles on the road today. Replacing a plastic bumper cover is relatively easy because most are designed to unbolt and slide off with basic hand tools. Attachment hardware securing front bumper covers is easily accessed under the hood, underneath the vehicle where it meets splash shields, and within the edge of wheel well openings where the bumper cover meets the wheel well liner. If there are flat plastic caps or clips, remove them with a small flathead screwdriver by wedging them up and out.
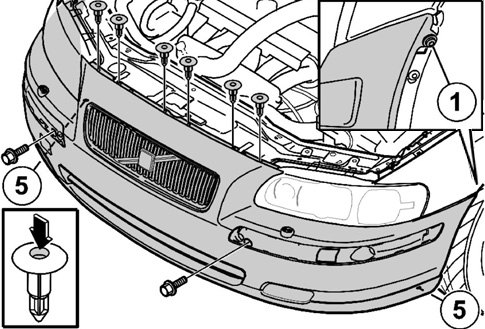
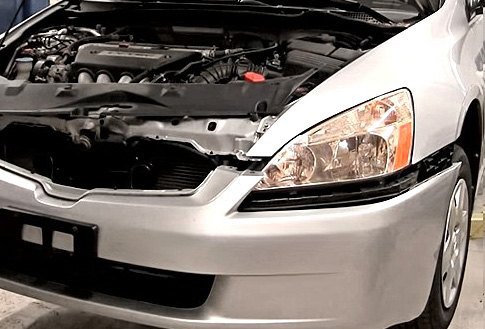
Remove the bolts with an applicable socket wrench or flat wrench. In the event your vehicle manufacturer has used rivets to secure things, they'll need to be drilled out with a traditional drill. Then you'll need a rivet gun to reinstall new ones – not an expensive purchase, but the proper tool to use for ensuring parts stay safely on. When drilling out rivets, bits designed for drilling into metal are most suitable due to their higher heat rating. Rear bumper covers will detach in a similar fashion as front ones, with some fasteners requiring access through the trunk after removing cover panels.
Once all fasteners are removed, the bumper cover can be detached. Many are designed to slide horizontally along special bracket pieces mounted underneath before coming completely loose, so move the bumper cover in this fashion first if you aren't able to obtain specific instructions on your make and model. Save all fasteners because replacement bumper covers typically do not provide new ones. You'll also want to note if your original equipment bumper cover has any separate molding trim strips, step pads, or aerodynamic pieces - and whether they can be salvaged or need to be replaced. These parts are usually not included with replacement bumpers either.
Buying Replacement Bumper Covers
All manufacturers of bumper covers sell them in unpainted form – usually black plastic or in primer, without grille pieces. It's important to remember that bumper covers for the same year, make, and model vehicle may differ in shape depending on bumper-mounted options your vehicles may or may not have. Note if your bumper has cut-outs for fog lights or parking sensors because you'll want to make sure a new one matches all equipment and fits properly. Most newer vehicles have small removable caps known as "tow hook covers" on the front of the bumper covers. You'll want a new bumper cover built with these because metal hooks bolted to the frame of the vehicle are behind them for pulling the vehicle onto a flatbed tow truck.
Priming and painting a bumper cover is beyond the scope of this article. We recommend professional refinishing of your new bumper cover. However, if you are considering doing your own paintwork, observe if the paint color on your vehicle has faded due to age, damage, or sun exposure. Fresh paint in your exact OEM color code may create a mismatch with the rest of your vehicle. Professional body shops can mix paint to factor in for color changes that naturally occur.
Of course, depending on your vehicle's age and your budget, you could leave the bumper unpainted for a contrasting look, or paint it yourself with the available spray touch-up paints.
To help guide you through the selection of bumper covers, reinforcement bars, spoiler pieces, brackets, Styrofoam internal cushion pieces, deflectors, molding trim pieces, fog light insert pieces, and other related parts you may need, we have set up our website to provide you with all the choices that will fit your specific make, model, and year. Once your car's information is provided, you'll automatically see bumper covers with and without fog lights if both choices were originally available for your vehicle. Likewise, any differences in air intake slots or grille section cutouts will be visible.
CARiD offers a full line of Replace brand bumper components. Their wide variety of fitments, high quality, manufacturing consistency, and OEM-match help make them one of your first choices for replacement bumper parts. Replace® parts are tested and certified by some of the best third-party aftermarket auditing agencies, comparable to the OEM manufacturers. Organizations such as CAPA (Certified Automotive Parts Association) and NSF perform rigid quality tests and inspections to certify these parts. Feel confident when purchasing your bumper covers and related parts from CARiD, as we know you'll find the selection and quality you want.

