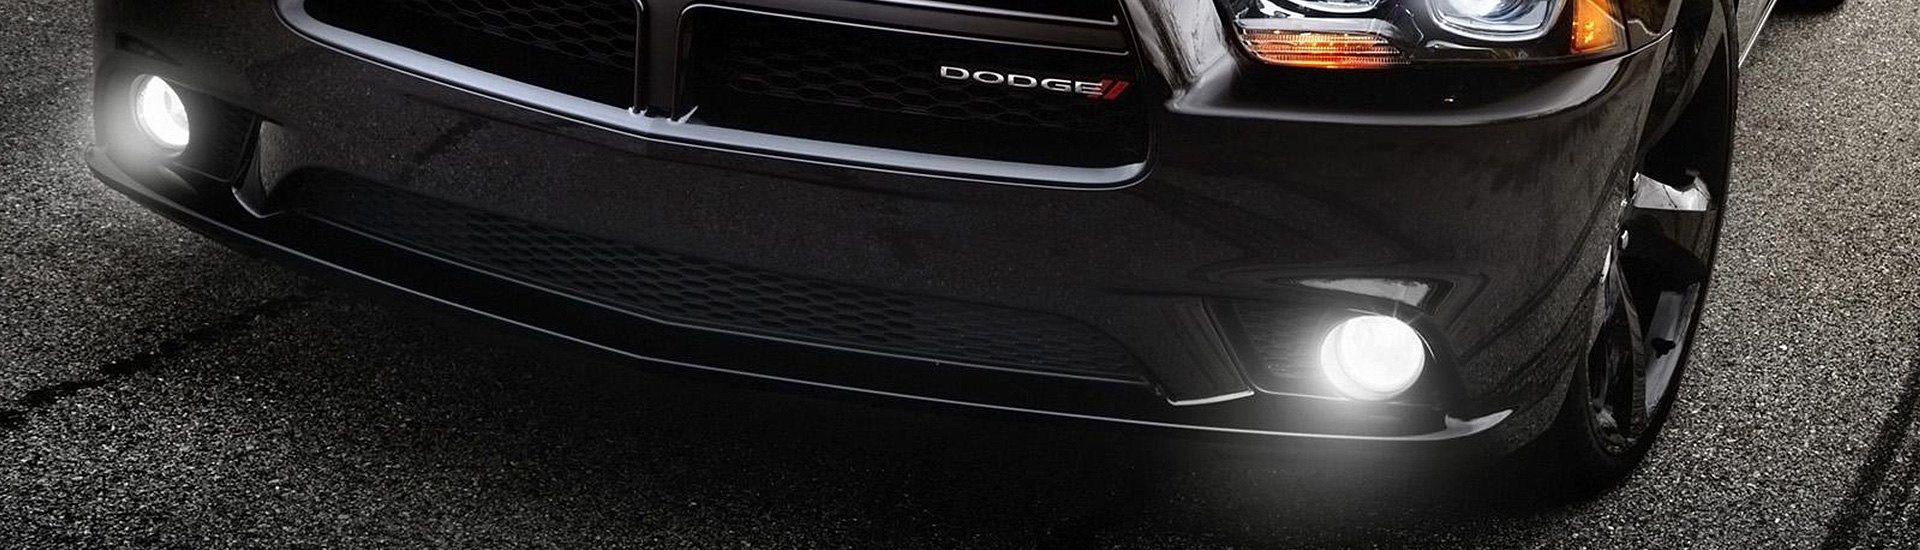
Fog lights are aptly named because they can save responsible drivers a ton of grief in low visibility conditions such as fog, snow, rain, or pitch black darkness. To be most effective, fog lights should be mounted in a location on the vehicle as low to the ground as possible. Once they're turned on, the light they produce travels further and covers the surface of the road more clearly - allowing potholes to be detected sooner so blown tires can be avoided.
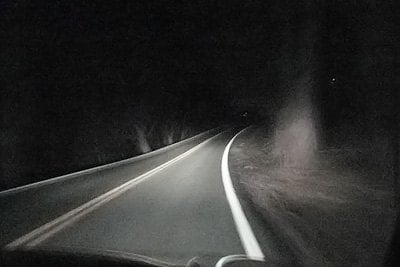


Because fog lights are aimed slightly to the side by nature, they don't reflect light from snow or fog directly back into the driver's eyes the way headlights do. Fog lights also illuminate dark edges of the road where headlights can't, and that wider swath of light allows safer driving through earlier detection of deer and other wildlife.
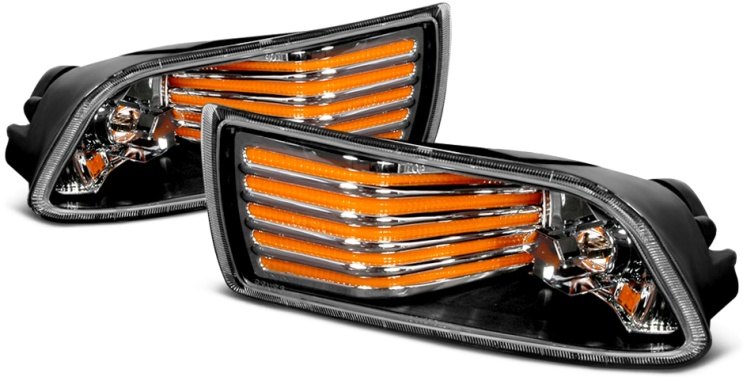
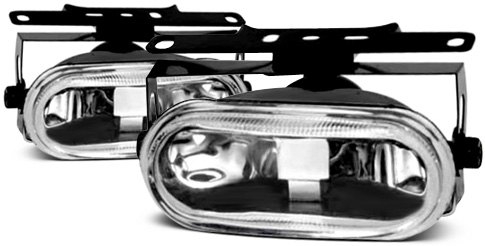
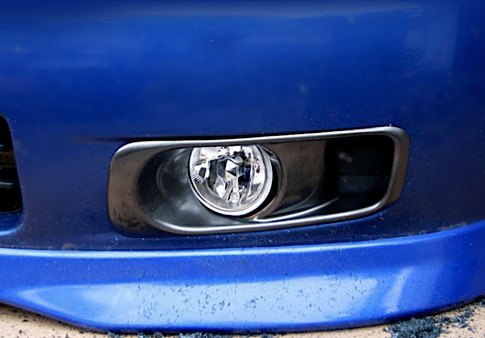
Besides being a great safety feature, modern fog lights are a great choice for adding style to the front of your vehicle. Choose factory OEM style replacements with clear lens covers or ones that add a blue or amber hue if you prefer. Fog lights designed for factory openings are available in a variety of pixilated LED designs for those that prefer the look.
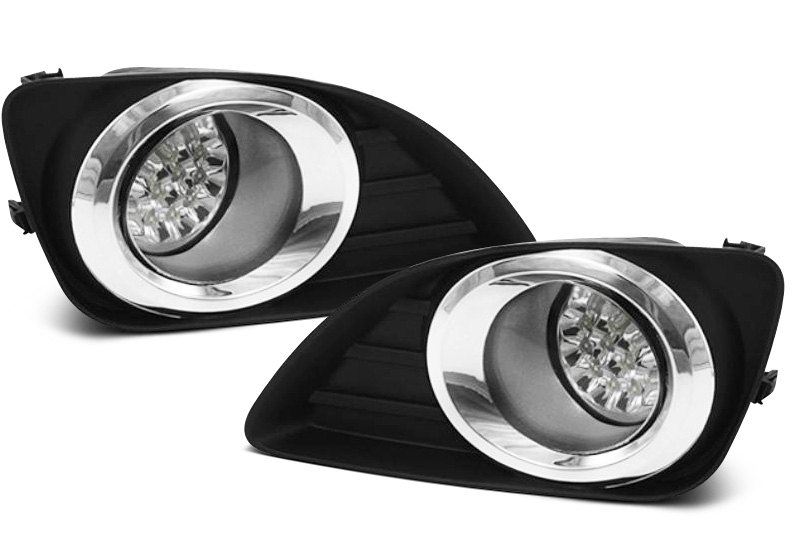
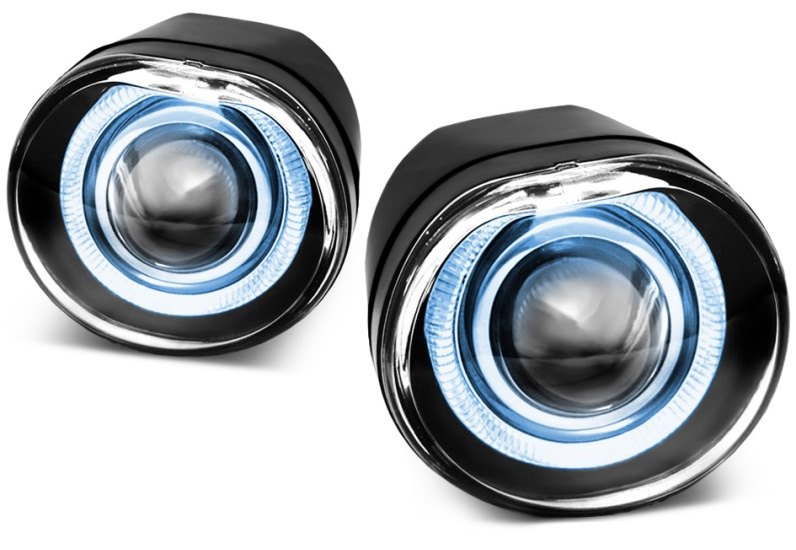
Projector fog lights feature curved glass center lenses that collect light and broadcast it in a more focused beam that isn't as blinding to oncoming drivers. Depending on preference, projector beam fog lights are typically available with or without halo light circles around the perimeter of the center lens. Whatever new style of fog lights you visualize gracing your vehicle, they won't be visible to anyone else until you install them.
We've created this article to help you with the basics of installing fog lights - whether you're replacing ones that already exist or adding new ones to a vehicle not originally equipped.
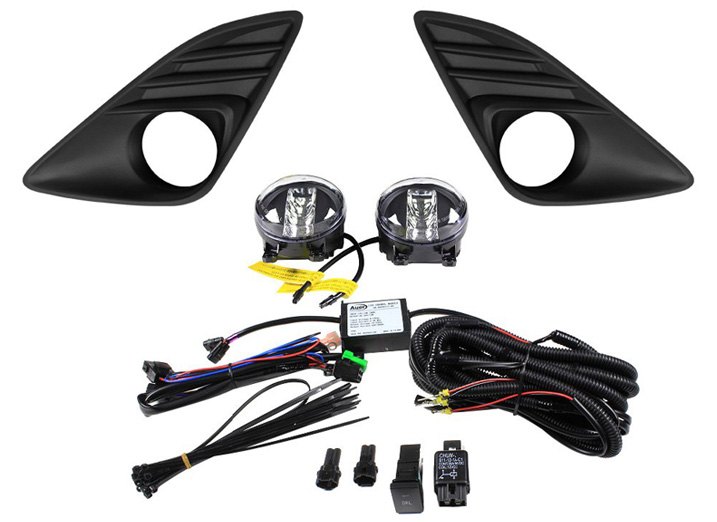
If you'll be adding them new, a fog light add-on kit is your best bet. In addition to halogen lamps and bulbs, it will include wiring harnesses, relays/fuses, and universal mounting hardware. Note that colors of various wires may vary, so we recommend double checking with any instructions that come with your kit. For the purposes of this article, we attribute colors to certain wires based on what's most commonly found in the industry.
Installing Wiring For Your New Fog Lights

Locate Your Vehicle's Pass Through Hole In The Firewall Designed For Wires To Run Through

If you're adding fog lights to a vehicle not originally equipped with them, you'll need to start by running the wiring for an on-off switch from under the hood to the inside of the vehicle. The easiest and most direct way to do so is to run the wire through the vehicle's firewall. Most vehicles will already have such a hole drilled on the driver's side as a pass-through for other cables, so locate this hole. In the unlikely chance your vehicle doesn't already have a pass-through hole under or behind the dash, you'll need to drill one and install a tight rubber grommet around the wire to seal out the elements.
Connect Your Fog Light Switch
Your installation package will come with a power wire that's split in the shape of a "Y". After routing one end of the wire through the firewall hole, connect it to the center terminal of the on-off switch. Many kits color the outer insulation for this wire white.
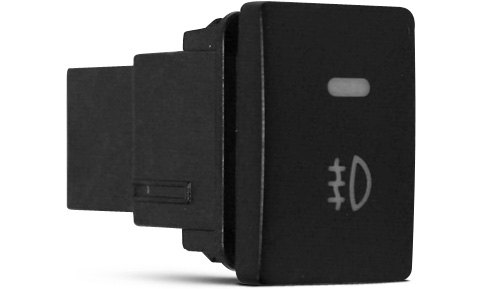
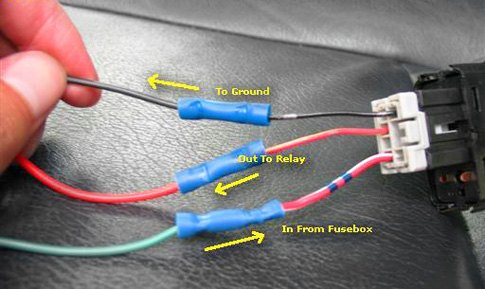
Next, take the black ground wire included for the switch and connect one end to the grounding terminal on the back of the switch. Connect the other one to an unpainted metal section under the dash - you may need to drill in order to create a hole if a suitable one can't be found.
A wire with a fuse connected to it should be included also - these are often red in color. Hook this into the corresponding terminal on the back of the switch, then run the other end out through the firewall hole back into the hood area. The red wire will have a terminal connector designed to connect in place with another section of red wire that connects to the relay, then the battery. Connect this last.
Synch Power For The Fog Lights To Your Ignition
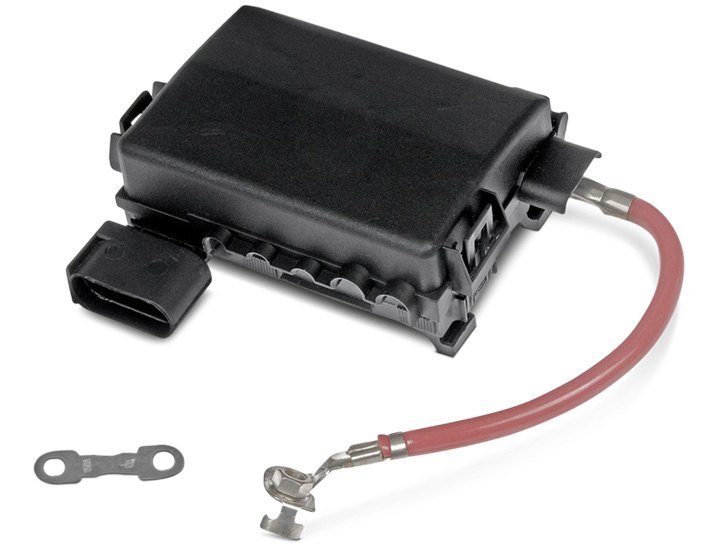
Your kit may come with a wire (usually green in color) that's designed to be connected to the ignition fuse inside the fuse box - ensuring the fog lights will only operate when the vehicle's ignition is in the 'on' position. If your fuse box is inside the vehicle, run this wire through the firewall hole. If the fuse box is under the hood, connect it there - the fuse panel cover and your owner's manual should direct you the applicable fuse.
Finally, push the wire terminal connectors on each section of the red wire together to bring power to the entire setup.
You'll see black ground wire extensions that came in the kit. Connect them to the matching black ground wires running out of the back of the fog lights, then connect them to an unpainted section of the vehicle frame. Connect (white) power wires together with the matching (white) power wires from each light. After that, connect them to the Y-shaped (white) power wire that's had the other end of it run inside the vehicle.
Performing some of the above wiring work may require use of common electric wiring and cable tools.
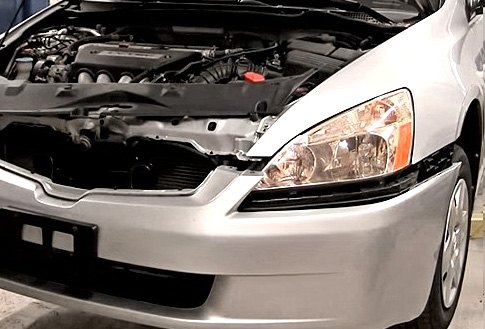
Removing A Bumper Cover To Install Fog Lights
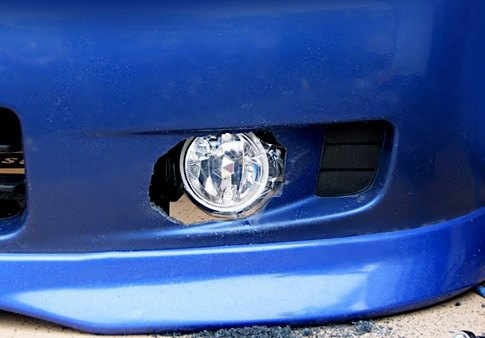
If your vehicle was not equipped with fog lights from the factory, it's a good chance the bumper cover already has openings for them or pre-defined cutout areas marked on the inside. Vehicles that have nothing at all will require measuring and cutting by eye.
In order to remove the front bumper cover for any of these jobs, look for bolts and screws that secure it in place. On some vehicles, you'll see attachment points after opening the hood where the top of the bumper cover meets the cowl panel. You'll definitely find securing points underneath the vehicle where the bumper cover meets splash shields and close to the edge of wheel well openings where the bumper cover meets the wheel well liner. If there are flat plastic caps or clips, remove them with a small flathead screwdriver by wedging up.

Remove the bolts with an applicable socket wrench or flat wrench. In the event your vehicle manufacturer has used rivets to secure things, they'll need to be drilled out with a traditional drill. Then you'll need a rivet gun to reinstall new ones - not an expensive purchase, but the proper tool to ensure parts stay safely on.
Once all fasteners are removed, the bumper cover can be detached. Many are designed to slide horizontally along special bracket pieces mounted underneath before coming completely loose, so move the bumper cover in this fashion first if you aren't able to obtain specific instructions on your make and model.
Cutting Holes In Your Bumper Cover To Mount New Fog Lights
If you don't already own a rotary cutting tool, a kit that includes small cutting wheels and all other bits needed to drill, grind, sharpen, and polish to perfection will be invaluable at this point - get one. Once your front bumper cover has been removed from the vehicle, use your fog light as a stencil to draw a line around where you'll be cutting - it's okay to make the hole slightly bigger than the fog light because your add-on kit will come with plastic bezel pieces that mount on the outside of the bumper cover. The bezels will hide any gaps.
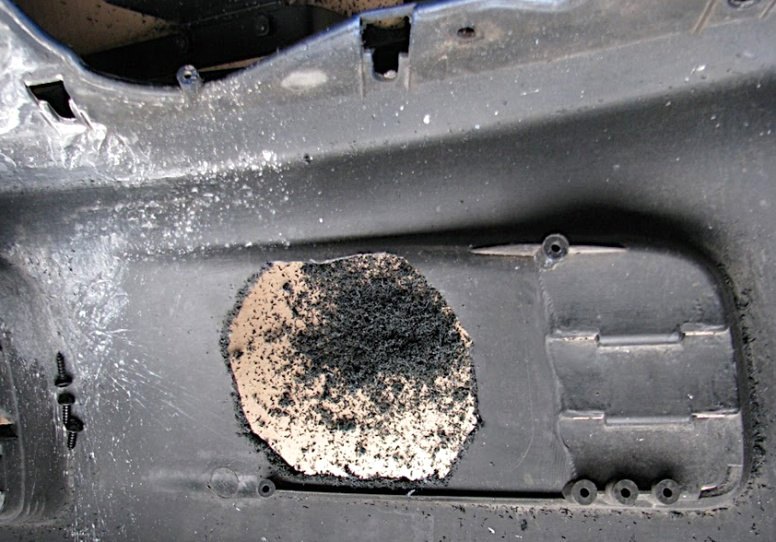
Carefully cut along the lines, then see how the lights and the bezel pieces fit. Install your mounting brackets to the bumper cover with hardware included in the kit, then connect wiring as discussed earlier in the article.
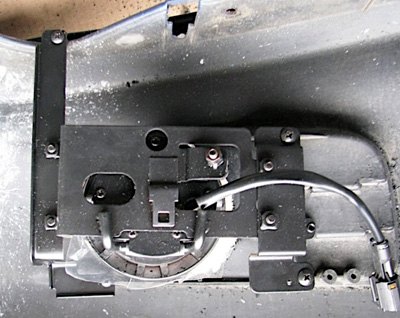
Mounting Universal Fog Light Brackets Directly To A Metal Section Of Your Vehicle
A fog light kit will include universal mounting brackets designed to bolt onto the bumper of your vehicle, to the framework underneath the bumper, or on a cross member just behind the grille. It's pretty much your choice where you wish to put them.


If you've got a grille guard or bull bar mounted on your vehicle already, you'll typically find pre-existing holes along tubular bar sections put there solely for the purpose of mounting lights and other accessories. When drilling into metal is required, it's important to use drill bits rated for metal because they can handle greater levels of heat buildup. Use the size of drill bit specified by the instructions in the kit because you'll want a hole big enough to slide the bracket bolt through, but not so big that that the corresponding nut and washer are loose and wobble.
Next, secure the fog light mounting bracket on the vehicle and tighten all nuts in place firmly. Mount the fog light onto the bracket, then connect wiring to the lights as discussed in the wiring section of this article.


How To Adjust Fog Lights
Fog lights should be mounted on the lower half of your front end. Somewhere on or below the bumper is ideal. They should be around 10 to 24 inches above the ground or at least below your vehicle’s headlights. But with fog lights, lower is better. Since fog usually starts about 2 feet off the ground your fog lights should be below that.
If they are higher than the fog, the only thing you’ll see when you turn them on is the reflection of your lights in the fog - which is reflected back into your face, making things worse. Kind of like when you hit your high beams in heavy fog. Mount your fog lights under the fog and you’ll be able to see the road ahead.
Tools Needed: Measuring Tape
NOTE! Never use fog lights with high-beam headlamps or auxiliary driving lights as this can blind oncoming traffic.
Step 1.
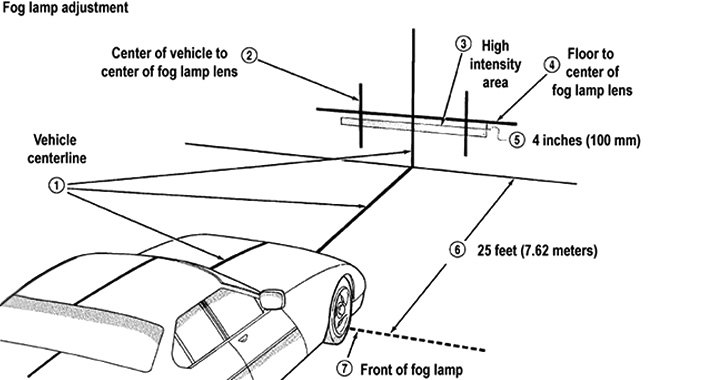
Park your vehicle on a flat surface with the lights shining on a wall 25 feet away. Not 20 feet. Not 30 feet. It’s got to be 25 feet away for the measurements and lights to come out properly.
Step 2.
Now measure from the center of the fog light lens to the ground. Go put a visible mark on the wall at that exact height.
Step 3.
Adjust the fog lights so they are facing straight forward and the top of the beam is about 4 inches lower than that mark you made on the wall.
This should allow the beams to cut right through the fog like they are supposed to.

To help guide you through the selection of replacement fog lights and related components, we have set up both custom and factory-style fog light sections of our website to provide you specific choices that will fit your make and model as well as universal products designed for any vehicle. Once you car's information is provided, you'll automatically see all applicable choices.
If you’re looking for ideas about what type of fog lights to install, it’s well worth your time to take a quick look at our related articles regarding off-road fog lights and factory style fog lights (with both OEM and custom designs). There, you’ll find style that matches the levels of safety and convenience fog lights provide!