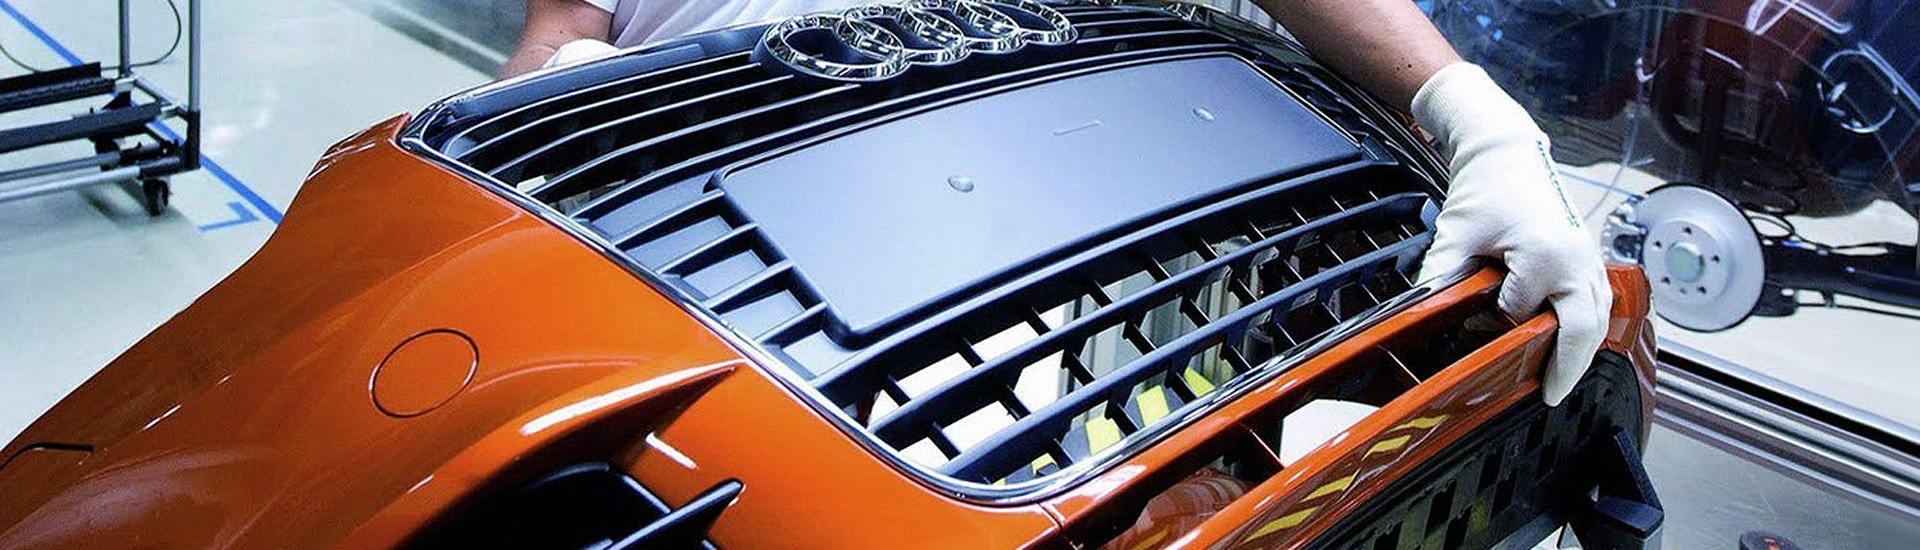
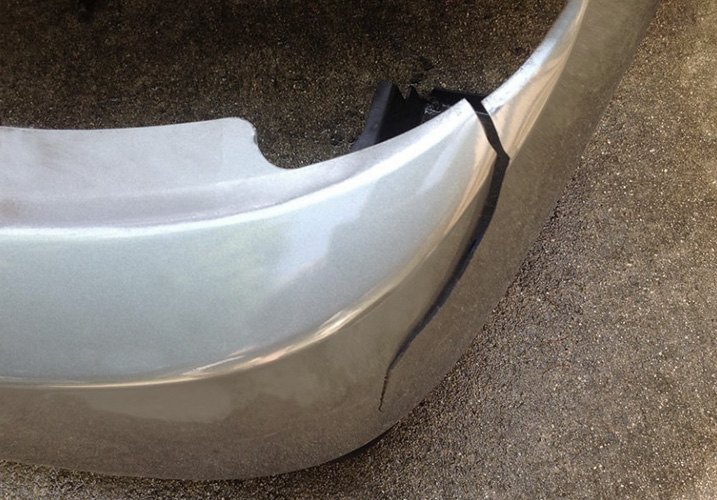
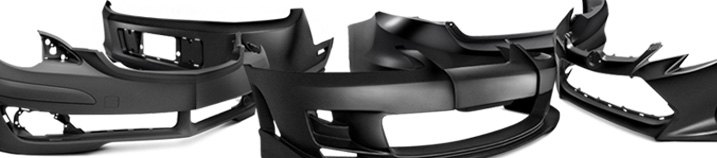
If you've decided to replace a damaged front or rear bumper cover with a new one, the good news is your vehicle really is going to look a whole lot better once the job is done. Of course, the areas of major damage will be gone and will no longer be a value-deflating eyesore. You'll also have a new rear or front bumper cover that's free of the chips, dings, and even cracks you've been putting up with.
And we have even better news - painting your new plastic bumper cover is not as hard as it may seem. After all, none of us is born knowing how to apply paint to automobiles, and we assure you that the process is relatively easy to pick up when performing it the first time.
If you've got an older vehicle or you want to go with a contrasting color, you've got nothing to lose - so why not give it a try? Painting any part of a car comes down to preparation, artistry, and personal taste. That said, there may be instances when using a professional body shop for painting might be pref erable.
For example, your vehicle may not be that old, but new paint may still need to be color-adjusted to compensate for a slight amount of fading if the vehicle sees regular sun exposure. Or maybe you've got a custom color that's difficult to match.
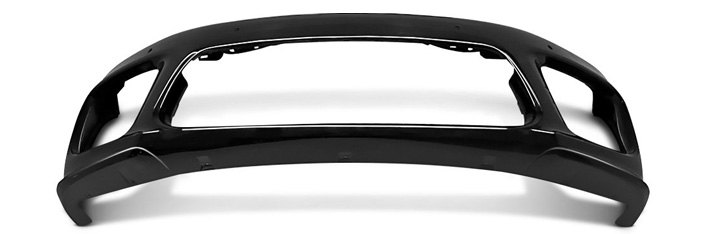
In this article, we'll show you the basic steps involved with painting a new plastic bumper so you can decide for yourself if it's something worth trying. These steps apply to any plastic bumper cover that could be purchased in the Replacement Bumpers and Components section of our website.
How to Prepare a Plastic Bumper for Painting
Before you start, make sure that you have a well-lit, well-ventilated, and safe place to work. Preparation is key. This is not the kind of job you can accomplish on a pair of sawhorses in your backyard on a breezy day when your neighbor is mowing his lawn (not if you want a professional appearance). If the ways and means are outside your scope, please consider getting the bumper professionally refinished.
Step 1: Wet Sand Any Imperfections On The Surface Of Your New Bumper Cover
Even though your new bumper cover will arrive already painted with a layer of primer, it's normal for the coating to be slightly rough and have flaws that will be magnified once a layer of glossy paint is applied. Run your hands over the surface to learn where rough areas are.
To correct minor surface choppiness and create a uniformly smooth surface for painting, wet sand the whole bumper using 600-grit sandpaper. Wet sanding means keeping a constant layer of water underneath the sandpaper as you work - a spray bottle is all you need for effective results here. Should you prefer to have additional aerosol primer on hand for application between sandings, we've got the Dupli-Color Adhesion Promoter Aerosol Primer and the Transtar 2 in 1 Aerosol Primer, among others. If you are going to use a spray gun, the SEM Gray Flexible Spray-On Surfacer Primer is worth considering.
Step 2: Thoroughly Clean All Surface Areas
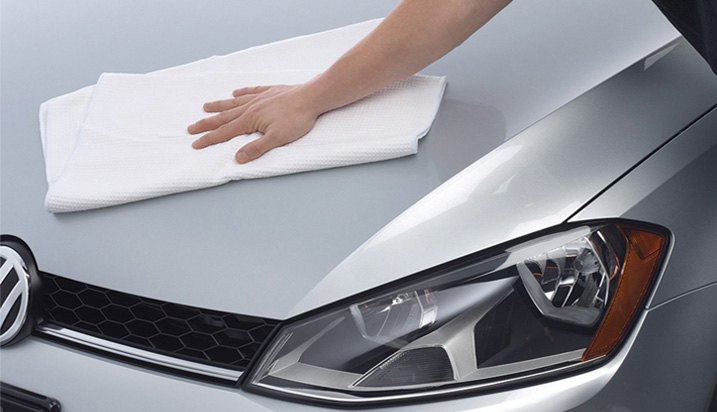
When you're satisfied with the look and feel of your bumper cover after wet sanding, thoroughly clean all surface areas with a paint prep product, such as SEM's Plastic & Leather Prep. The goal is to completely remove any dust left over from the sanding process in Step 1. Use a clean microfiber towel to wipe everything dry once you've finished cleaning.
Plastic Bumper Painting Process
Step 1: Apply Your Main Base Coat
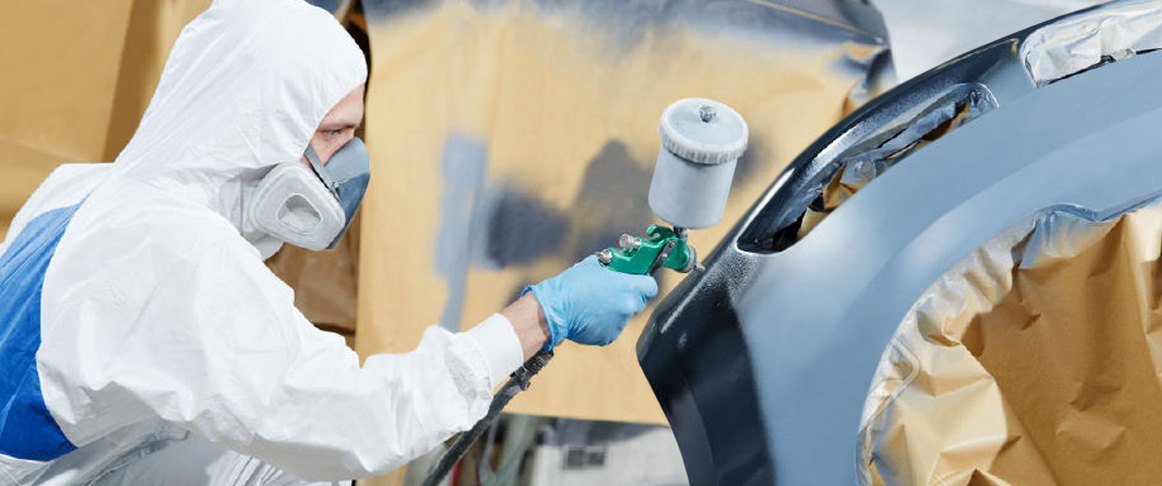
The base coat is the color paint that the eye will see once you've finished, so you'll want to take measures to ensure this paint goes on evenly without dribbles, splatter, or runs. First, activate your spray can or paint gun before your first pass over the bumper cover.
We also recommend choosing a good mask or respirator while painting in order to avoid exposure to carcinogens.

As you apply paint, do so from a distance of 9-12 inches away from the surface. Keep the application light, and make many passes back and forth until you've covered the whole bumper cover. Try to apply your paint with each pass so that it overlaps the previous pass by about 50%.
Let the paint dry and check for imperfections. If you see any, use the wet sanding process again in order to smooth things down. After drying, repeat the base paint application process two more times until three coats have been applied. At this point, the paint should look good. However, it won't have a glossy showroom glow until the clear coat layer is applied in the next step.
If the original bumper was a dark color or if you want the new bumper to be a contrasting dark gray or black, we have several choices for you. We have Dupli-Color's Aerosol Trim and Bumper Paint in 11-ounce spray cans with a choice of black and dark charcoal. The SEM Bumper Coater is available in spray cans in a plethora of dark colors.
Should you prefer a factory match of your vehicle's original paint color, we've got the Dupli-Color Perfect Match Custom Premium Automotive Paint Aerosol that's available for a wide variety of cars and trucks.
Once year, make, and model are entered in the Product Options field, you'll be presented with a list of paint code numbers and colors originally offered by the vehicle manufacturer. Be sure to accurately note your car's paint code, which you will find on a label, likely under the hood or in a door jamb.
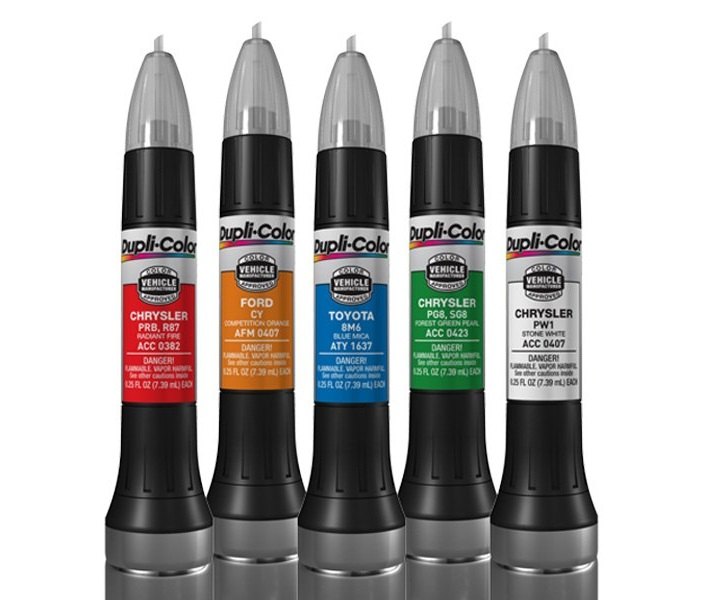
Those drivers who don't want to replace their OEM bumper but want scuffs and scratches on it to be repaired can use the Dupli-Color Scratch Fix All-in-1 Exact-Match Automotive Touch-Up Paint available in various colors which are approved by vehicle manufacturers, and that ensures a perfect match to the original factory finish.
If you're intent on using a paint spray gun (and we have a great selection), check out products available in Dupli-Color's Paint Shop Finish System lineup. It includes everything you might need to perform your painting job:
- Black spray-on primer;
- Paints are available in different colors including Red Spray-On Automotive Lacquer Finish and Deep Blue Metallic Spray-On Automotive Lacquer Finish;
- Depending on your needs, you can choose between Gloss Clear Coat and Matte Finish Clear Coat
Step 2: Apply A Clearcoat Layer Of Paint
You'll be applying the clearcoat shine layer in the same exact manner you applied the base color paint. Spray light applications from 9-12 inches away, with a 50% overlap on each pass. Apply three separate coats, waiting six hours between each. If you notice any runs in the clearcoat, wet sand them away with 600 grit sandpaper. Once you're completely done and satisfied with the results, wait at least 6 more hours before installing the bumper cover on the car.
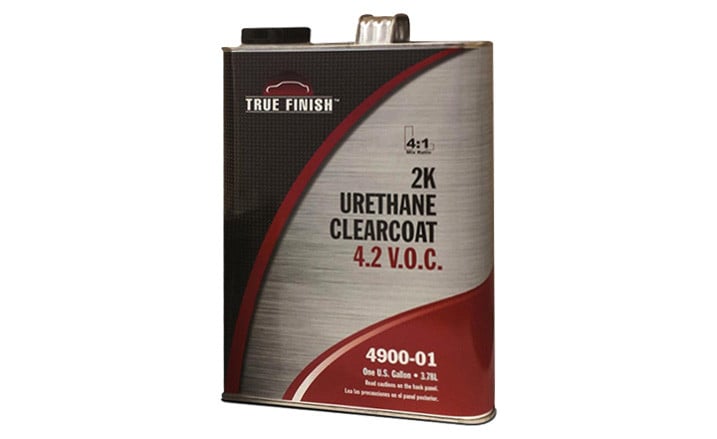
When you need clearcoat paint designed for automotive plastic and metal surfaces, we've got you covered. Choose Transtar's MAX Clearcoat or True Finish Urethane Clearcoat if you'll be using a paint gun or SEM's Gloss Clear 1K HS Aerosol High Solids Lacquer which comes in its own self-contained aerosol can.
Here is our take on the whole process: if you have the time and inclination to tackle a (relatively small) job like this yourself, you are going to feel extremely proud of the results, even if the final finish is something slightly below what Billy's Bumper Shop could churn out.
We have long felt that “pride of ownership” extends to repairs that you've tackled yourself. You are purchasing the bumper anyway; you will either be paying Billy for material and labor, or, you can make a small investment in supplies and make it a DIY job. We vote for the latter. But watch out; if it goes well, your friends will be asking you to perform paint repairs on their cars for them!
FAQ
Does a plastic bumper need primer?
A plastic bumper should be coated with a primer before painting, but there is no need to do it by yourself in most cases. The adhesion promoter is necessary because plastic is a petroleum-based product that paint has difficulty sticking to - especially given the fact that plastic bumper covers are flexible. Virtually all replacement bumper covers are already painted with primer. This is good news because this saves you the trouble of spraying on a layer of adhesion promoter as well as the primer itself.
What kind of paint can you use on a plastic bumper?
Whether it is lacquer-, urethane-, enamel-, or water-based paint, it can be applied to a plastic bumper if it has been properly prepped by priming and sanding. The choice depends entirely on your personal preferences.
How many cans of paint do I need to paint my bumper?
Whether it is a front or rear bumper, you will need approximately 3, maybe 4, 12 oz. cans of paint to get the job done. If you are going to use a spray gun, you will need approximately 14 ounces of paint.
How long does it take to paint a plastic bumper?
It depends on your skills and the materials and tools you are going to use. It takes a professional just a few hours to paint a bumper. Someone performing this job for the first time will certainly need more time to complete it. But it won't take longer than a day. The drying process takes between 6 and 8 hours.
Can I replace a bumper myself?
Removing and installing plastic bumper covers is a straightforward process because most are designed to unbolt with basic hand tools and slide off easily. Attachment brackets and hardware for bumper covers are within quick reach under the hood, inside the trunk, within the wheel well openings, and/or underneath the vehicle where bumpers join to splash shields. For more detailed steps on removing and installing vehicle bumper covers, we invite you to read our related article How Do I Repair or Replace My Plastic Bumper Cover?