The design and construction of seat covers have truly come a long way. Computer-aided design and better production methods have allowed the creation of modern seat covers that are custom-tailored to fit individual makes and models - stretching like a glove over every contour. And thanks to modern materials, today's covers will stay form-fittingly snug over each fold and crease - even under heavy use. Passengers won't notice they are add-ons, and you may forget they're not original equipment yourself. Installation is relatively easy and does not require any tools because seat covers we sell come equipped with all the straps, zippers, and clips you'll need to snugly secure them in place.

Seat covers come in two basic styles: "Universal" and "Custom-Fit." Universal fit seat covers are not created with any specific make and model in mind, and thus feature a one-piece shape that slides on over both the seat back and the seat bottom in one swoop.

In this article, we'll focus on the installation steps involved for custom-fit seat covers that are designed for the exact sizes, contours, and dimensions of your vehicle's seats. (For a comparative look at the differences between custom-fit and universal seat covers, we invite you to read our related article on the subject.)
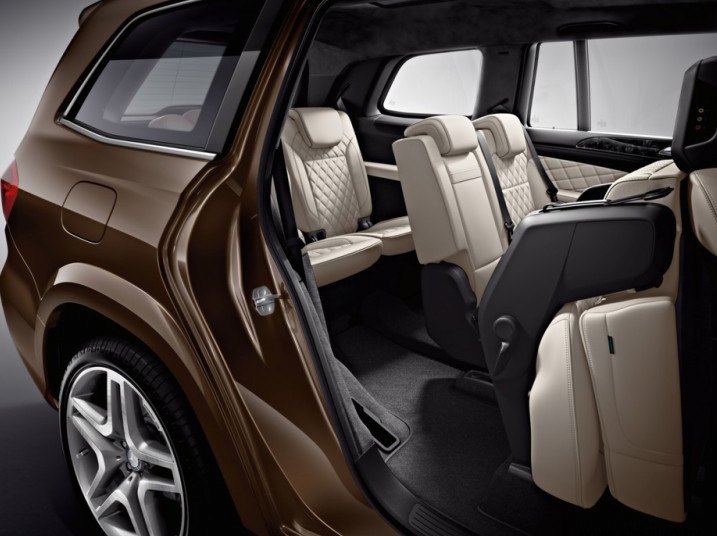
Installation steps are essentially the same whether your vehicle has individual bucket seats, split folding seats, or one-piece bench seats. Your custom-fit seat cover kit will include cover pieces for each separate seat back and seat bottom section - front and rear. Regardless of how wide your vehicle's seats are, the cover pieces go on in a similar fashion.
For example, if you have a front or rear bench seat, you'll get one wide seat bottom cushion and one wide seat back cushion if that seat doesn't have split folding sections. If only the seat back sections fold down separately, you'll get multiple seat back cover pieces. And if your vehicle has a split 2nd row seat assembly which folds for 3rd row access, your kit will include multiple seat back cover pieces and multiple seat bottom pieces.
Before starting the installation, lay out all the cover pieces, to be certain which ones are front, rear, left, right, etc.
Step 1
If your factory headrests are removable, begin by detaching them from their anchor points. (Hint: check the vehicle owner's manual for instructions on headrest removal.)

Step 2
Slide the seat back cover piece over the seat. Custom-fit seat covers will typically have perforations in the material in the exact locations necessary to allow headrest attachment pieces to poke through and remain exposed. Note that seats with headrests that are not detachable may have separate cover pieces which use elastic straps around their bottom area to maintain snugness.


Step 3
From the front, tuck the bottom part of the seat cover as far as possible into the gap between seat back and seat bottom cushions.

Step 4
From the rear of the seat, pull that bottom flap through. Custom-fit covers will usually have another flap that folds down and attaches to the section you just pulled through. Attach the two flaps using the supplied fasteners or snaps. If your seat cover sections are equipped with zippers, pull them shut to increase snugness. Note! Before making the attachment, work the seat cover downward to make it as snug as possible.

Step 5
Lay the seat bottom cover piece on the seat, and tuck the tail end of it through the gap between the two cushions. If this piece has clips at the tail end, make sure they make it through to the other side as well. Note that on most vehicles, the seat bottom does not need to be removed. However, if the seat folds, you may find that folding it part-way up will facilitate this part of the installation.


Step 6
Your seat bottom piece may be equipped with straps attached to its front section. These are designed to run underneath the seat assembly, so tuck them under the seat frame and pull them through from the rear. Attach the clips at the end of these straps to clips on the rear flap of the cover you pulled through during the last step. Once the two sections have been attached, adjust tightness by pulling on the straps.
In some cases, the straps may be designed to tuck through the seat gap at the rear, run under the seat frame toward the front of the vehicle, and be attached at that point under the front of the seat frame (see picture below). Some seat bottom covers have straps which run fore-and-aft AND side-to-side. Again, take your time and make the seat cover fit as snugly against the seat as you can before completing the final tightening.


Step 7
Some seat bottom cover pieces may be fitted with straps along their rear corners. The end pieces will be designed to hook onto the clips on the end of the nylon straps under the seat. In some cases, they may be intended to clip onto the seat frame itself. Instructions that come with your seat cover kit will specify.


Step 8
Install the separate cover pieces over the factory headrests you detached earlier (if your vehicle is so equipped). Usually, the covers wrap around the headrest and secure in place with fasteners or snaps. Note! If there are access tabs or straps, be sure to leave them exposed. This of course also applies to the covers on the seat backs and bottoms.

Step 9

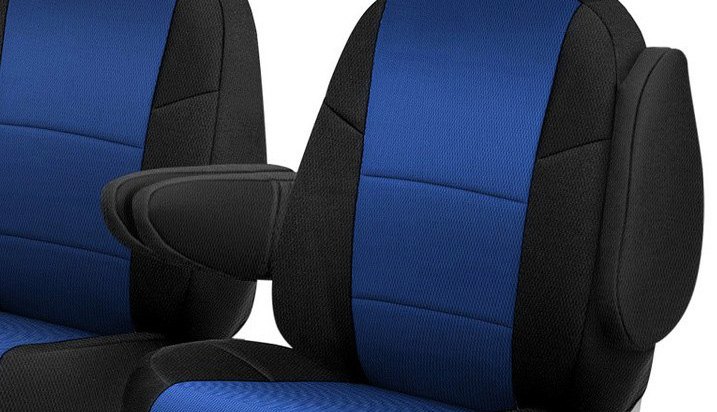
If your vehicle's seats are equipped with attached armrests, your custom-fit seat cover kit will include separate cover pieces for them. After seatback cover pieces have been fitted and tightened, install the armrest covers and secure them in place using the attachment methods they feature.
After seeing how easy it is to install custom-fit seat covers, we hope the biggest hurdle preventing you from ordering them and enjoying their benefits has now been eliminated. Customer feedback we've received has been very positive, and odds are once installation is complete on your vehicle, you'll join the ranks of drivers who take enhanced pride whenever they look at their interior. And once passengers see how good your seat covers look and how they resemble original equipment, saying you installed everything yourself will be an impressive claim!

