The condition of a vehicle's headlights is probably the last thing most drivers worry about unless there's a significant problem. Yesterday's cars with sealed beam headlights required little maintenance other than to replace a round or rectangular unit when one burned out. And once a new headlight was put in, everything looked and worked like new again.

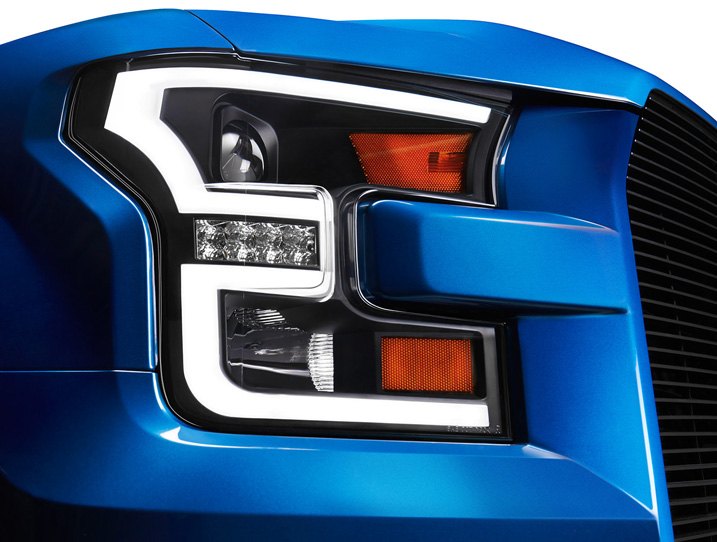
On today's vehicles, complex composite headlight assemblies are designed to last the life of the vehicle - and they require proper care and feeding to do so. In this article, we'll look at ways to care for and preserve both the looks and functionality of your headlamp assembly. We'll also look at the most common type of feeding they require - new bulbs.
Can I Replace Headlamp Assembly Bulbs Myself?
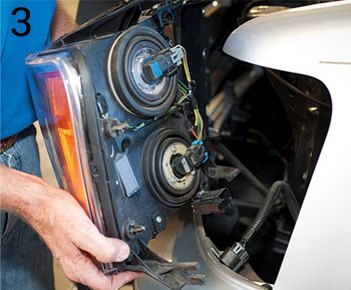
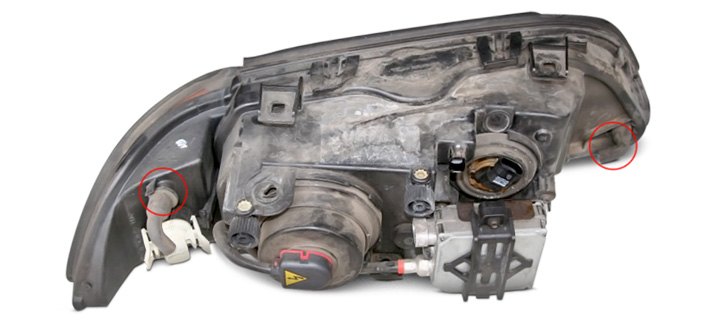
Headlamp assembly bulb replacement is probably the "feeding" item you'll deal with most often on any vehicle, especially if you've got daytime running lights. While it may seem daunting at first, installing a replacement headlight bulb on a modern vehicle with composite headlights is just a matter of accessing things from the rear of the headlamp assembly. On most vehicles, that will be relatively easy to do. After raising the hood, look for one or more round dust boots on the rear of the headlamp assembly. These are the access ports for various headlight bulbs, daytime running light bulbs, halo rings (if applicable), and turn signal bulbs. Some remove with a gentle tug, and others are designed to twist counter-clockwise first. Once you've removed the dust boot, you can access the bulb or bulbs you need to replace.
The locations for headlights, daytime running lights, and turn signal lights will vary from vehicle to vehicle. For example, sometimes a double-filament bulb may be used for multiple lighting functions. In other cases, separate bulbs may be used for everything including parking lights, turn signals, daytime running lights, low beam headlights, and high beam headlights. So if you're not sure where the bulb that needs replacing is actually located, turn on your lights to check. Wherever the burned out bulb is, the access port for it will be directly on the other side of the assembly.
Below is a pictorial guide that will be helpful in changing most standard halogen headlight bulbs.


Should I Be Concerned About Condensation Inside My Headlight Assembly?
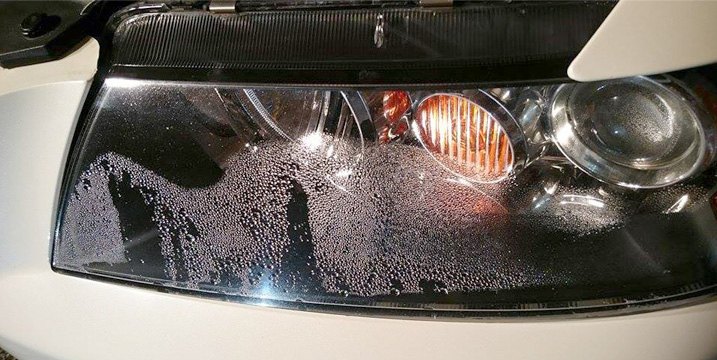
The quick answer to this questions is no. Condensation buildup inside a headlight assembly is normal, and it occurs for a number of reasons. First, vents along the top and bottom of the headlight housing are necessary to equalize pressure differences that would otherwise cause the entire assembly to crack and fail. Hot headlight bulbs create high pressures inside the headlamp assembly, and temperature differences only increase as lens cover surfaces cool from direct airflow contact at speed.
Condensation does not mean that a headlight assembly is defective, and the presence of fogging or misting due to condensation is not considered a valid reason for warranty replacement of the entire headlamp assembly.
After hot, pressurized air has worked its way out of the headlight through the vents, humidity can get drawn in from the outside. So, headlights that have been on during hours of driving become fogged on the inside because their cool temperature creates a low-pressure area that actually draws moisture in. This condition is made worse by high outside humidity, and by colder outside temperatures during winter months.
Condensation inside the headlamp assembly can also occur in other situations such as a car wash. And it can occur even when headlights bulbs are not turned on. For example, a car that's been driven in the daytime and parked can develop condensation as residual heat leaves the engine and warms the back side of the headlight assembly.

While most condensation in the headlight lens usually dissipates after approximately 20 minutes of driving with the low beams switched on, some small and insignificant areas of the lens may remain misted for a little longer. A normal amount of water condensation inside the headlamp assembly will not affect the optical functions of the headlight in any way, and will not cause any parts or wiring to corrode. To minimize condensation buildup inside the headlight, make sure any dust boots or covers are on tightly. Also make sure that the headlight vents are not blocked, which could prevent condensation from escaping.
If water collects inside your headlight to the point where puddles form, odds are you've got a crack in the headlight lens cover. Water can also leak in because of improper seals around dust boots where bulbs are inserted. If no cracks or holes are visible around the edges of the headlight, the problem could be the housing itself. If you can visibly locate a crack, it's best to repair it with sealant. If, unfortunately, your headlight assembly is damaged beyond repair, we welcome you to read our related articles Factors To Consider When Replacing a Replacement Factory Headlamp and How to Choose The Best Custom Headlamp Assembly.
Is There A Fix For Haze Buildup On The Outside Of The Headlight Lens?
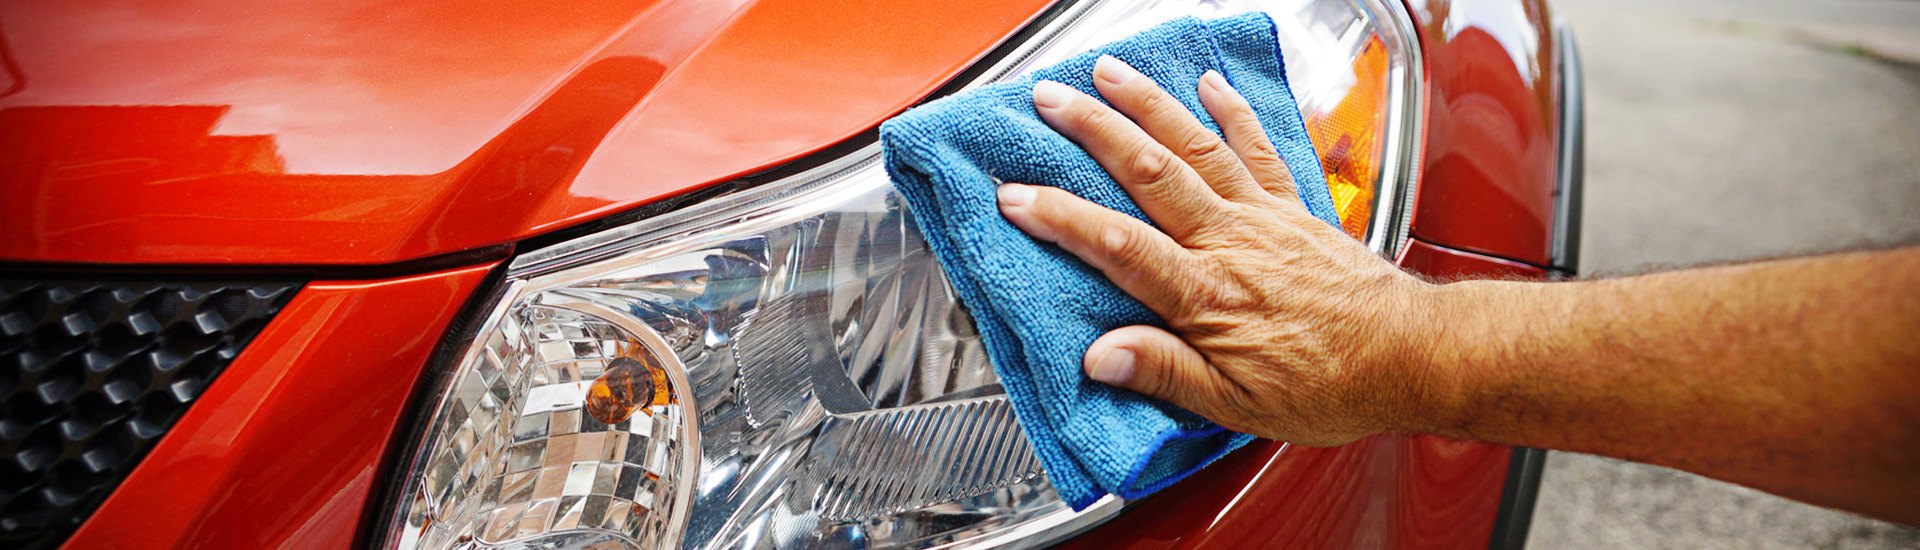
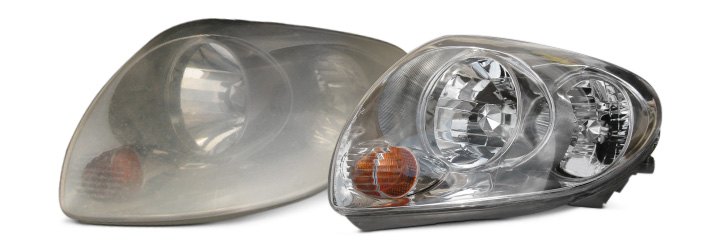
While temporary condensation on the inside of headlight lenses is not a problem, gradual "plaque" buildup and discoloration on the outside is. Most vehicles built over the last several decades use polycarbonate plastic to make clear lens covers that fit over the front of headlight assemblies. This allows stylized designs, halo rings, and contoured mirrors to sit behind an outer surface that's still aerodynamically flush. However, these plastic lens covers are subject to a non-stop barrage of airborne pollutants, UV rays, acid rain, and sandblasting from road grit. Compounding the problem is heat generated by the headlight bulbs themselves.
Slowly but surely, these hazards cause oxidation on plastic surfaces that leads to calcified deposits, yellowing, and stains. Not only do these "cataracts" on your headlight lenses make your vehicle look old, they block light output and reduce nighttime driving safety. If the plastic lens covers on your vehicle have become hazy with these plaque deposits, they can be cared for and brought back to new-looking condition with Headlight Restoration kits that literally buff off the top oxidized layer of plastic.
These kits are very inexpensive and effective, and they certainly make more sense than replacing entire headlight assemblies - which can range from $300 to over $1,000 each. Additionally, headlight assemblies do not need to be removed from the vehicle for this procedure. Headlight buffing kits can also be used to remove discoloration on plastic convertible top windows, tail lamps, and virtually any other plastic surface.
We've got a wide variety of headlight buffing kits. If the level of oxidation isn't so severe, take a look at value-priced kits that contain one bottle of all-purpose rubbing compound along with sandpaper pads and soft buffing pads. If you prefer to use a drill to perform buffing and polishing work, we've got the Mother's Headlight Restoration Kit, 3M Headlight Restoration System, and Meguiar's 1-Step Headlight Restoration Kit.
If you've got more caked-on deposits, you may want to consider kits with separate bottles for pre-treatment cleaning, buffing, and shine restoration. We've got Symtech's Single-Use Headlight Lens Cleaning Kit that's value-priced for a single applications by hand, and the drill-based Presta Headlight Restoration Kit. And if you're looking to get professional results on a number of different vehicles, we've got kits with a larger amount of supplies such as the Presta RenuLite Restore Kit and the Headlight Renewal Doctor 40+ Application Restoration Shop Kit, which comes complete with masking tape, masking paper rolls, 20 sanding blocks, multiple sandpaper sheets, cloths, and an instructional DVD. These are just a few of the kits you'll find in our headlight care section along with individual refill bottles, pads, and more.
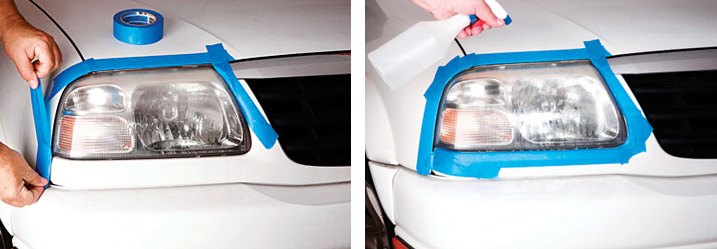
Once you've got the equipment you need, performing oxidation removal by hand or by drill isn't too hard. We recommend the following basic steps:


Composite headlight assemblies that are properly cared for and fed will enhance your driving by letting you see further at night and in bad weather, plus they'll enhance the driving of others around you because your vehicle will be noticed sooner - from farther away. If you don't believe that a vehicle with new-looking headlight assemblies is worth more, think of how you would poorly judge one with cloudy lenses or burned-out bulbs. Whether it's bulb replacement, haze removal, or condensation concerns, we hope that our "care and feeding" article will help you maintain your headlamp assemblies for years to come.