Items Needed:
- Replacement Interior Door Panels
- Screwdriver / Nut Driver / Torx Driver tools
- Interior Trim Removal Tools
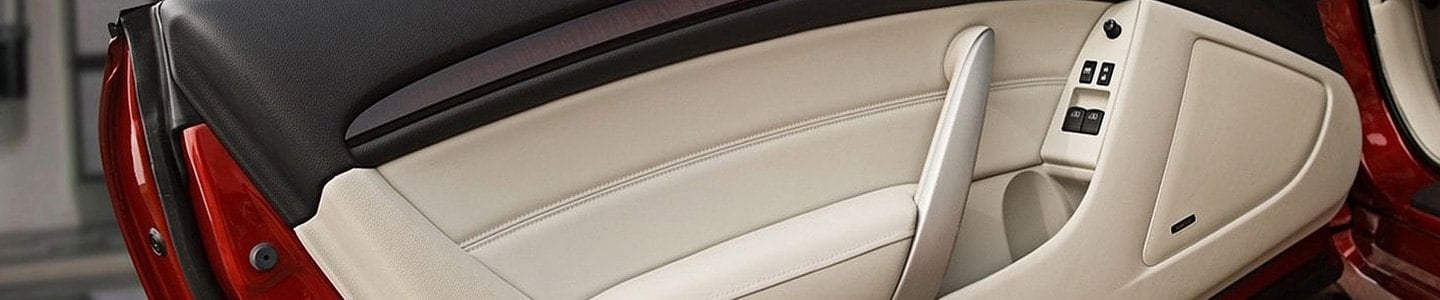
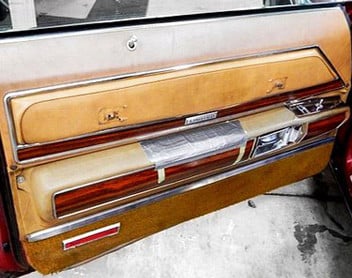
Interior door panels that are worn detract from your vehicle's looks, overall perceived condition, resale value, and most important - can detract from people's first impressions of you when others open a door to enter. Right or wrong, it happens. It's easy to cover worn carpeting with fitted floor mats, hide shredded seats with form-fitting seat covers, or conceal a cracked or faded dashboard with a dash cover. However, covering up bad interior door panels is another story.
With trucks, armrest areas are often used as handrails to support people's weight as they climb in and out of the vehicle, and that has a detrimental long-term effect on the integrity of the door panel as a whole. Water leaks over the course of a vehicle's lifetime cause rot and buckling of the panel - whether the water has backed up inside the door panel from clogged drain holes or the interior of the vehicle was submerged inches deep in a pool of water. Ultraviolet rays from sunlight exposure dry out vinyl and plastic, changing soft and flexible materials into faded stiff stuff that splits apart.
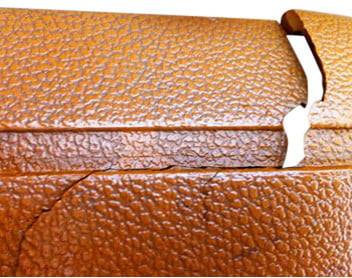
Adhesive that some automakers use to secure sections of the interior door panel together dries up and becomes ineffective, causing tops and corners to pull away. Clips break, and screws pull out of dried plastic. If the door panel has been on and off several times for other reasons (such as to fix a window regulator), nylon clips along the perimeter of the door can break off.
In this article, we will take you through the steps of replacing a worn-out interior door panel because quality replacement ones are now available for owners of older cars and trucks. Depending on the design of your vehicle, a few simple screwdrivers and trim removal tools are probably all you need to get the job done quickly and easily. So say goodbye to panels that are ripped, rotted, sagging, or pulling apart!
Replacement Of Worn-Out Interior Door Panels
There are many ways in which door panels can be attached to the metal door frame behind it, but we'll cover the commonalities involved with most setups you'll find for the replacement panels available on our website. If you can't seem to find an obvious way to remove door panels on your specific vehicle, we'd recommend checking with your vehicle manufacturer for instructions in order to avoid damaging or breaking anything you need to reuse.
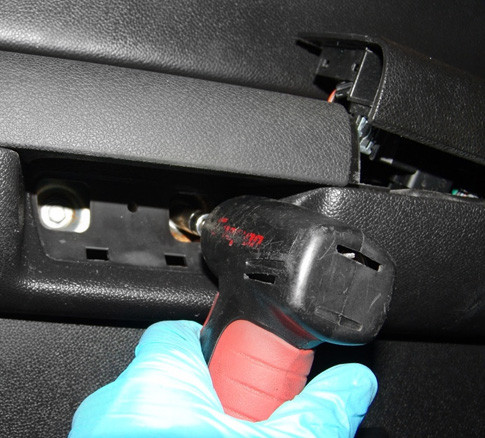
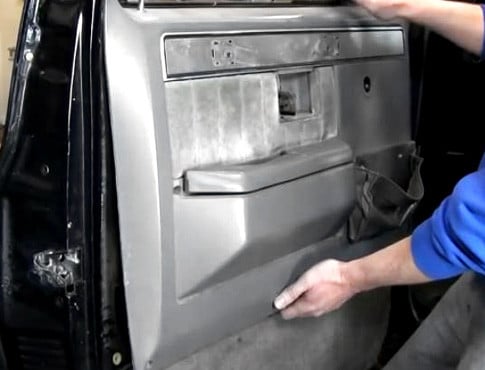
Generally speaking, the first thing to do is remove any devices that are bolted directly to the door panel itself: door lock buttons, armrests, window cranks or switches, bezels, grab handles, and removable trim pieces. Typically, the piece or the entire assembly can be removed with one or two screws at the most. Once unscrewed, pull the device out and detach anything it may be connected to. Most often, this can be accomplished easily with a pair of needle-nose pliers.
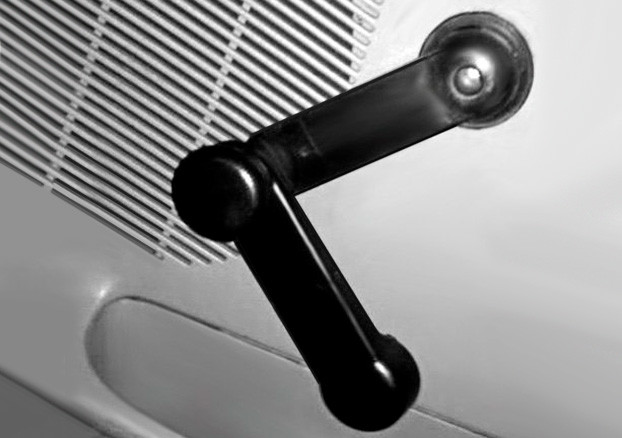
Note: You'll need to remove manual window crank handles on all Ford trucks so equipped before the door panel can be taken off. Although they don't look like it, these handles actually are two sections folded on top of each other, hinged at the knob. Gently pry the two sections of the crank handle apart at the base, then the outer section can be pivoted away. After that, use a screwdriver or Torx head bit to remove the anchor screw in the center of the handle's base.
Note: on 1987-96 Dodge Dakota pickups, you'll need to first pull the door panel away about an inch or two from the top (after unscrewing 10 visible screws) then reach behind the door panel to uncouple door handle links, door lock rods, and any power window wiring connectors.
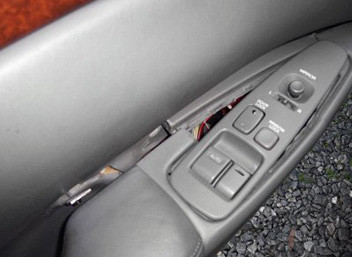
If your armrest detaches, you will most likely find screws along the underside of it or at the bottom of grab handle pockets. Unscrew them, then remove the armrest section by pulling it away from the rest of the panel. If the power window/door lock switch assembly comes loose with the armrest, unclip any applicable wiring harnesses - usually these will release with a gentle squeeze of the connecting clip. A small Philips head screwdriver may be necessary here as well. A gentle rocking motion will usually free the wiring connectors.
If power window switch assemblies do not detach with the armrest, look for a similar way to loosen them. On some vehicles, it's a matter of unscrewing things, and on others a small trim removal tool may be needed to pry a cover section loose. Again, we recommend checking further with your vehicle manufacturer when things aren't obvious. If your vehicle has manual window cranks, you'll need to take them off. Often, it's a matter of removing a small screw at the base of the handle. We've made some notes below for particular vehicles that require extra steps in this area.

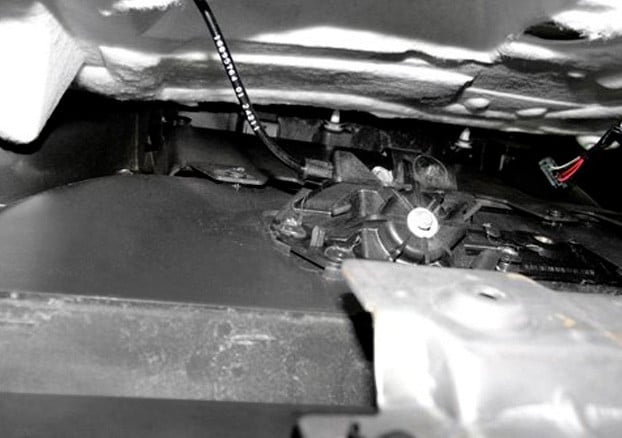
Once armrests and other items have been moved out of the way, you may see metal tabs protruding through that actually hold the panel in place. If they are attached with screws, they should be unscrewed and removed. If they are permanently affixed to the door frame, the interior door panel probably slides out over them upon removal.
Note: On full-size 1973-87 Chevrolet/GMC standard pickups and 1973-91 Blazers, Suburbans, and crew cabs, two screws that hold vinyl pull handle straps in place must be removed before door panels can be pulled off. A specific window crank removal tool is recommended for these manual crank handles - simply slip the tool behind the handle and wedge it off in one quick motion. After removing all screws along the armrest and door panel face, pull outward on the bottom part of the door handle so that it clears the window crank shaft. While pulling up with one hand on the bottom of the panel, take your other hand and place it along the top edge near the lock button. Pull directly up to release a clip here, then repeat with your hand by where the window crank handle mount point is.
If you've got an older car or truck, the inner door panel is probably hung in place with u-shaped hooks snugged over a ridge at the top of the metal door frame. Once the bottom area of the panel has been freed, pull it away from the door enough to allow fingers to be inserted in the gap along the bottom edge for leverage. Slide the panel upward from the bottom. Wiggle it gently from side to side as you grab the bottom section and push gently up. This should free it from hanger clips at the top of the door.
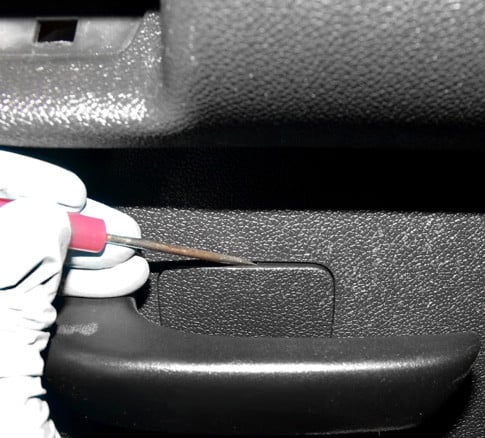
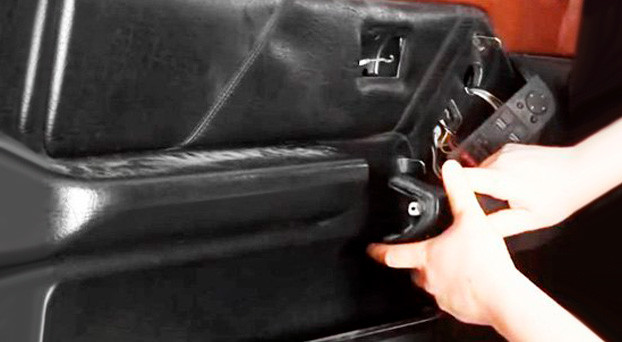
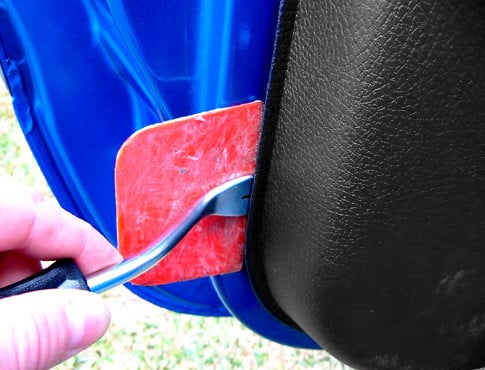
Once the door panel itself is ready to come off, start by gently wedging an interior pry tool between it and the metal of the door at the bottom most point possible. Place a cloth or some kind of soft insulation between things to prevent anything from becoming marked or damaged.
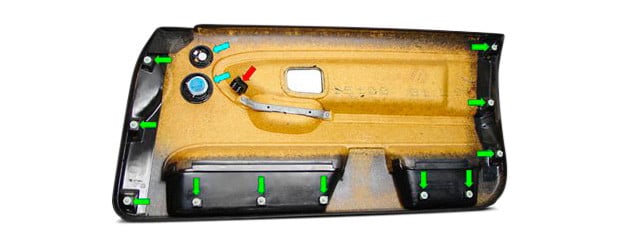
If your vehicle is newer, odds are it also has many clips positioned evenly around the entire panel to secure it to the metal door frame. Use your wedge tool as a feeler by pulling gently outward anywhere. When you encounter greater resistance, you're nearer to a clip - so apply more pressure in these spots for the cleanest, easiest release. Remove these carefully because you'll be re-using them upon installation. Continue around all edges of the door panel until all clips have been loosened. Pull up from the bottom using a wiggling motion to free the panel from any hanger clips along the top.
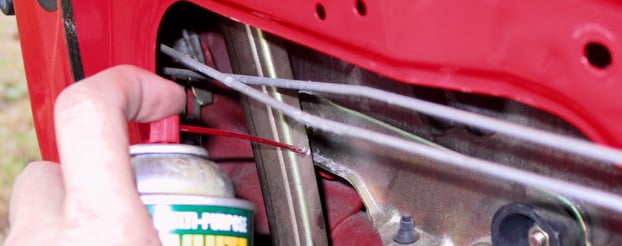
Once you've got the old door panel completely off, use this opportunity to clean and lubricate the tracks and channels that windows and regulators slide up and down on. Dampen a rag with degreaser/cleaner, wipe any dirt and gunk off of moving parts, and apply fresh lubricant.


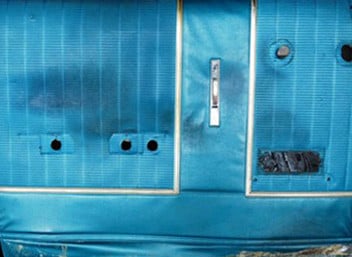
Look for water drain holes along the bottom of the door - these are designed to expel any water that makes its way inside through miniscule gaps around door handles, keyholes, mirror mounts, and other even trim screws on older vehicles. To avoid future grief of water backing up into the door or the vehicle, remove any leaves, muck, and other detritus clogging the drain holes.

Note: If your vehicle is newer, you may encounter a fitted "vapor barrier" inside the door panel that will have to be removed first in order to clean window tracks. Whether the barrier piece is Styrofoam-based or a plastic sheet, it will typically be glued on with a rubbery sealant. Using a wedge tool, loosen the vapor barrier gently and evenly around all areas in order to prevent damage. When re-installing, use fresh sealant.
Prop your new door panel in place loosely, re-connect wiring and cables where possible, then test door locks and door handles to ensure their functionality has been restored. As you reverse the steps you took while removing the old panel, you'll find that installing replacement inner door panels is as easy as fitting an OEM piece into place.

Not only will it match the contours and dimensions of the original, mounting holes will be precisely where they need to be. Plus, they'll exceed the strength of original designs that may have cracked and failed prematurely. If you are reusing the door panel clips, you will need to transfer the old ones to the new panel. Should you find any old clips have broken, you can purchase a selection of replacement door panel clips that specifically fit your vehicle.
Door Panel Inserts We Offer
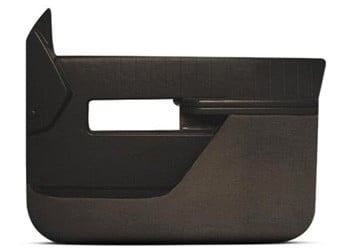
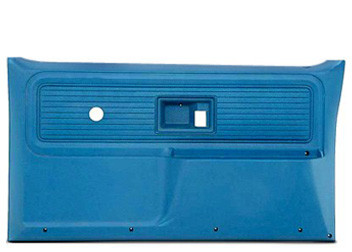
If your preference is maintaining a factory OEM look, we’ve got replacements from specialists such as Coverlay, Sherman, Warrior, and Goodmark among others - in a selection of colors that will match most interiors.
If you prefer the weight savings and clean looks of styled aluminum, take a look at the Spectre Performance Aluminum Door Panels. More than sheet metal that's been cut with a pair of scissors, they're molded and contoured to fit specific makes and models. Keep them in bare form if you prefer the sheen of a metallic look, or use them as a base to custom paint to match the look of your interior.
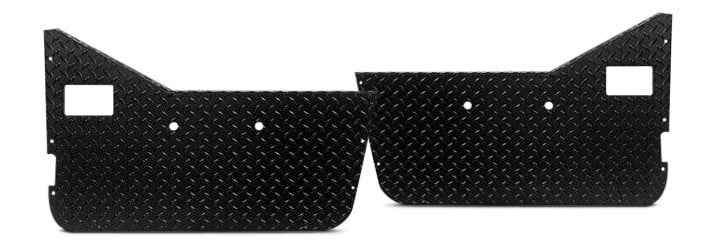
And if you've got full- or half-doors for your Jeep CJ or Wrangler with diamond tread pattern door inserts that have become damaged, it's possible to replace them with stylish Warrior replacement insert pieces. Choose from a great selection of designs and materials.

We hope this article has left you with the knowledge that replacing interior door panels isn’t impossible, and that it’s pretty easy to find replacement pieces that look good – whether you want to keep things stock or go for a custom look. However, we know true knowledge comes from asking questions – that’s why our product reps are here seven days a week to help you make a more informed purchase. So give us a call, we’ll be glad to assist!