Performance braking is a topic that has widespread interest for our clients. Frankly, it interests us too, which is why we upgraded the brakes on our Project Ford F-150. If you have not seen our video on the upgraded StopTech brake rotors we installed on our truck, check it out:

This article serves as an accompaniment to the video, to show you:
- 1. WHY you want to upgrade to performance rotors;
- 2. WHAT the choices are among different performance rotors; and
- 3. HOW to replace your own rotors (easier than you might think!)
WHY you want to upgrade to performance rotors
We’ve said this before, and we’ll say it again: auto manufacturers use certain OE components just to meet a price point. Sure, your factory brakes stop your car or truck. But if you’ve done the installation of other modifications, especially one that improve acceleration, like an air intake system or a better breathing exhaust, it would be smart to also improve your brakes.
Better rotors give you better stopping power, even with factory pads in place. Performance rotors are better at shedding heat, and will remove contaminants that can interfere with gripping power.
If you’re towing any kind of load, you definitely want to put a brake rotor upgrade high on the list of “things to do next”. The same goes for any participation in track days.
Finally, let’s not forget to include appearance. Today’s open-design wheels allow more of the brake hardware to show, and maybe those factory rotors aren’t cutting it. Performance rotors look the part too, and that’s reason enough to consider the upgrade.
WHAT the choices are among different performance rotors
Let’s start this segment by pointing out that we’re staying with rotors which are the same diameter as the factory ones. You can change to larger rotors, but then you’re moving into the world of “brake kits”, a much more involved and more expensive route.
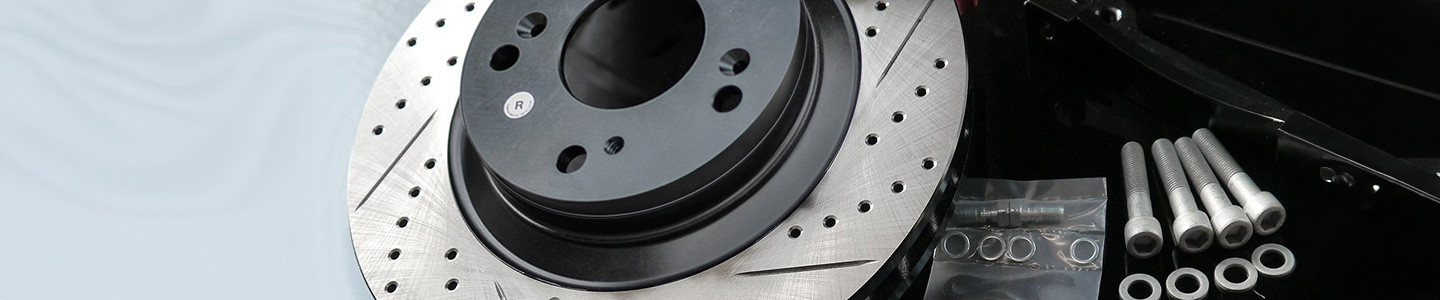
Ninety-nine percent of new vehicles have “smooth” or plain-faced rotors. Most performance rotors offer you the choice of “drilled” or “slotted” rotor surfaces. In either case, the openings allow heat to dissipate more quickly, and will also allow pad dust and other contaminants to be wiped away, maintaining a better gripping surface. In some cases, you can get rotors that are both drilled AND slotted.

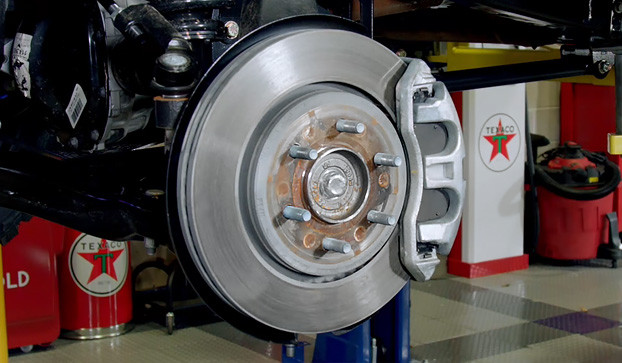
DON’T confuse “vented” rotors with “slotted” rotors. Vented rotors, standard in the front, have cooling ducts along the perimeter of the rotor, but the contact surface for the pad is still smooth.
You may come across rotors which are “coated”. The coating, actually a protective type of paint, may be on the entire rotor, or may only be applied to the non-contact surfaces. The coating protects any bare metal from developing unsightly rust. While the coating does not improve the brake performance per se, it will keep your rotors looking their best, an important consideration if the rotors are exposed behind big wheels. If the coating is on the entire surface, be aware that it will be worn off the rotor contact surfaces as you use your brakes.
While cost is always a factor with any improvements, we think you will be pleasantly surprised at how cost-effective a set of performance rotors can be. In many cases, they don’t cost that much more than OE-style rotors.
HOW to replace your own rotors (easier than you might think!)
The process outlined here is for a straight-forward rotor swap, meaning, the rotors are the same diameter, and the pads are staying in place. For the most part, you only need basic automotive hand tools, although below we stress the importance of certain safety supplies. You may also need a special tool for the caliper bolts.
Here are the steps to follow, written so that they apply to most late-model cars and trucks.

a. Raise one end of the vehicle at a time, either front or rear, using a floor jack. NEVER WORK UNDER A CAR SUPPORTED ONLY BY A JACK. Use jack stands to support the vehicle.

b. Remove the wheels (you may need to loosen the wheel nuts while it’s still on the ground).

c. Unbolt the brake caliper from the hub or caliper bracket. On some vehicles, the caliper bolts are “hidden” behind plastic plugs that simply pop out with a screwdriver. On many late-model vehicles, the caliper bolts use a recessed hex-head (also called Allen head) bolt. You may need to borrow or purchase the correct sized hex socket.

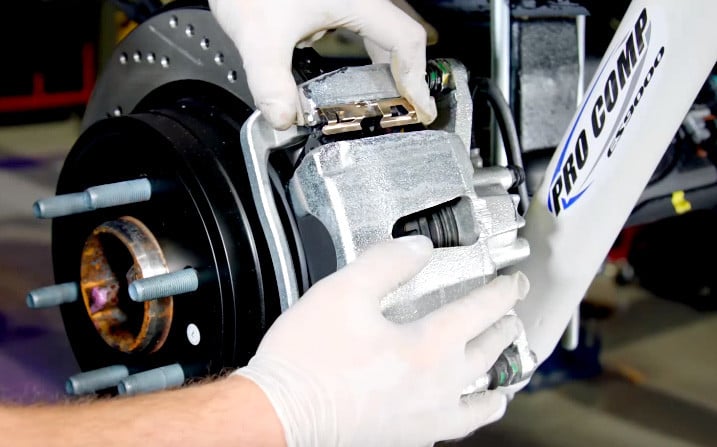
d. With the caliper bolts removed, slide the caliper off the rotor. The pads may fight you; you can carefully use a pry bar to push the caliper off.
e. Do NOT allow the caliper to hang by the brake hose or brake line! Have a strap or stiff wire nearby (an old metal coat hanger works well), and use it to hang the caliper from a suspension component so that there is no stress on the brake hose.

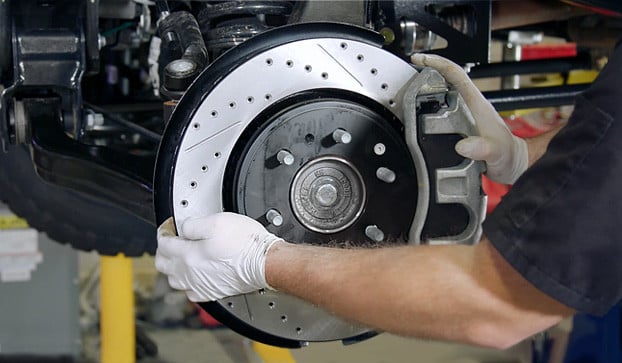
f. Remove the rotor from the hub. On most vehicles, the rotor will come right off. Some vehicles may use a small screw or bolt to hold the rotor in place. If it is an older vehicle, rust may be holding the rotor in place. Tap the center of the rotor (NOT the contact surface) with a mallet until the rotor is loose.

g. Select the new rotor (be careful if your new rotor is slotted, as the slots may be "directional"; there should be a label indicating "left" or "right").
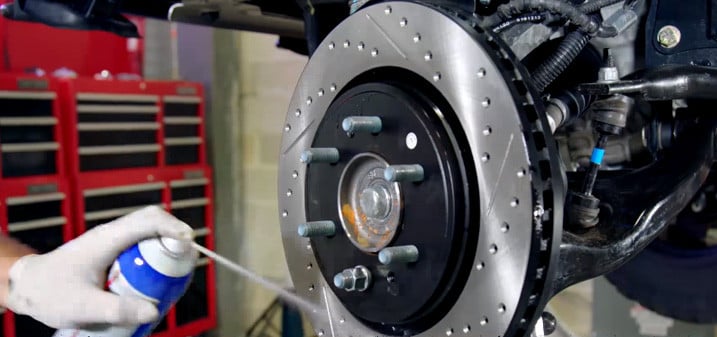
h. Clean the rotor surface with a brake cleaner (rubbing alcohol can also be used).

i. Mount the new rotor onto the hub. Reinstall the set screw or bolt if used.
j. Reinstall the caliper over the new rotor. Be careful that the pads remain inside the caliper.

k. Reinstall the caliper bolts, and be sure to torque them to the proper tightening specification.
l. Reinstall the wheels, and tighten the wheel bolts, nuts, or lugs to the proper spec.
m. Lower the car to the ground.
VERY IMPORTANT NOTE: Before driving the car for the first time, start the engine, keep the vehicle in Park with the parking brake engaged, and pump the brake pedal. You may need to pump the pedal 5-6 times until the brakes feel firm again.

That's it! Enjoy the improved brake response and sharp new looks that come with your set of performance brake rotors!