Have you ever seen another truck like yours and thought, "It looks the same as mine, but more…rugged"? And after a moment of reflection, the answer finally came to you why. The other vehicle was equipped with fender flares, and yours wasn't. Yes, there's a reason automakers fit fender flares on top-trim versions of their cars and trucks at the factory. It's because they can serve as elegant-looking pieces that make your vehicle look more expensive, or as more robust ones that add well-toned, muscular definition, without great cost or complexity.
Because we understand just how much they add to a vehicle, we offer a great selection of fender flares. And regardless of what you opt for, fender flares can be left their original color (usually black), or they can be easily custom painted to blend in or contrast as desired.
Most of the fender flares we offer install easily without drilling or cutting. While installation varies slightly from product to product, all of them use either bolts sized specifically for factory holes along the wheel arches, and/or double-sided adhesive. Generally, such holes are there for the purposes of wheel well liner attachment, or to secure trim moldings around the wheel arches. If there's a need for additional fasteners, customized clips will be provided in your kit - these slide right into place over the fender lip. In such cases, a mounting screw can use the clip as an anchoring point so that no new holes have to be drilled.
In this article, we'll look at the fender flares that can be installed without cutting or drilling, and the general steps involved with putting them on your vehicle.
Installation
Installation of fender flares really is easy, and there should never be something in your mind that prohibits you from making this upgrade to your vehicle. Below, we'll touch on the main types of installation methods for no-drill fender flares.
Clean Contact Areas Thoroughly

Giving surfaces a good wash is particularly important if your flare pieces use double-sided adhesive tape for installation. But regardless of the attachment method, you'll want to first clean all areas of the body where the fender flares will make contact. Particular diligence may be required on wheel arch lip areas, because these collect a heavy amount of road grime kicked up by rotating tires. Use a good bug & tar remover and scrub brush to remove all stuck-on gunk thoroughly. Ensure fenders are dry prior to installation.
Install Decorative Rivets (if applicable)
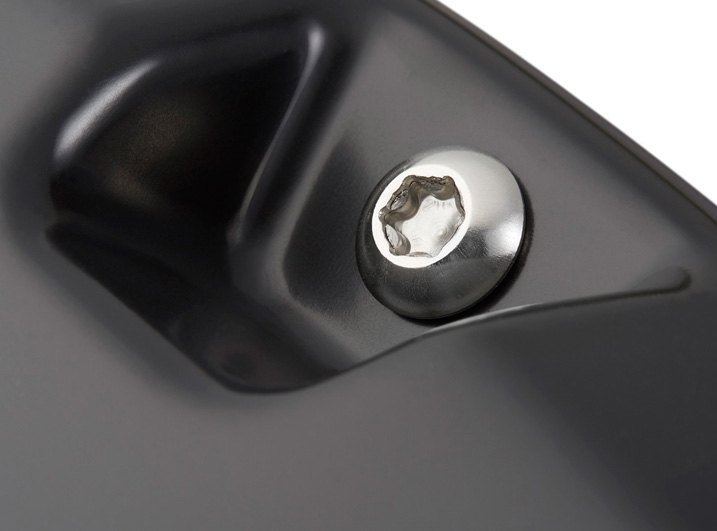
If you’ve chosen fender flares with decorative "rivets", insert the bolts (with washer around them) through the pocket holes on the outer side of the flare. On the reverse side of the flare, thread a nut around the bolt to secure it snugly. Repeat until all rivets are in place.
Install Adhesive Insulation Strips
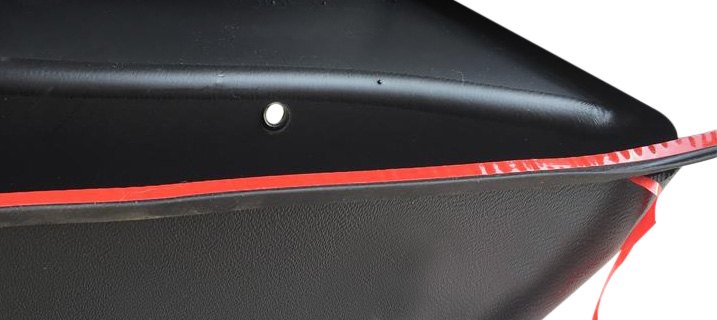
Whether your flares use bolts or clips for attachment, they'll come with insulation pieces that provide cushioning between the flare and the vehicle fender. Peel back just 2 inches of the adhesive backing strip (usually red in color) on both ends, then attach the insulation strip onto the flare.
Test-fit the flare onto the vehicle body to ensure the insulation piece is lined up well enough to be effective. Once you're satisfied with the placement of the insulation strip on the flare, peel back the rest of the red adhesive backing gradually and use firm hand pressure to bond it in place as you go.
Bolt-On Applications
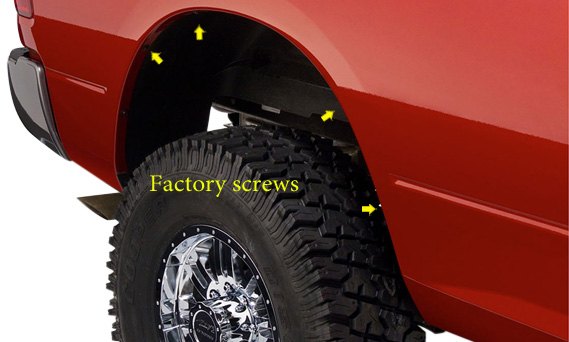
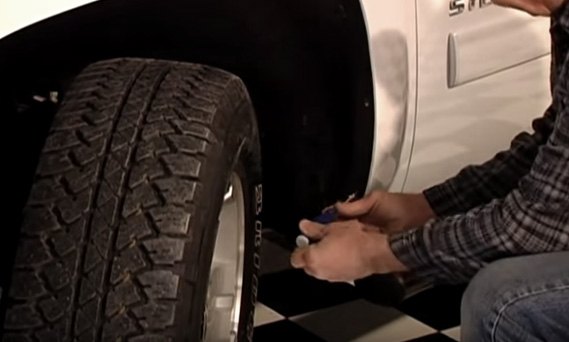
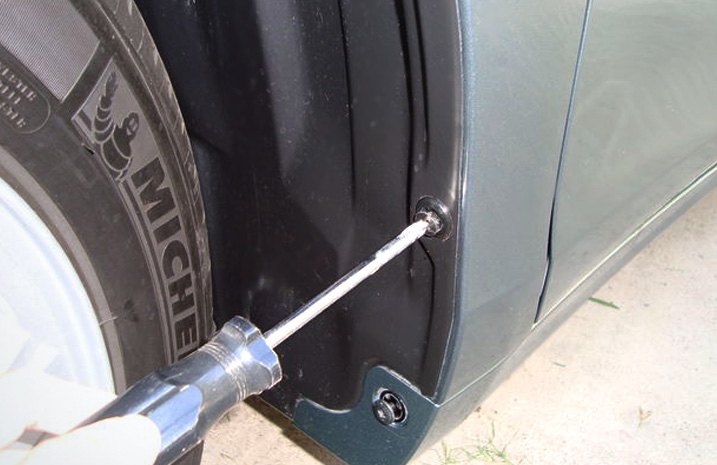
Using a screwdriver or socket wrench, remove all factory screws/bolts positioned in different spots around the lip of the wheel well opening. These typically hold the wheel well liner and any wheel arch trim in place. Save the screws because you'll need them upon installation of your new fender flare.
Position your new fender flare against the fender. Holes in your flare piece should line up with the factory holes in your fender. Reinstall all factory screws that you removed previously, making sure wheel well liners have also been re-secured with the screws.
Installing Clips (if applicable)
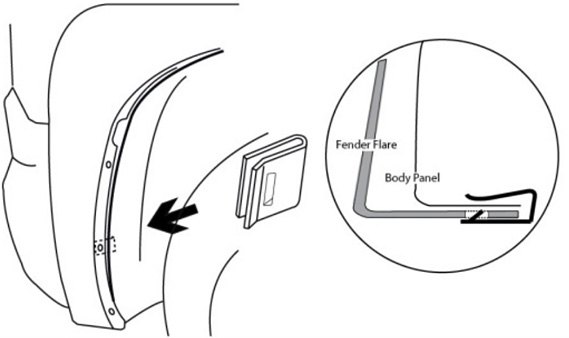
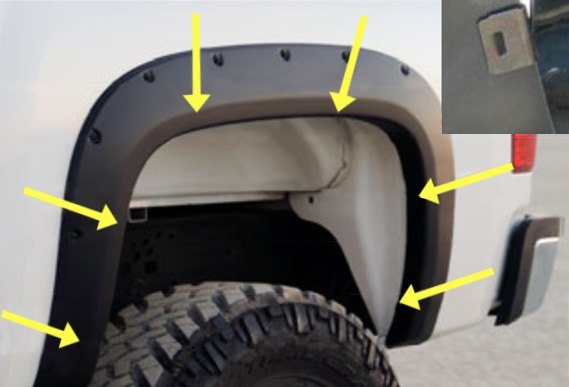
Many of the kits we sell use clips for the rear flare pieces, while others use them for all 4 wheels. These are easy to install. First, hold your flare piece in position on the fender well, and leave marks on the flare piece in the locations where clips will be installed. For reference, clips will be installed wherever the factory holes are positioned around the lip of the wheel well opening to hold the wheel well liner in place.
Slide the supplied clips into place over the factory fender holes, then align them (if necessary) to the holes in the flare piece. If your vehicle is equipped with a factory inner wheel well liner or wheel lip molding, factory fasteners for them should be removed before installing the clips.
Reposition your flare on the fender again. Insert screws through all of the clips and into the factory hole locations, threading each one just a little bit. Once all of the screws have been inserted, tighten them fully and make sure your flare piece is snug and secure.
Double-Sided Adhesive
Some fender flare kits use double-sided adhesive as a sole method of attachment, and others may use it as a secondary reinforcement. That's fine because automotive adhesive tape is very durable in all weather conditions, and it adapts well to extreme temperature fluctuations. If you'll be using tape, it's extremely important to clean vehicle areas well where the tape will be applied (see the first step on this list).
Because the adhesive tape strips serve the function of insulation, your kit probably won't come with rubber insulation strips mentioned earlier. The adhesive strip will come already attached to your fender flare, with a backing strip that's peeled off during installation.
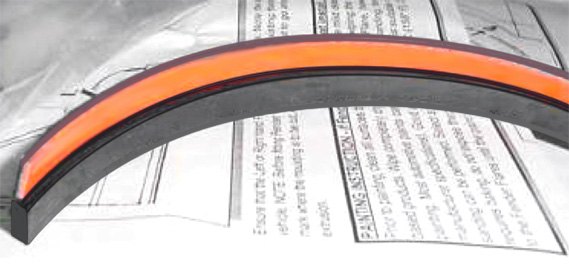
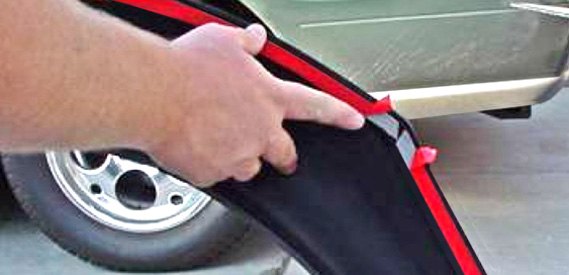
First, line up a fender flare on your vehicle body where you want it to be. Use masking tape to mark the position you're satisfied with. Peel off about 2 inches of the backing strip on both ends of the adhesive tape, and press the flare piece onto your vehicle. Adjust as needed. When it's lined up, slowly peel the rest of the backing strip away and press firmly as you go. It will adhere quickly, but avoid washing the vehicle for 24 hours. Take any other precautions that the included directions specify.
No-Drill Fender Flares We Offer
Along the left side of the screen in our fender flares section, you’ll see check boxes under headings of STYLE, TIRE COVERAGE (from 0 to 5 inches), MATERIAL (fiberglass, plastic, rubber), FINISH (painted/powdercoated or unfinished), and more. Selecting one or more of these boxes will narrow and customize your product search as you see fit. While most of the ones we sell do not require drilling, it’s important to look at the “Features” section of any product page. There, it will be detailed whether a specific fender flare has a drill or no-drill installation process.
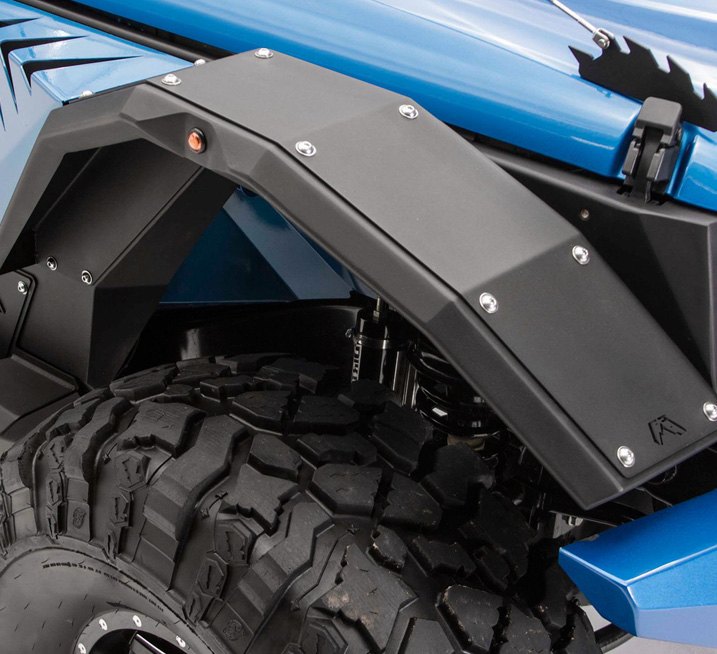
If you prefer a more conservative look when it comes to fender flares, you may appreciate those we’ve grouped under Factory and OE Style check boxes. Under Street style, you’ll find fender flares that are larger and more aggressive-looking. Whichever you prefer, selecting the Rivet check box will display those equipped with Rivets (decorative only).
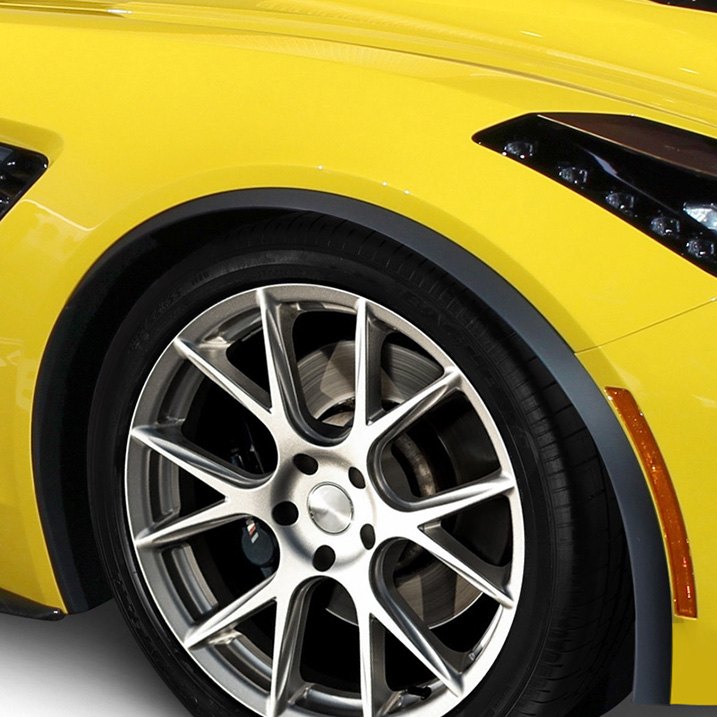
For those that appreciate the appeal of real carbon fiber, we’ve got the Carbon Creations Carbon Fiber Fender Flares and VIS Racing CT Cruiser Style Carbon Fiber Rear Fender Flares (Toyota RAV4). Other material choices available are fiberglass, steel, aluminum, plastic, and rubber. Note that flares made of steel or aluminum will typically be heavier, and require drilling into fenders to anchor them properly.

Should you be interested in reading more details about various styles of fender flares, we encourage you to read our related article Fender Flares Give Your Truck Style and Protection. And if painting your fender flares is something you’d like to do, we’ll show you how in Fender Flares – To Paint, or Not To Paint?
Once you've got a set of four fender flares on your car or truck, don't be surprised to find yourself on the receiving end of admiring glances. If anyone asks, you can proudly inform them that you performed the installation yourself because they were so easy to install. You will be enjoying the rugged good looks of your new fender flares for years to come!

