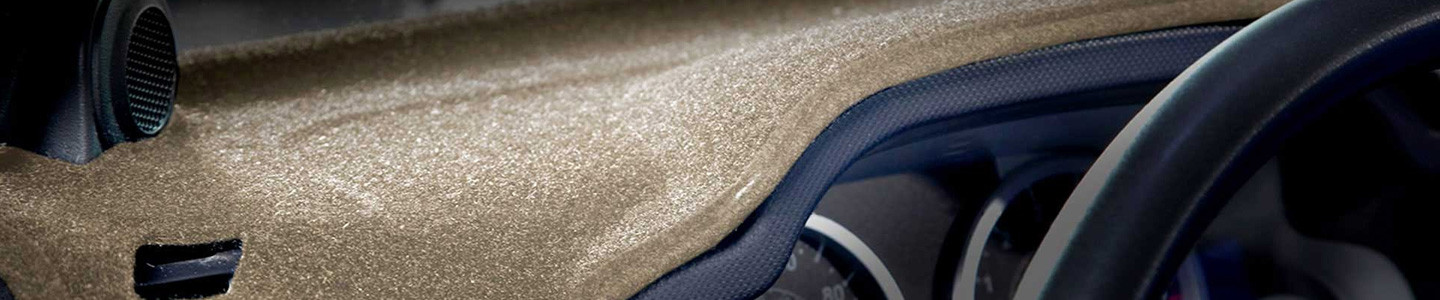

In other areas of our website, we've pointed out that dashboards and rear deck areas are usually among the more neglected areas of your vehicle. They are constantly exposed to the sun's damaging ultraviolet rays, yet they're still perceived as needing zero upkeep.
On today's vehicles, that effect is worse than ever. Front and rear window angles are much more horizontal to maximize aerodynamic efficiency - exposing larger amounts of surface area below them for greater lengths of time as the sun passes across the sky.
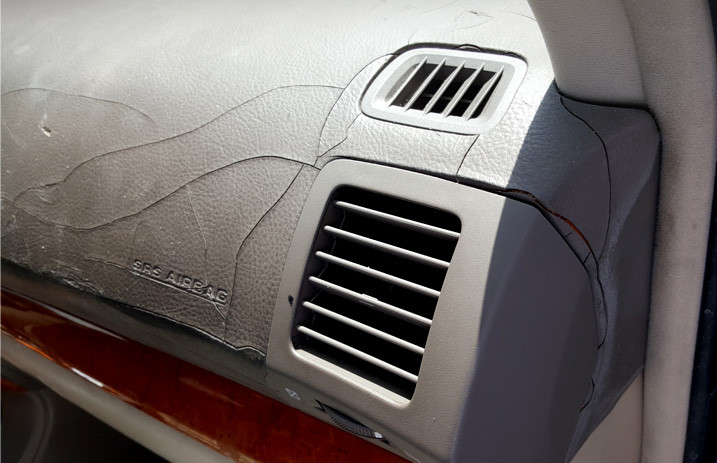
Dash covers and rear deck covers offer protection for newer cars with unblemished dashes, and they present an inexpensive way to hide unsightly cracks and fading on surfaces that have been around for a number of seasons.
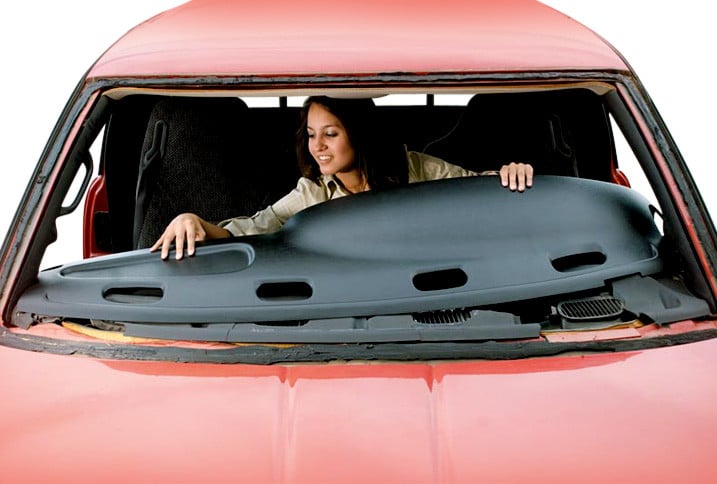
In this installment, we'll cover the quick and easy steps involved with installing a dash or deck cover. Once you read through this article, you'll see there's nothing to fear when it comes to fitting a front or rear cover. For more details on specific products we offer, we encourage you to read our related articles regarding front dashboard covers as well as covers for the rear window deck of your vehicle.
Molded Vs. Non-Molded Covers
It's important to note that two different types of dash covers exist: molded, and non-molded. Installation methods for each type differ, and we'll cover both methods further down because of this. Rear deck covers we offer fall into the category of non-molded.
"Molded" dash covers are more rigid rather than flexible, and they present a hard or semi-hard surface that's designed to resemble your vehicle's original dashboard. They are permanently shaped to match every contour of your dash - no matter how small or nuanced. As a result, few (if any) adjustments are necessary during installation. Molded dash covers cannot be rolled up, and they will be shipped in a long, narrow box.
"Non-molded" covers are made from softer materials (often carpeting), and are much more flexible as a result. While they are also sized and shaped in a vehicle-specific fashion for your individual car or truck, the fit will be looser and not as tight against your original dash. After fitting a non-molded cover onto your dash, some final "conforming" will probably need to be done by hand. Non-molded covers can be rolled up without damage and should arrive in a more compact package.

Rear Deck Cover Installation
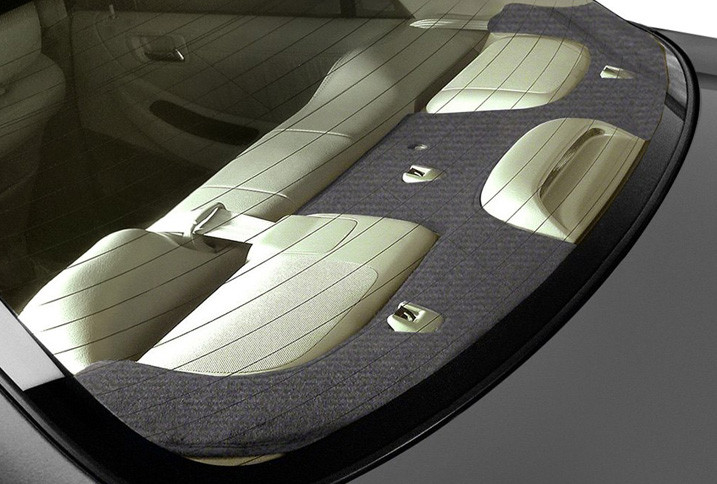
Rear deck covers we sell are installed in a simple, uncomplicated fashion. These deck covers come with a set of stick pads that are designed to stick and adhere to your vehicle's existing surface underneath the window. Also included will be adhesive strips for the underside of the rear deck covers - these mate with the bits that adhere to your OEM panel. Once you've installed several on both edges and one in the center area, simply lay the rear deck cover down and press the sections of adhesive strips together in order to ensure things stay in place.
Step 1: Clean And Prepare Your Dashboard Surface
No matter what method you'll be using to attach your cover, the dashboard surface must be cleaned properly to ensure adhesive sticks to it. It's important to use an ammonia-based cleaner such as Windex, and avoid other solvents such as paint thinner, acetone, or anything that's petroleum-based. Thoroughly spray the area, and use clean cloths or rags.

Ideally, the surface of the dashboard should still have its original textured grain. If yours has spots that have worn smooth, use some fine-grain sandpaper on those areas in order to scuff things up a little while the surface is still damp. When you're satisfied with all results, wipe everything until the surface is completely clean. Any and all vinyl protectants and polishes such as Armor All must be thoroughly removed. Sandpaper is also effective for removing any caked-on grime that sunlight has baked into a hard resin.
Step 2: Prepare Your Dash Cover For Installation
Molded Covers

If you've got a molded dashboard overlay, clean the underside of it in the same fashion you did with your dashboard top. As you clean, look for any excess overspray of coloring dye that may have been deposited accidently when the top surface was being colorized. If you find any, sandpaper will remove it quickly and easily.
After the cleaning stage, you'll be applying adhesive to the underside of the cover from a tube supplied with the kit. Apply a small bead of adhesive around all edges of the cover piece as well as edges of any cutouts that exist. Make sure the adhesive you apply sits approximately 1/2 to 1 inch away from the edges - this way, nothing squeezes out when the cover piece is mounted on the dash. No matter how tempting it may seem to do so, don't apply any adhesive to center areas, because then the dash cover will not be able to expand and contract freely when the sunlight hits it.
Non-Molded Covers
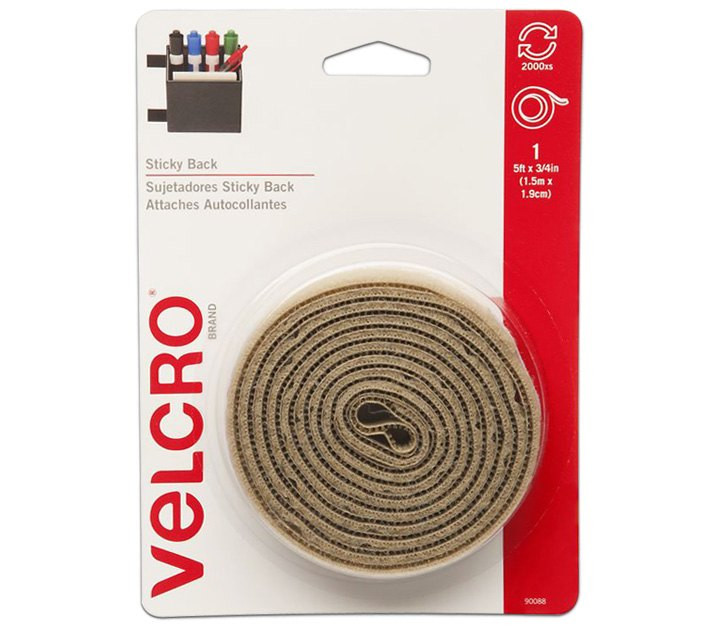
Because non-molded cover pieces are soft and flexible, adhesive is not normally used on them. Instead, you'll be using adhesive strips that stick to the dash thanks to an adhesive backing. If your kit comes with a long roll of adhesive strips, cut it into sections that are about 2" long. Peel the protective paper from each tab, then press the pieces in place on the dashboard for about 10 seconds. Instructions that come with your kit may advise you where to put them - regardless, it's important to space them out evenly. Anywhere there's a sharp bend or crease on the dashboard surface, put an adhesive tape piece in that spot to ensure good overall adhesion.
Step 3: Position The Cover On Your Dashboard
Molded Covers
Lay your molded cover piece on top of the dash, and rub along all of the edges where the adhesive was applied in order to press things down. While the adhesive is drying, wedge some folded-up cardboard pieces in between your cover and the base of the windshield. This ensures steady, even pressure exists at the critical spots.


Non-Molded Covers
With non-molded covers, it's important to first check that cutout holes exist as needed for things like automatic headlight sensors and vents that may be placed along your dash. Most likely, your non-molded dash cover will arrive will necessary holes already cut out. If not, check for markings or perforated holes on the underside of the cover. If those aren't present either, it's relatively easy to mark and cut new holes with scissors.

Place your cover on the dash and pre-shape it. This is done by bending, folding, and creasing the material to help conform it to the shape of your dashboard. Use your defroster vents as a guide to line up your dash cover. During this process, a putty knife may be helpful in tucking your cover further back between the windshield and the front of the dashboard. If the front edge of your non-molded dash cover is wavy between the windshield and defroster vents, create tension on both sides of the ripples by pulling on the dash cover as you position it on the hook and loop fastener strips.
As a general rule, your non-molded cover piece will conform to the dashboard easier in warmer temperatures. After initial installation, give it a few days to fully conform, then adjust as needed.
Once you've installed either style of dashboard cover, you'll reflect back at how affordable and easy to install they were, then find yourself wishing you had put one in sooner. Just remember, effortless interior protection isn't limited to just dash covers - we've also got seat covers and floor mats you'll also appreciate.