
Installation Guide

- Safety Glasses
- Floor Jack
- Jack Stand
- Impact Wrench or Lug Wrench
- Torque Wrench
- 3/8 inch wrench
- 0.13mm Paper feeler gauge (included with set)

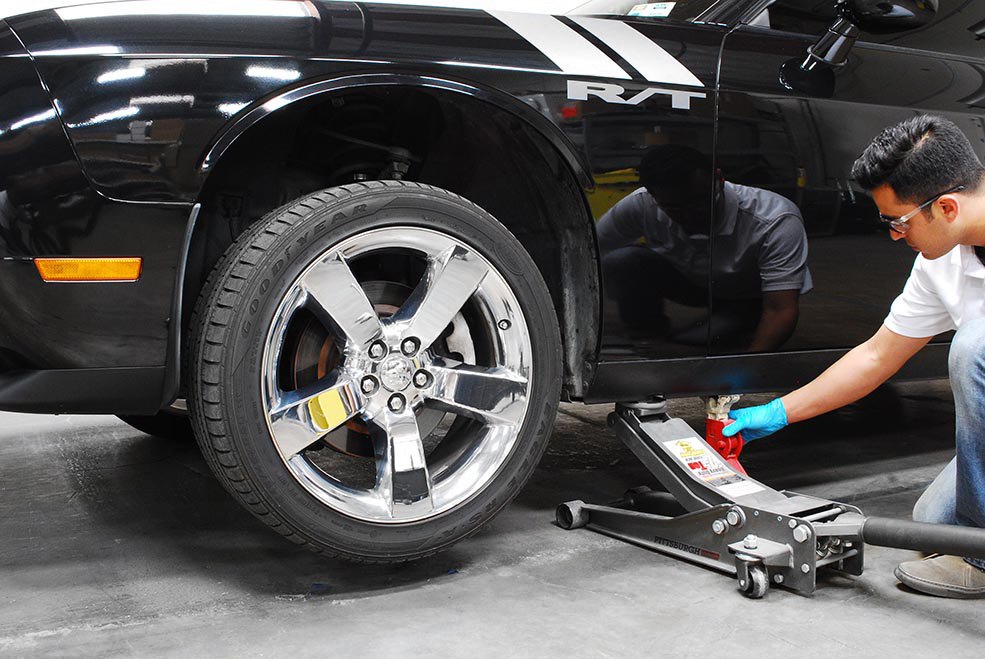
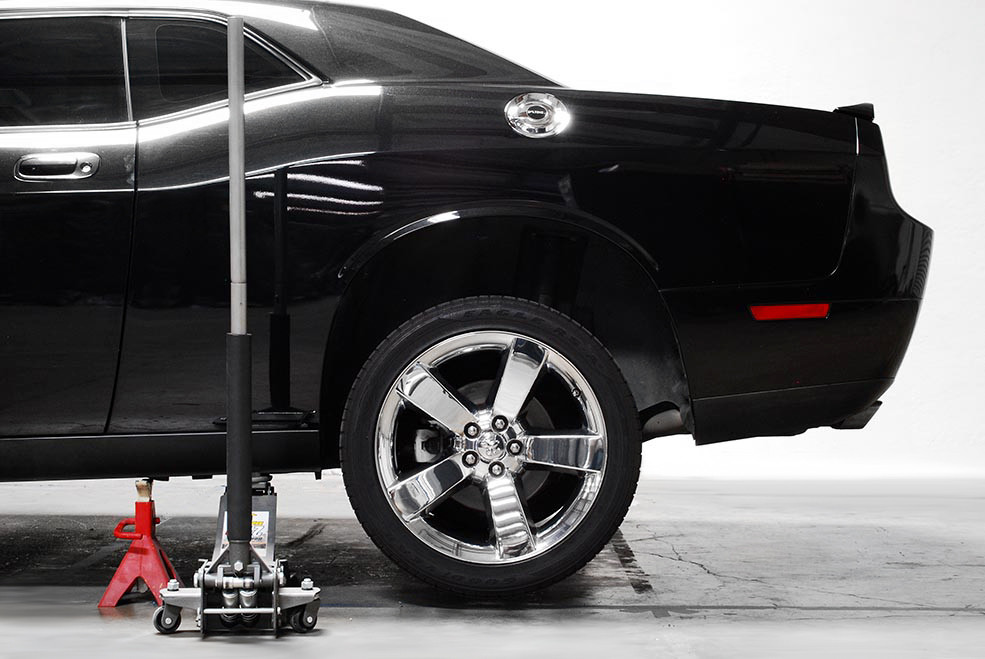
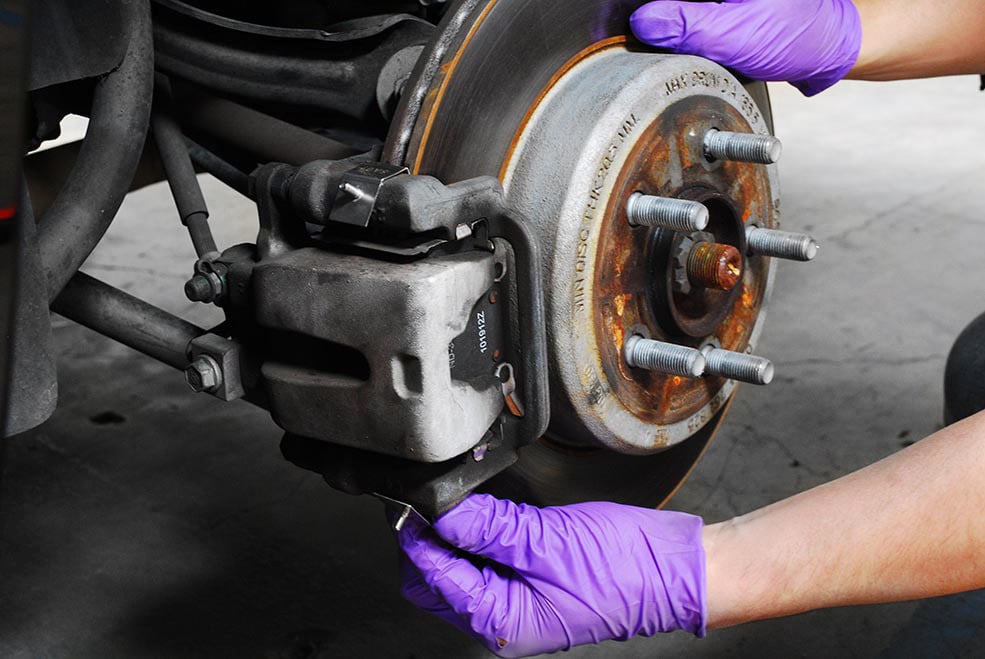
Park your vehicle on a level surface and engage the Emergency Brake. Put on your Safety Glasses and raise the vehicle per manufacturer’s instructions. Place Jack Stand(s) under vehicle. Do not conduct installation without Jack Stands in place! Remove the front wheel with an Impact Wrench or Lug Wrench.
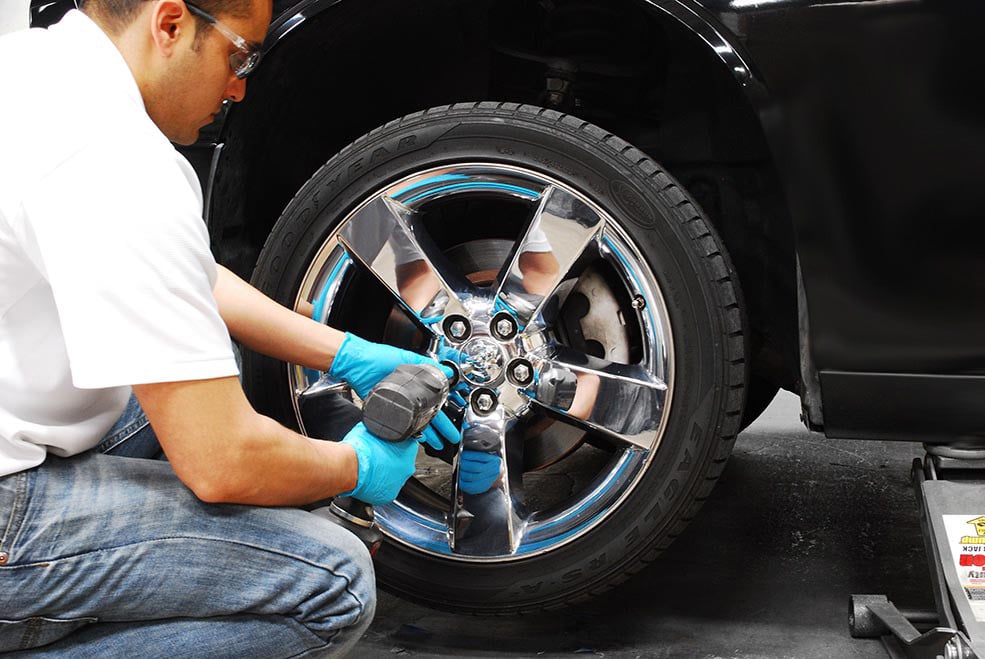
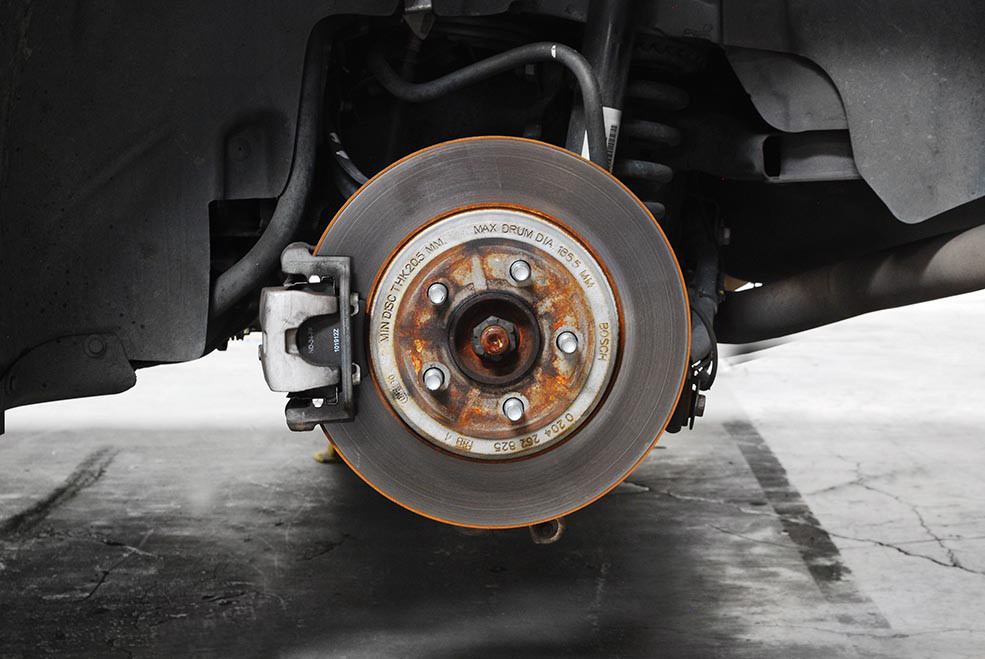
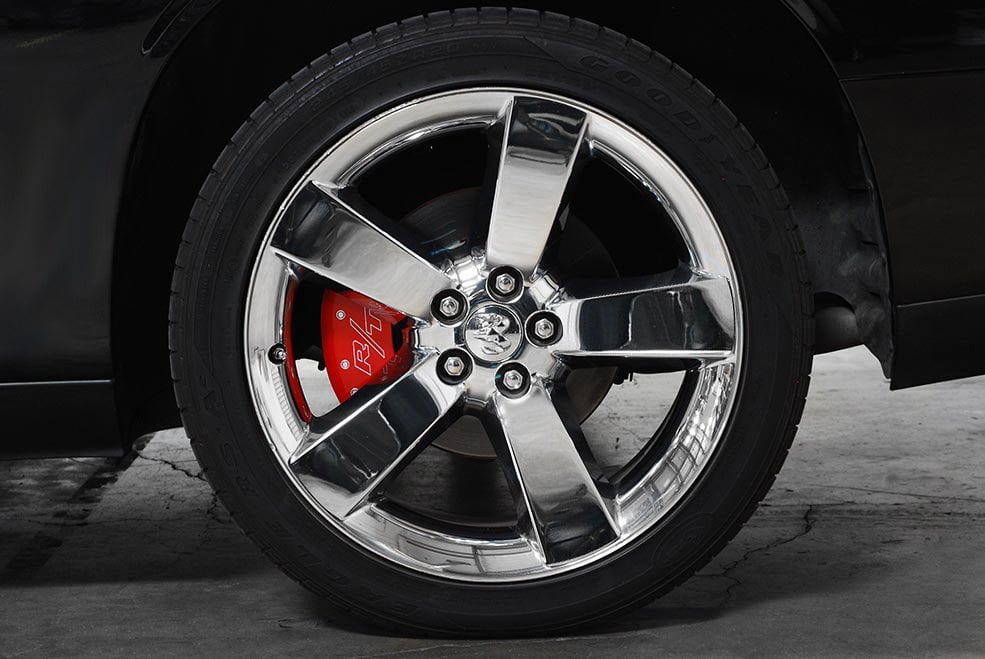
Now that the front wheel is removed, you can now install the front caliper cover.
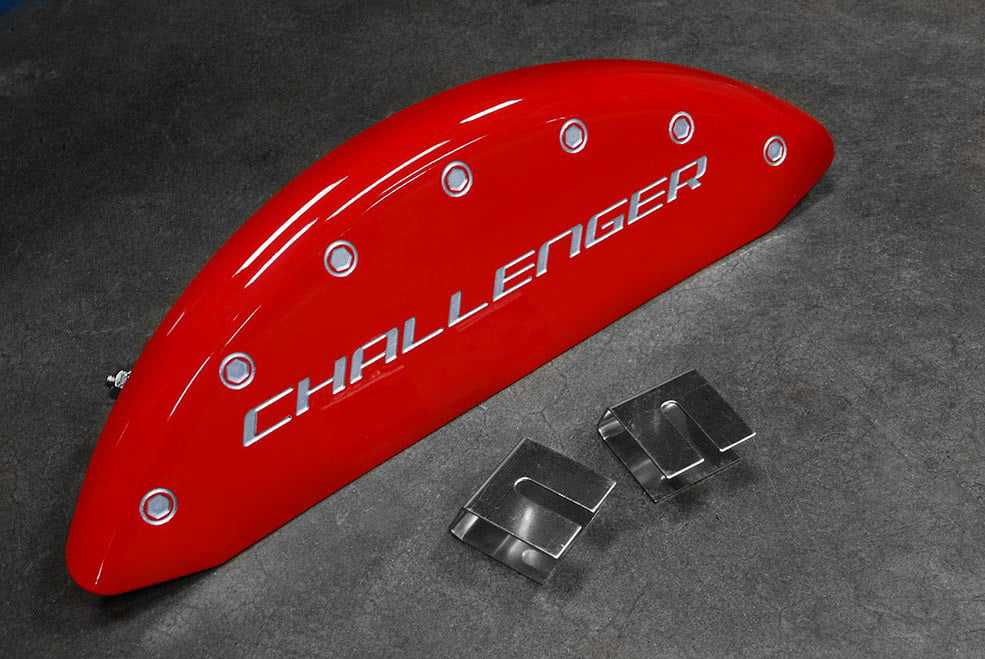
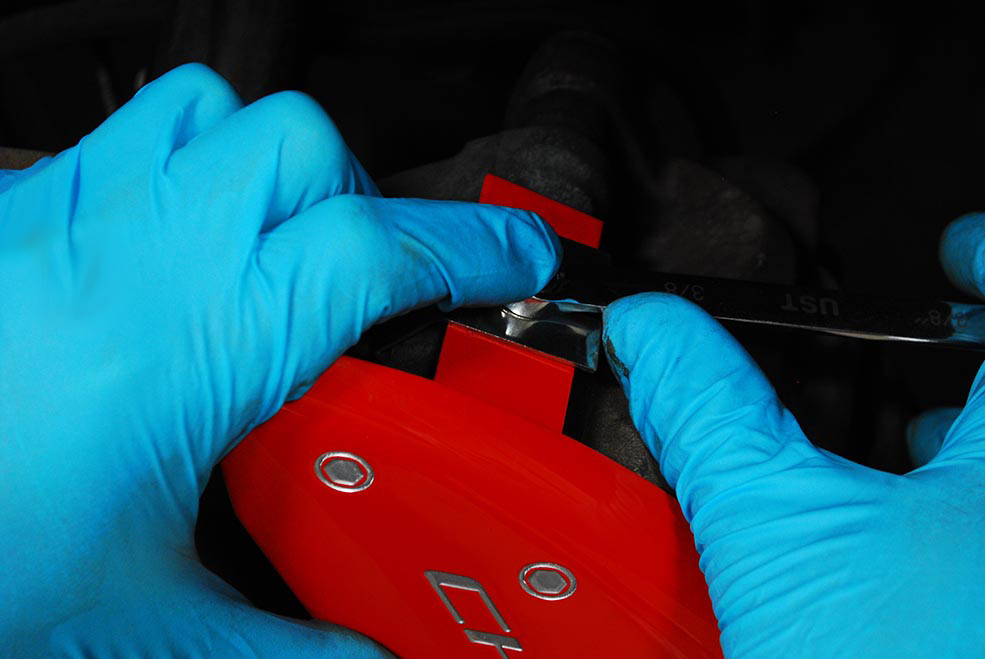
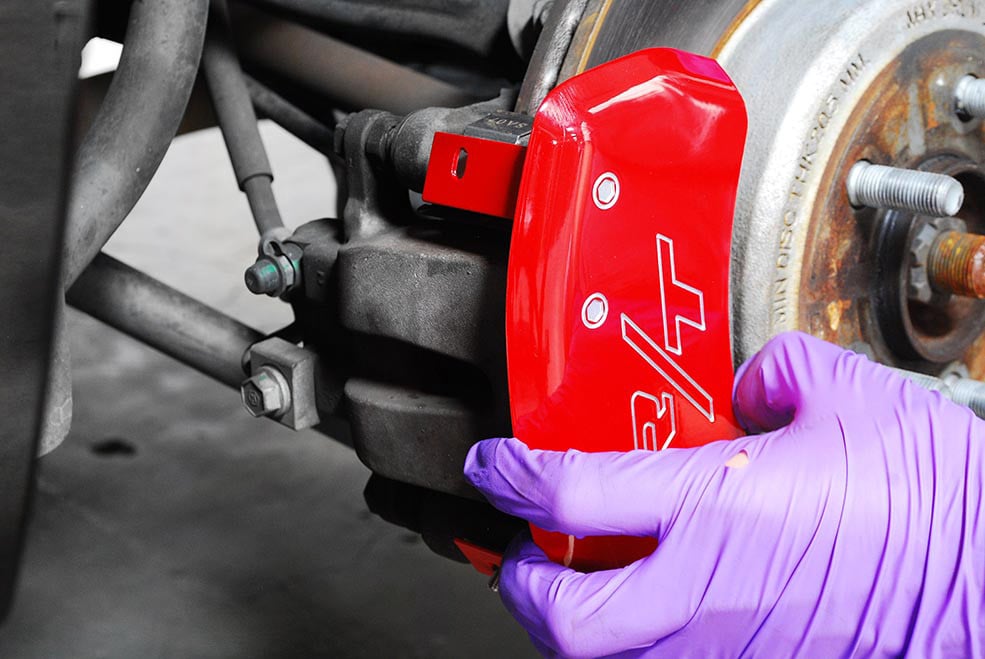
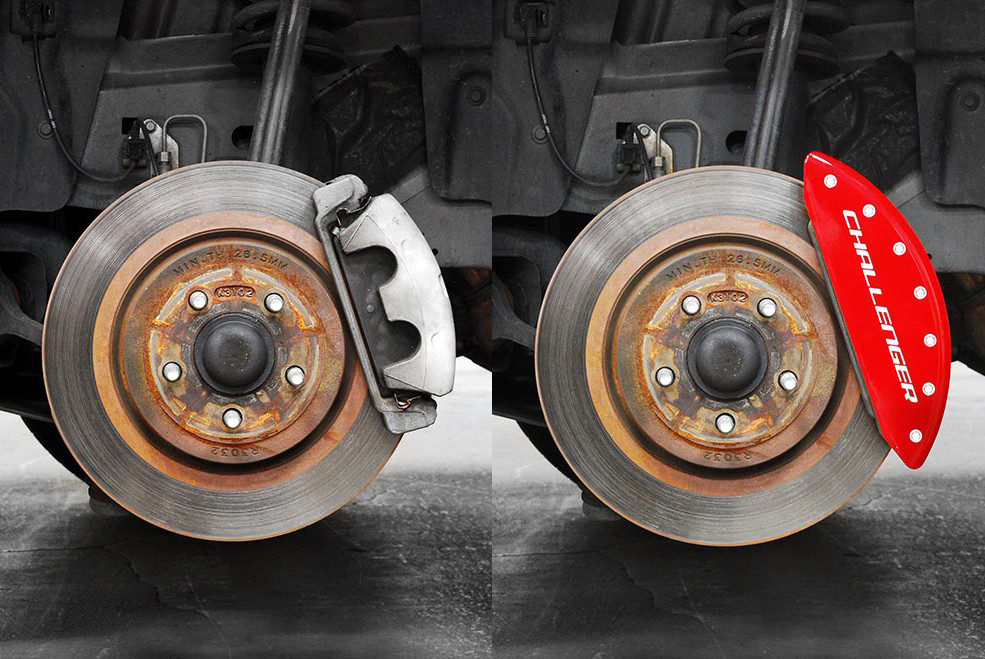
Each application is vehicle and caliper specific so your configuration may vary slightly. Installation will be very similar regardless of the configuration of your set of caliper covers. Place the front caliper cover on top of the brake caliper and slide the mounting clip on while keeping the caliper cover centered and snug against the face of the brake caliper.
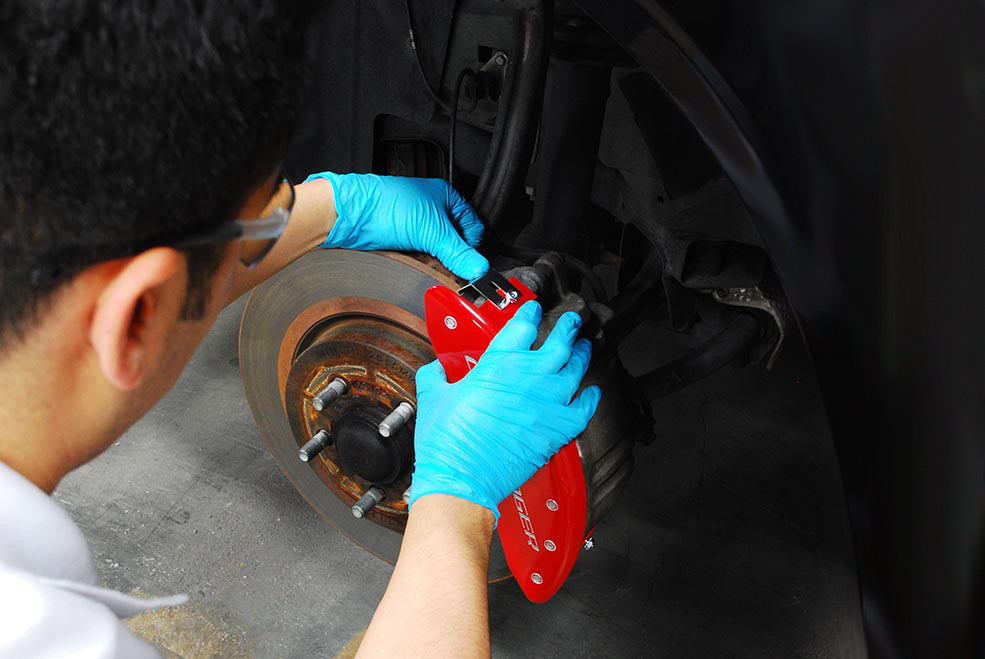
Be sure to slide the top of the clip underneath the fastening lock nut. The bottom side of the clip should slide in between the rotor and the caliper bracket. Repeat the clip installation on the other side.

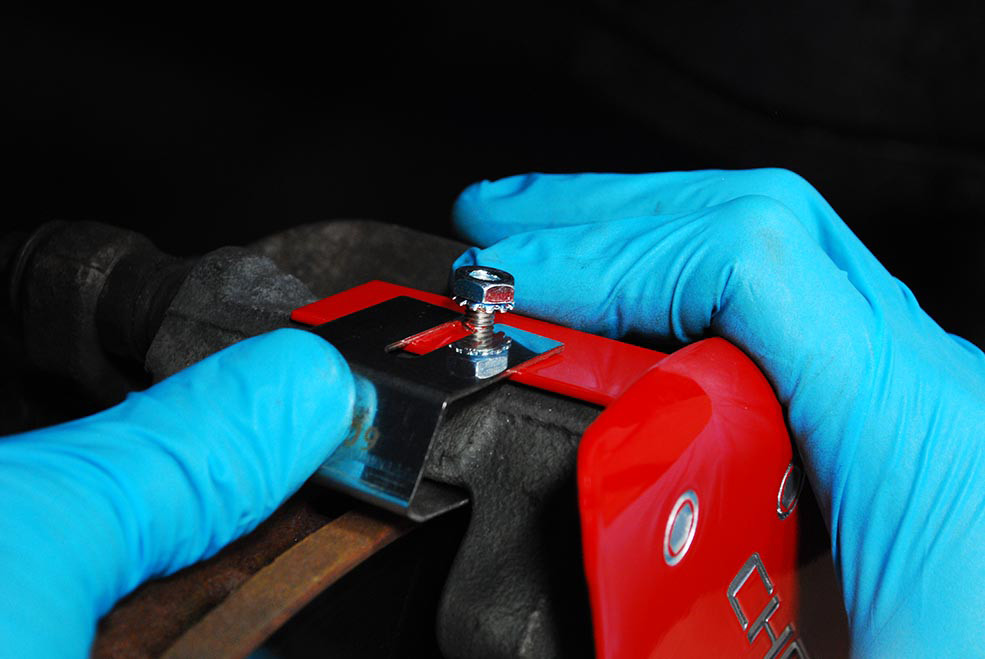
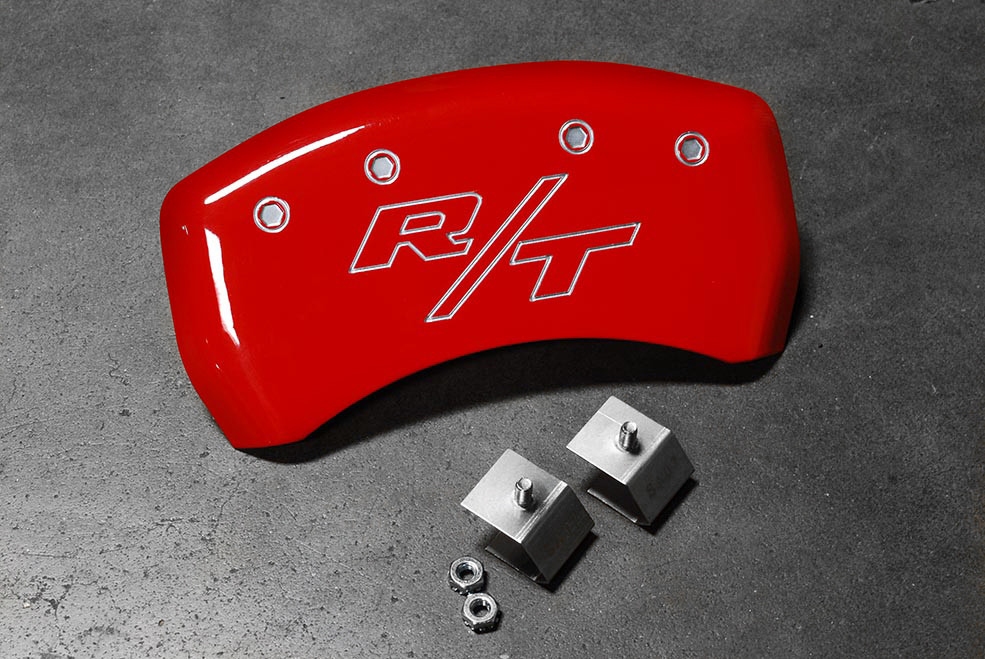
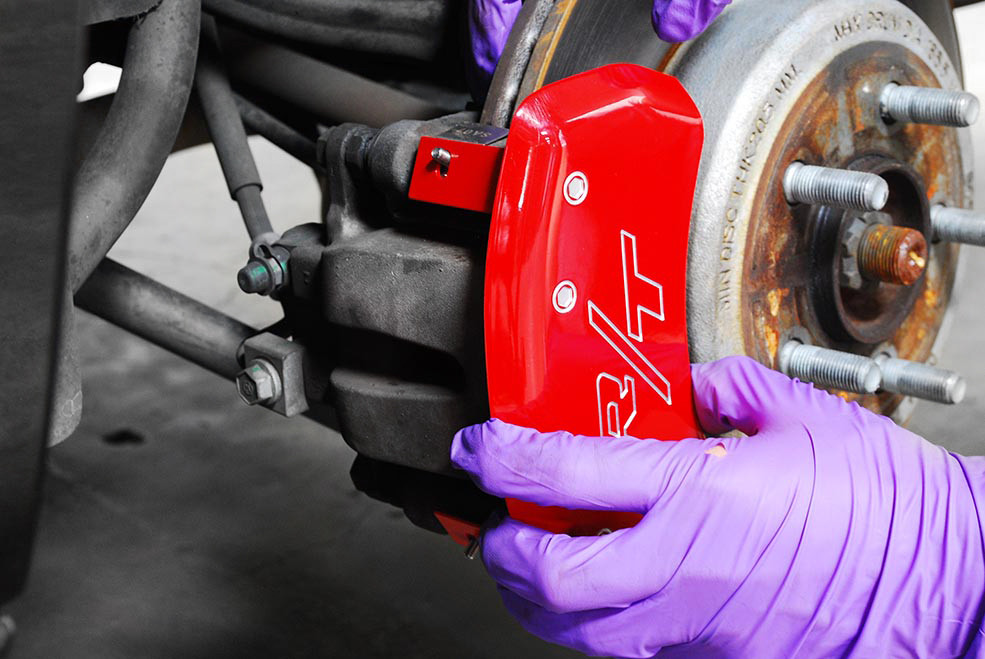
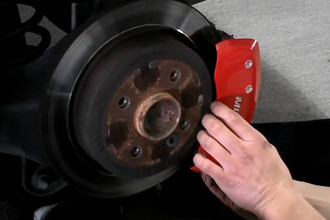
Make sure that the caliper cover is centered. Hand tighten the lock nuts. Tighten down the lock nuts with a 3/8 inch wrench to 25 inch-pounds (about 1/2 turn past finger tight). Do not over tighten.
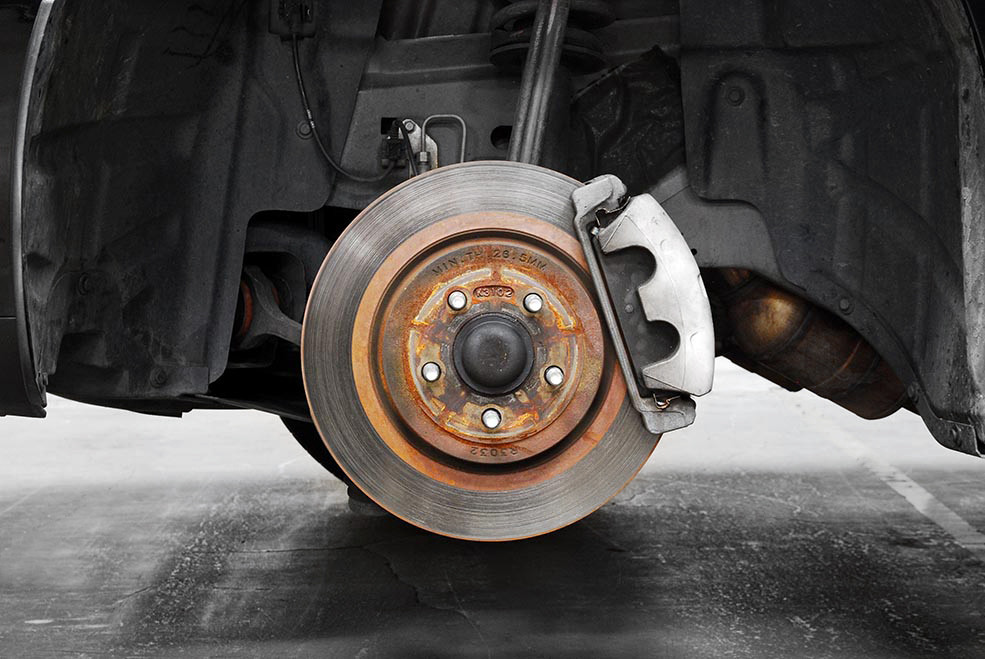
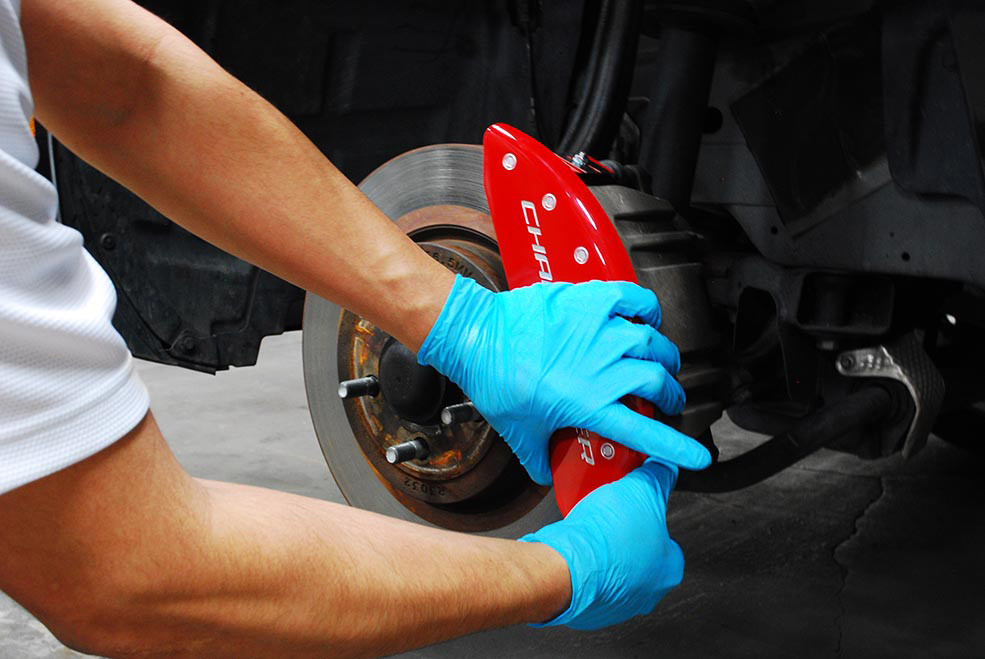
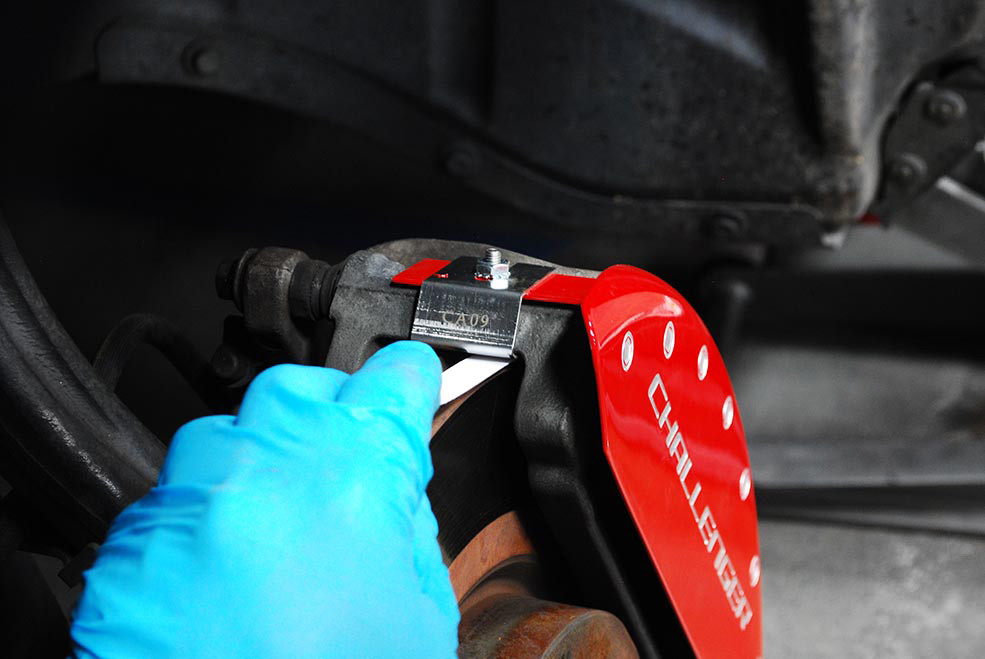
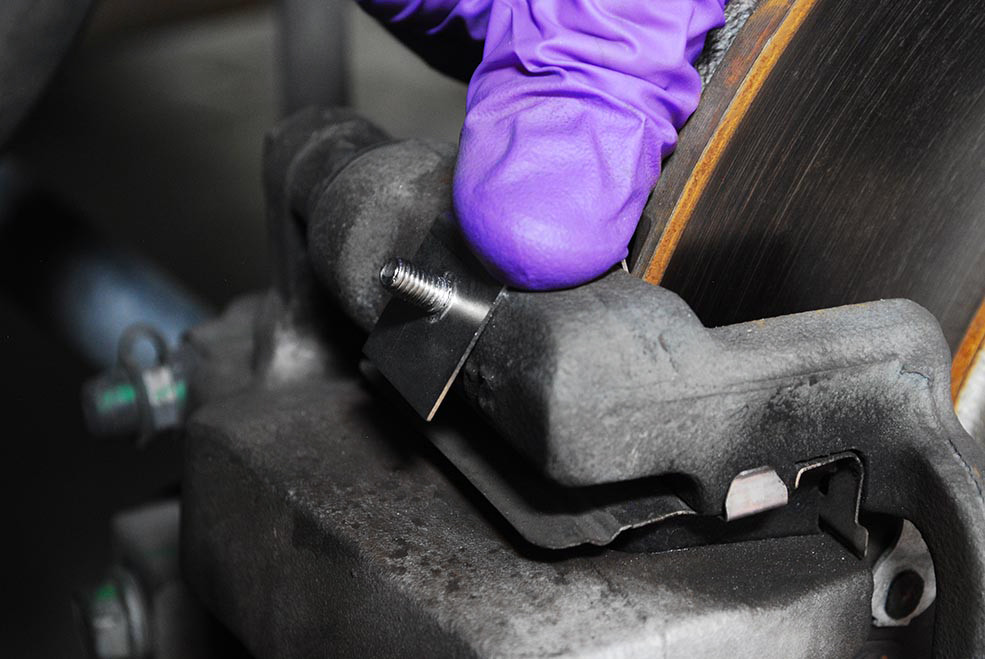
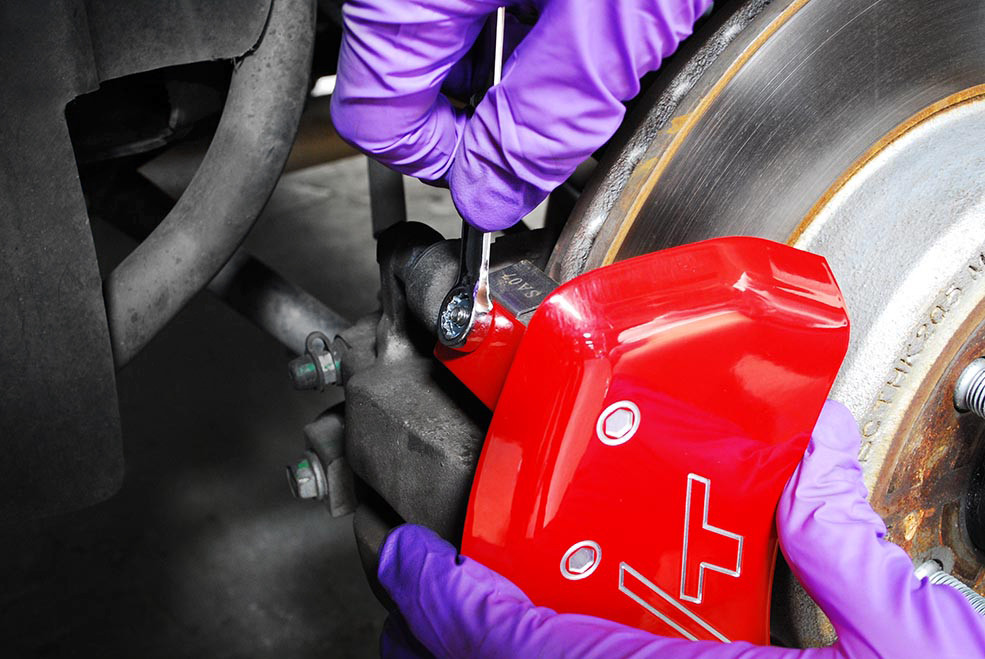
Use the included .013mm paper feeler gauge and verify clearance between the brake rotor and fastening clip. The feeler gauge should be able to slide in and out without obstruction.
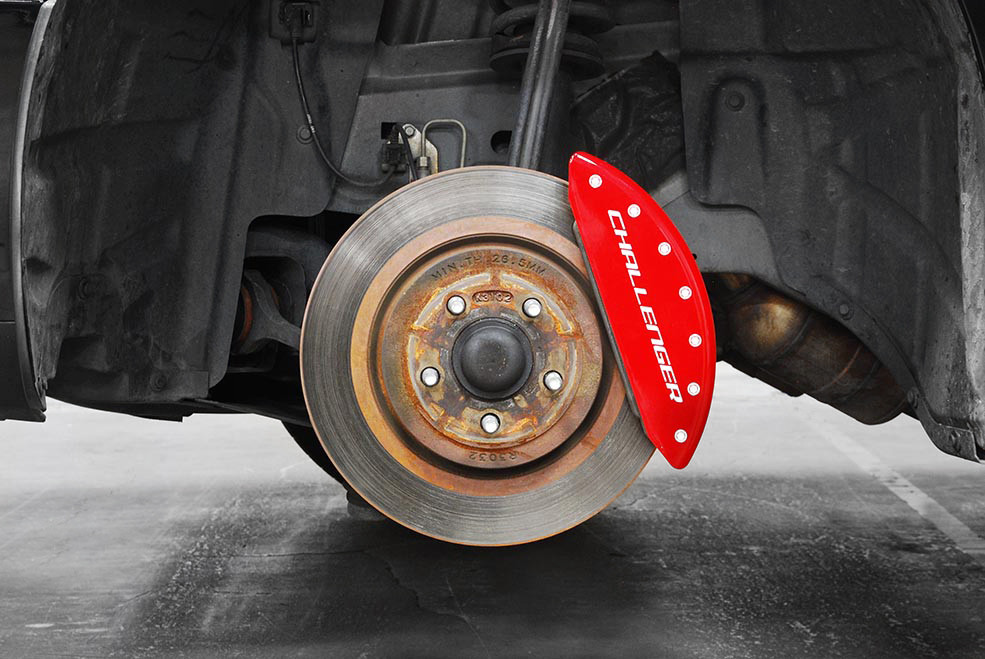
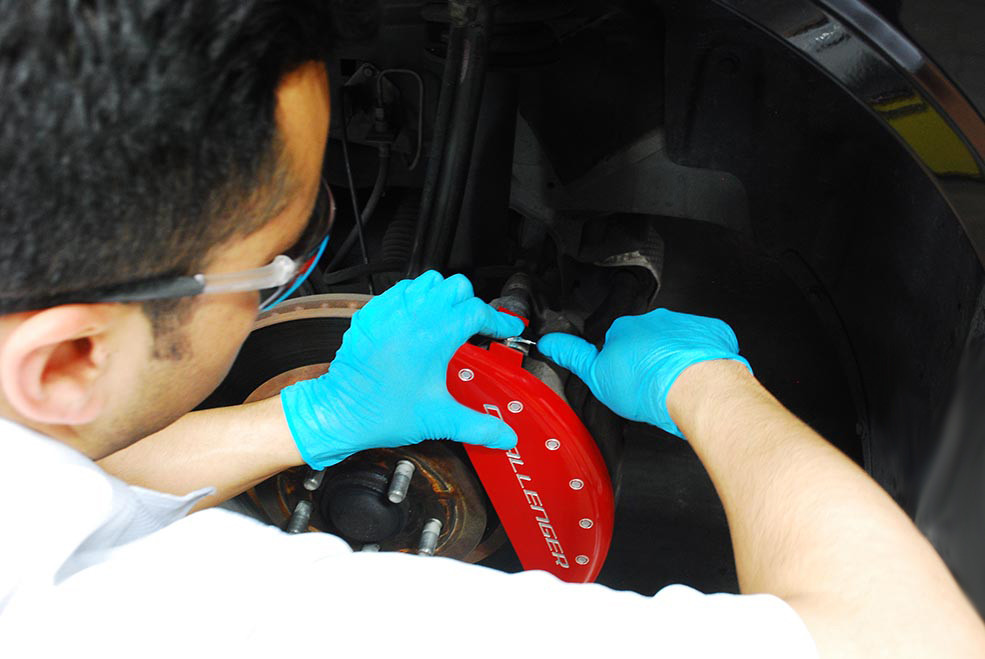
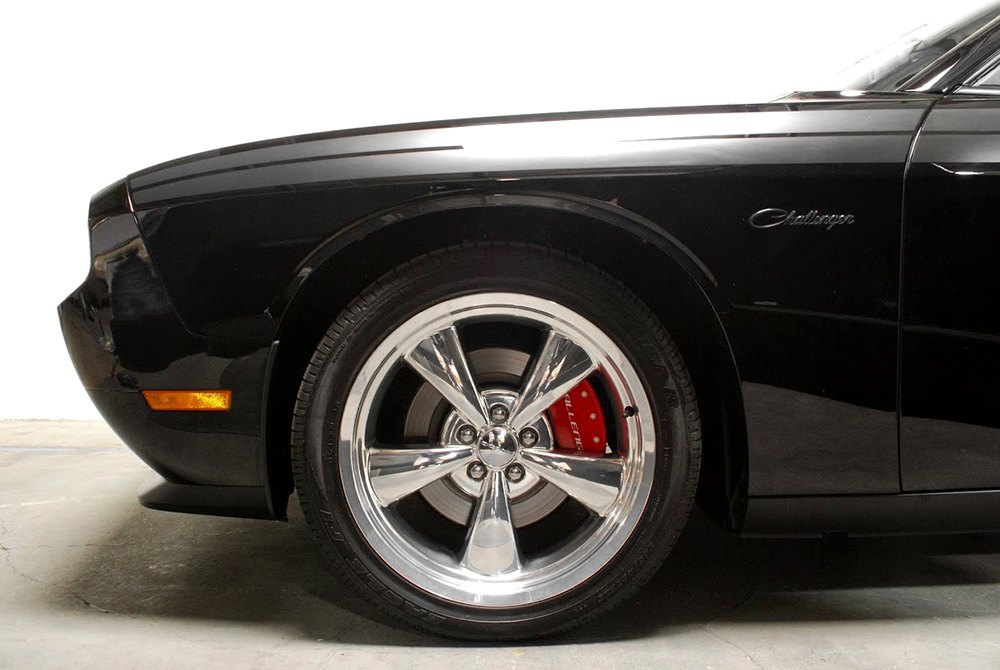
Be careful not to damage the caliper cover when installing the wheel. Verify that the wheel clears the caliper cover before lowering the vehicle. Remove Jack Stand(s) and lower vehicle. Tighten lug nuts per manufacturer’s specifications using the torque wrench.


Raise the rear of the vehicle per manufacturer’s specifications. Place Jack Stand(s) under vehicle. Do not conduct installation without Jack Stands in place! Remove the rear wheel with an Impact Wrench or Lug Wrench. The fastening system for the rear set is engineered slightly different that the front. Before installing the fastening clips, remove the lock nuts and place them aside.

Place cover over rear brake caliper and position hole in the bridge over the threaded stud located on the fastening clip. Rotate the cover to position the second hole over the stud on the opposite fastening clip. There may be a slight stretch involved when lining up the second stud. This is normal. Reinstall the lock nuts that you previously removed off the fastening clips. Tighten down to 25-inch pounds (about ½ turn past finger tight). Do not over tighten.
Use the included .013mm paper feeler gauge and verify clearance between the brake rotor and fastening clip. The feeler gauge should be able to slide in and out without obstruction.

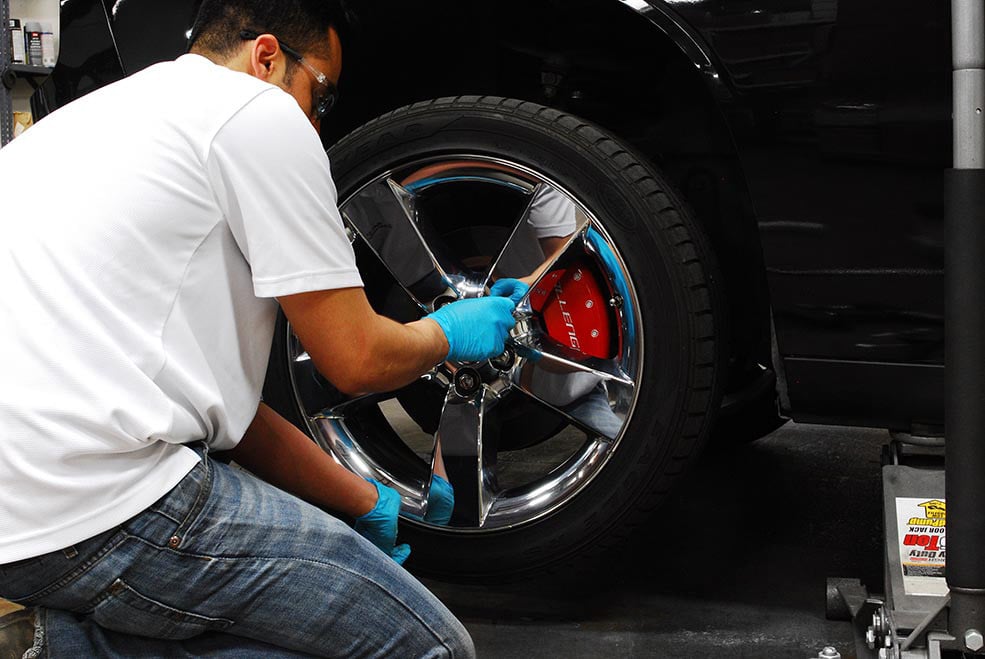
Reinstall the rear wheel. Be careful not to damage the caliper cover when installing the wheel. Verify that the wheel clears the caliper cover before lowering the vehicle. Tighten lug nuts per manufacturer’s specifications using the torque wrench. Repeat for the brake caliper on the opposite side.


