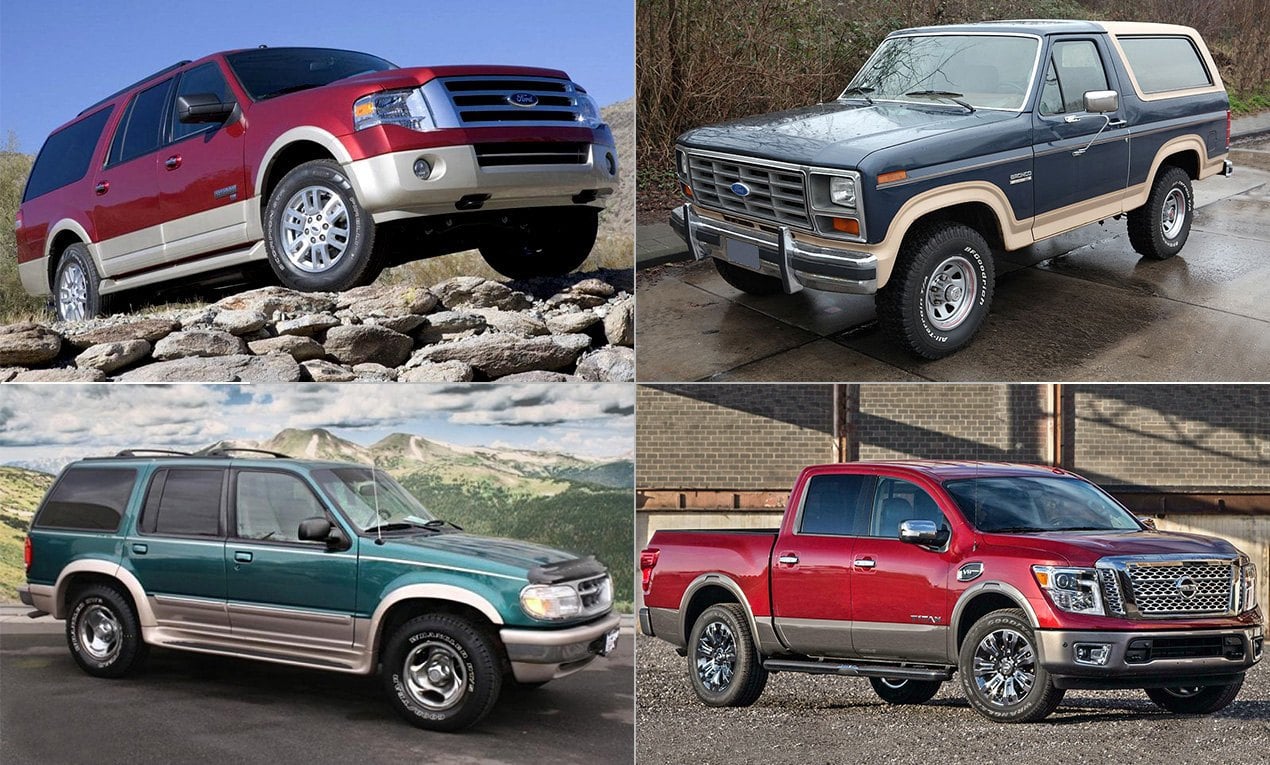
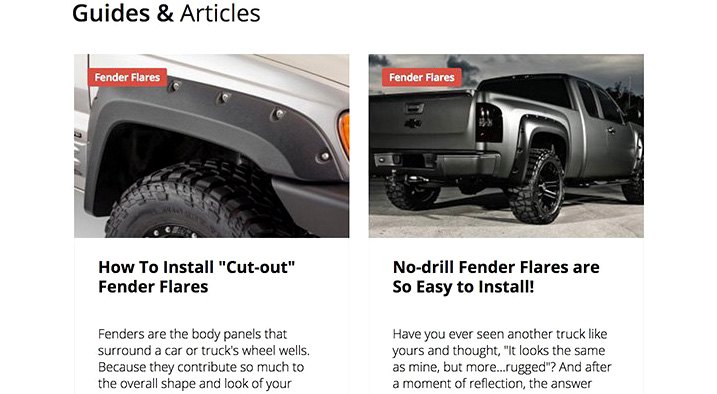
Fender flares do more than make your 4x4 look stylish, they protect your fenders from debris thrown up by big tires. Because once you put those big tires on your ride, you suddenly notice how much further they stick out on the sides. Unlike factory wheels that were fully contained within the wheel wells, wider tires often protrude by several inches. Magnifying the amount of grit and rocks these tires kick up on your paint is the fact that big tires have deeper grooves in their tread pattern - grooves which are really good at grabbing more rocks off the ground.

Fender flares will fully shield your tires, keep the paint on the side of your truck in good shape, and ensure you aren't in violation of any local laws governing uncovered wheel use. One big choice when it comes to any set of fender flares is whether to paint them or leave them in bare black form. In this article, we'll examine fender flares that are more suitable for painting, and we'll outline the basic steps involved in the painting process.
Paintable Vs. Non-Paintable
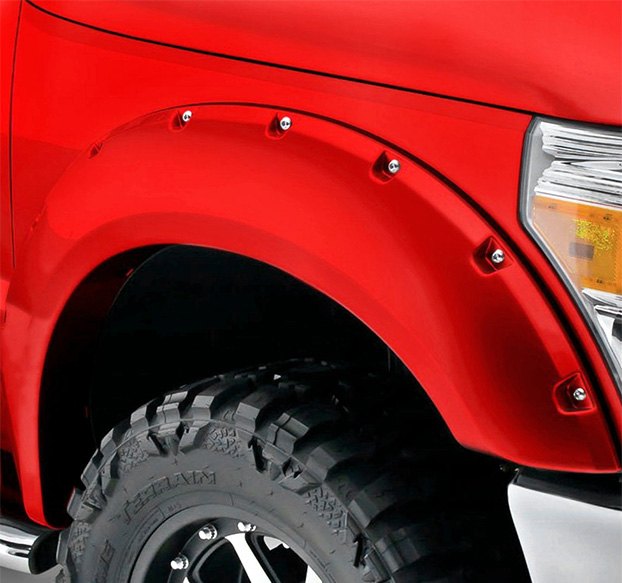
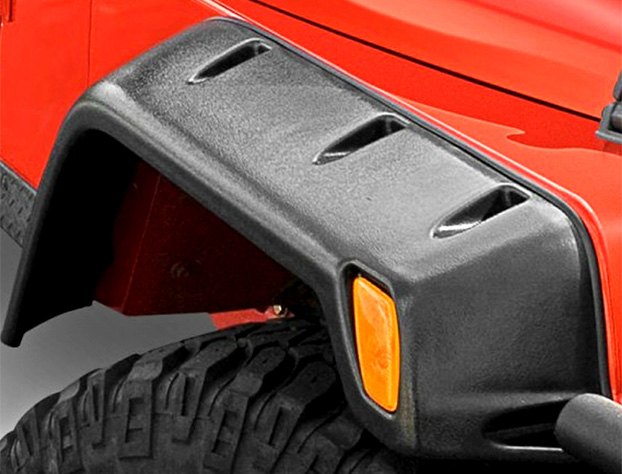
If you plan on painting your fender flares, those with a smooth, non-textured surface tend to look best once you're finished. While it's technically possible to paint any fender flare, results may vary on those which have a pebbled, grainy finish. Spray paint tends to "blur" a textured surface - leaving you with an end result that loses the initial appeal and looks like nothing more than a poor paint job. Fender flares with deep grooves or indented pockets for decorative rivets can also be trickier to work with - these can be painted, but greater caution should be taken to avoid runs and pooling of the paint.
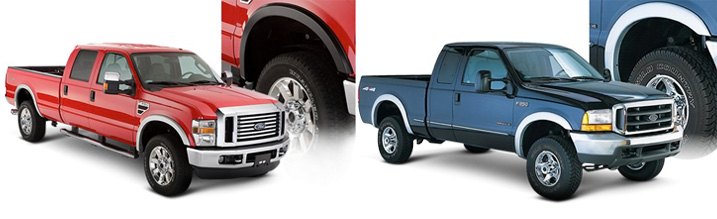
Fender flares with smooth paintable surfaces and no rivets include the Bushwacker Street Style Fender Flares, EGR OE Style Fender Flares, EGR Rugged Fender Flares, Defenderworx Street Series Fender Flares, Outland Automotive All-Terrain Fender Flares (Jeep Wranglers), Paramount Traildriver Series Flat Style Fender Flares (Jeep Wranglers), Crawler Conceptz Ultra Series Fender Flares, and Couture Fender Flares.
For wider flare coverage, take a look at Bushwacker Extend-A-Fender Flares, Aero Function Fender Flares, and Lund Elite Series EX ExtraWide Style Fender Flares (select smooth finish in Product Options).
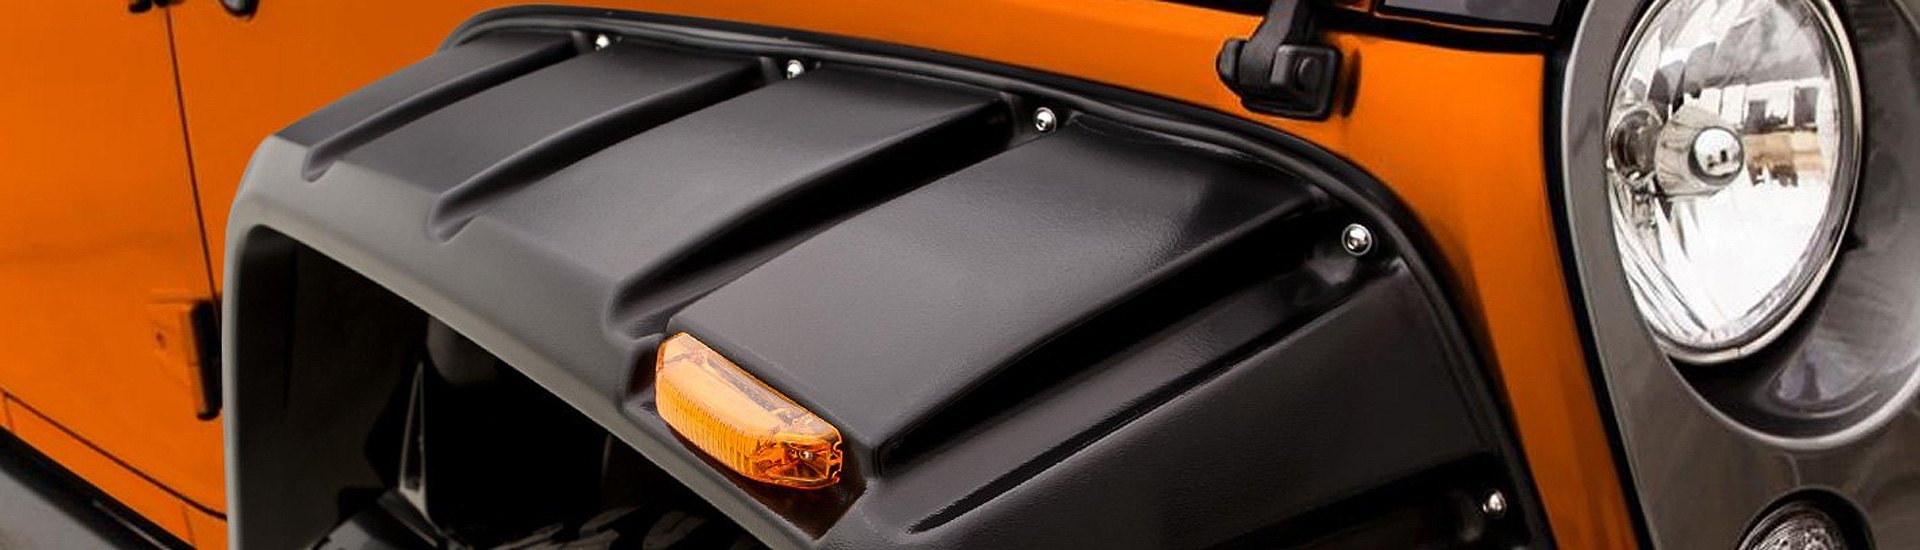
If you're ready to take on the challenge of painting rivet pockets, we've got smooth surface Smittybilt M1 Fender Flares, Bushwacker Pocket Style Fender Flares, Lund Elite RX-Rivet Style Fender Flares (select smooth finish in Product Options), Rugged Ridge All Terrain Black Front & Rear Fender Flare Kit, RI Fender Flares, and Paramount Traildriver Series Pocket Style Fender Flares. Many of these come with rivets standard - but in some cases, you'll be given a choice of rivets or no rivets in Product Options.
Your fender flares will arrive unpainted. Unless otherwise noted in product description areas, what comes out of the box will be black - either slightly glossy, or with a matte finish. You may simply prefer the unpainted look of these flares.
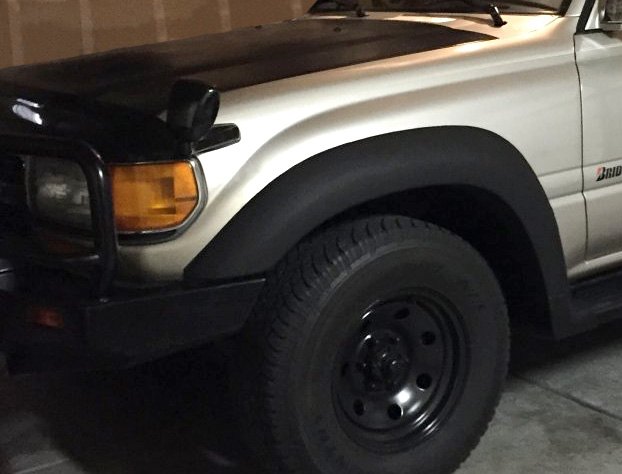
Such black-colored flares are standard on many 4x4s across all price ranges, and are often used by vehicle manufacturers to create a more rugged image. If you're uncertain about painting flares, try installing them on your vehicle unpainted and see if you become accustomed to the look. If not, you'll know for sure that painting is the right choice.
Contrasting Vs. Matching Paint Color
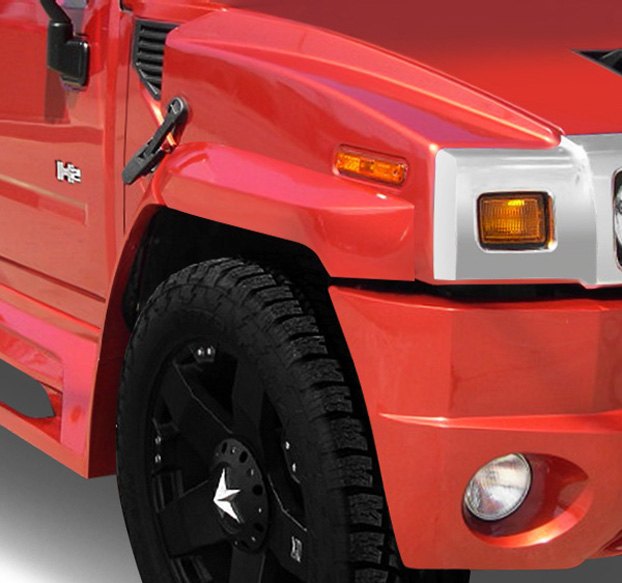
If you have decided painting is for you, the choice of whether to give your fender flares a matching or contrasting color is strictly a personal one. Going with body color creates a smooth, integrated look that appears factory original, while contrasting colors are limited only by your imagination.
We will note, however, that automakers have used contrasting fender flares for decades in order to generate appeal for upscale (more profitable) trim packages. Beauty is in the eye of the beholder, but tasteful color contrasts can really class up your ride - and increase its resale value later.
If you plan to paint fender flares the same color as your body, you'll need to consider how much your factory paint may have faded over time. It's important to remember that using your vehicle's paint code (more below) as a reference to create color will result in new paint that matches the hue, shade, and brilliance of your car when it was brand new - not as it may appear now. If you feel this could create a mismatch, your best bet may be to use a professional bodyshop that can blend paint to account for changes in color that occur naturally.
How To Paint Fender Flares
Painting fender flares yourself is a great way to save money, and can generally be done without too much difficulty - even if you don't have a lot of experience. Before doing anything else, you'll want to determine the color code you want to use.
If you're matching the original color of your vehicle, you'll typically find the paint code you need on a label located on the driver's side door jamb, or under the hood. The vehicle owner's manual might provide information about how to find and interpret paint codes - but if not, a quick call to the vehicle manufacturer or a body shop should prove helpful.
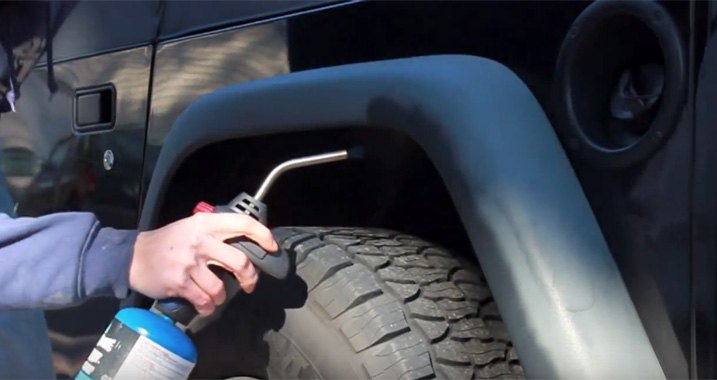
If you have purchased new fender flares, it's easiest to paint them off the vehicle, which will avoid any overspray onto unwanted areas. If the flares are already mounted, look into removing them if possible before painting. Otherwise, you need to do a thorough masking job.
Since you'll be painting items that are essentially flexible, we recommend choosing paint that contains a flex additive. This will ensure paint doesn't crack if the flares get bumped by a shopping cart.
Step 1
Test-fit your flares against the surface of the vehicle to be sure the parts and fit are correct.
Step 2
Begin by rubbing the surface of your flares with a de-greaser that does not contain lacquer thinner or reducer. Even a small amount of these solvents will interfere with paint adherence.
When you're done cleaning, wipe the areas you're going to paint with a tack cloth. A "tack cloth" gets its name because its surface is tacky, which removes any loose lint, dust, or other particles that would interfere with smooth paint application.
Step 3
With 200 grit sandpaper, thoroughly sand all areas to be painted. This creates a rougher surface that paint will stick to better, plus it removes any uneven spots on the flare. Wipe away all dust using another tack cloth.
Step 4
Apply adhesion promoter evenly on the surface of the flares. Once that's done, lightly sand those surfaces with finer-grain sandpaper such as 2000 grit. As before, use a tack cloth to wipe away all dust from the sanding process.
Step 5
Spray on your base coat of primer paint. We recommend two lighter coats applied separately. Once the primer has dried, use the 2000 grit sandpaper to gently smooth down all surface areas. As with all previous steps, use a tack cloth to wipe the surface as clean as possible in preparation for paint.
Step 6
It's now time for the colored paint step. Because applying too much in one spot can easily result in runs, do your best to spray lightly with continuous sweeping motions. Experts advise waiting until paint dries between applications. Two to three thin, even coats usually look best upon completion.
Step 7
Once you're satisfied with how the paint looks, apply two light layers of clear coat to create a glossy look that matches the rest of your vehicle's body panels. Let the fenders flares dry for a full 24 hours before installation to ensure the paint has hardened fully.
For details on installation, see our related how-to articles regarding flares that mount using adhesive (no drilling), and those that require cutting of your fender. Once you've fitted them on your vehicle, you'll be rolling in true style!