
Tech Tips
Disclaimer: These videos and images are for illustrative purposes only, and only show some basic restoration methods regarding their content. PUI always recommends you have all restoration products installed by a qualified professional. A restoration professional will not only have years of experience installing interior trim, but also be responsible for their labor.
- Installations
- Improvements / Tips / Information
- Installation – 1970-81 GM F-Body Rear Seat Upholstery
-
1970-81 Camaro and Firebird rear seat upholstery installation is fairly straight-forward and simple since there are no bolsters to worry about. The key to success with these installations is where your start. Watch as PUI Interiors walks you through installing 2nd generation F-body rear seat upholstery.
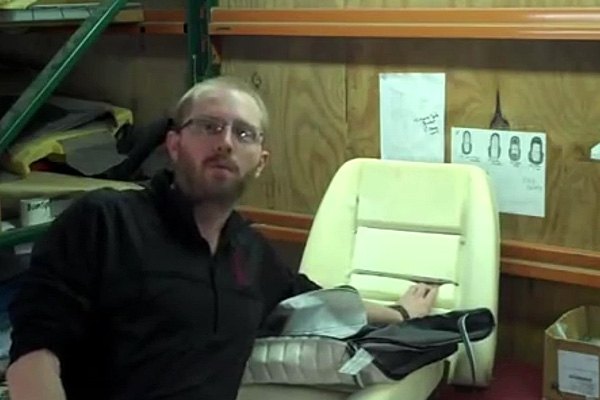
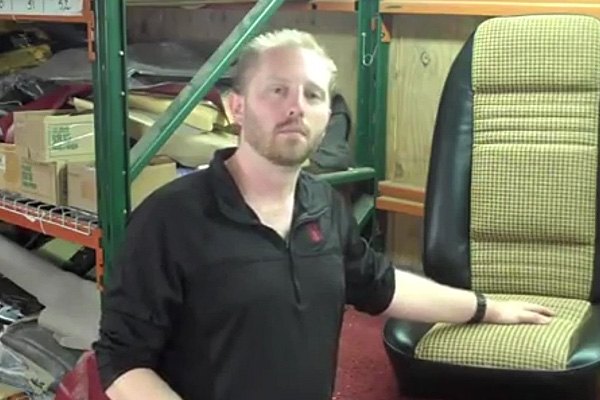
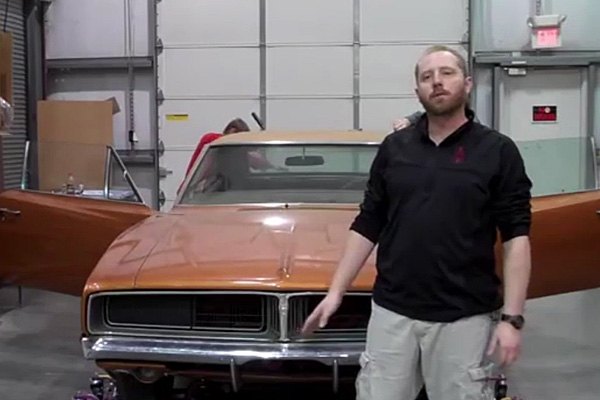
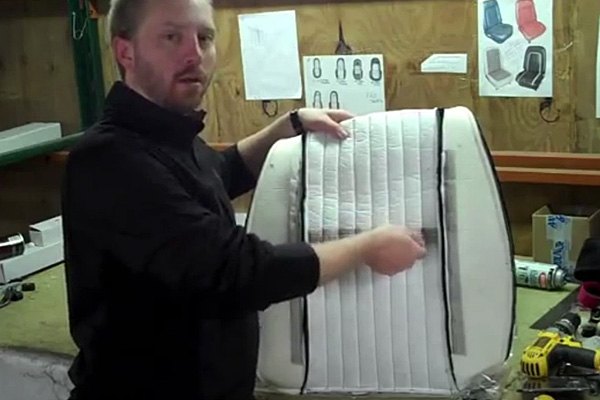
- Installation - 1985-87 Grand National Bucket Seat Upholstery
-
In the 70’s and early 80’s, the Big Three were getting away from using vinyl in their upholstery. Cloth had almost always been available of course, but usually as inserts with vinyl sub-assemblies. When they started using all-cloth interiors, construction changed, and with it so did installation procedures. In this video we install a 1985-87 Grand National to show you some important tips and tricks of working with cloth. Take a look and get some great information and a realistic outlook on cloth upholstery installation:
- Installation - 1971-81 GM F-Body Bucket Seat Upholstery
-
1971-81 Camaro and Firebird seat upholstery installation is different than the earlier 1967-70’s. GM started using “floating foam” in many of their buckets by the early ’70’s. PUI Interiors shows you the tricks to get this done right and looking professional!
- 1968 Camaro Deluxe Seat Assembly
-
Check out PUI Interiors in-house professional putting together a Pre-Assembled Bucket. Most 1967-69 F-bodies entail similar procedures for assembly.
- Board-Type Headliner Installation, Speaker Cover and Sun Visor
-
Have questions about installing a board-type headliner like those in the Grand National, Camaros or El Caminos? This video shows a full installation of a t-top headliner in a 1992 Camaro, along with speaker covers and sun visors. Also watch this video for a spot about visors and why you do not need tension screws:

- GM A-Body Bucket Seat Assembly
-
GM A-body buckets take quite a bit more assembly than their F-body cousins. PUI Interiors had to break this installation into two videos just to fit it all! Take a look at the work PUI Interiors in-house pro’s put into these Pre-Assembled Seats for you and your customers.
- Bow-Type Headliner
-
PUI Interiors gets calls every day asking for advice on installing a bow-type headliner, so PUI Interiors wanted to put together a video showing what goes into putting one a car and why PUI Interiors recommends professional installation. PUI Interiors had to break this into two parts since it’s such and involved process. The first video shows the removal of the original headliner and prepping the car for the new one. The second video shows the installation and finishing.
- Board-Type Headliner Recovering Kit
-
Yet another new product that you’ve been asking for: Recovering Kits for Board-Type headliners! This easy-to-install kit is a great alternative to purchasing a brand new ABS headliner if your fiberglass one is still in decent shape.
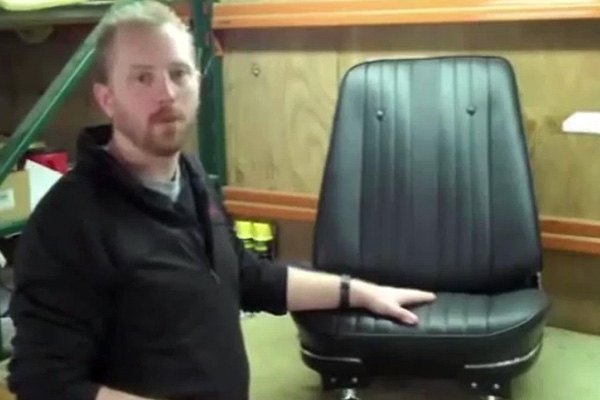
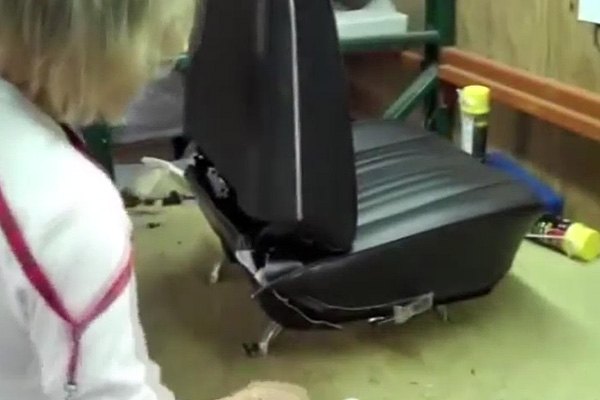
- GM Swivel Bucket Seat
-
When GM designed swivel buckets, they came up with a very attractive seat, however they are VERY difficult to install. PUI highly recommends you have a professional upholstery shop do this for you, but if you’re ready to tackle it yourself, watch this video for some professional tips.
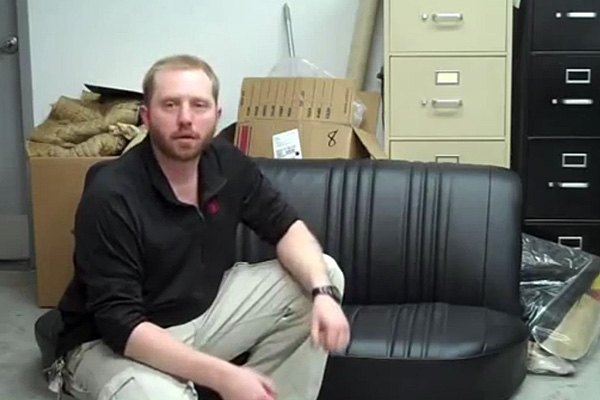
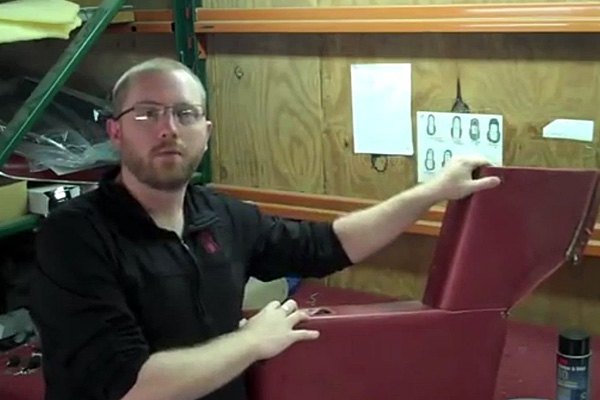
- Rear Seat Upholstery
-
If you are restoring a muscle car, you’re probably going to have to reupholster the rear seat at some point. Whether changing the color or just freshening up the interior, the rear seat is a pretty straight-forward process. This video will guide you through the process.
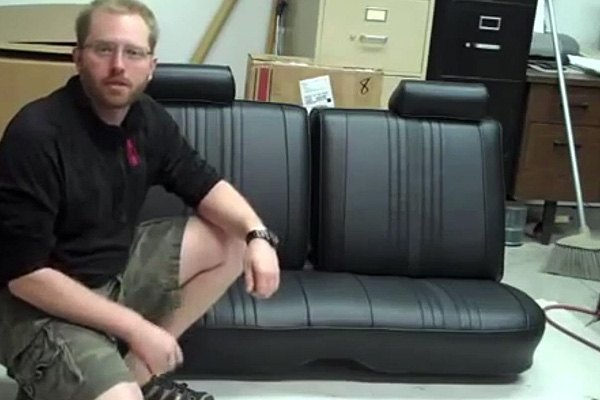
- Bench Seat Upholstery
-
Bench seats are pretty straight-forward, but the backrests can be difficult to get lined up and matching the pleat pattern on the cushion. This video shows the process and necessary steps to get it right!
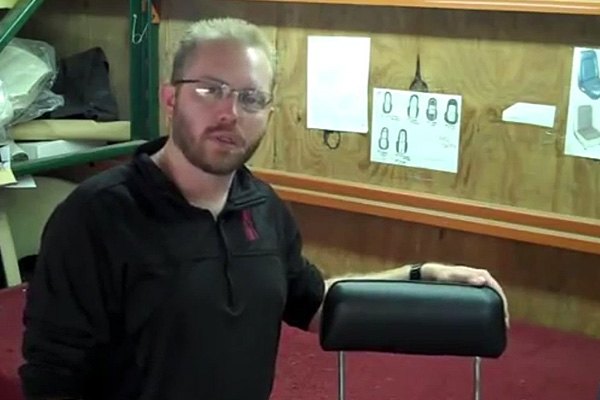
- Bench Seat Headrest Covers
-
Recovering your headrests is a pretty quick and easy job. Check this video out for a few helpful hints and tricks and finish off that seat restoration right!
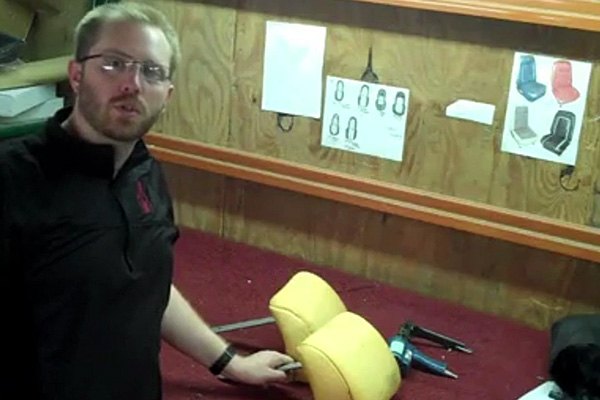
- GM Molded Headrest Covers
-
Most bucket seats had molded headrests with the material laminated to the foam, so you can’t rip off the old covers and install new ones. But you CAN cover the old ones! It can be done and done well, so watch as PUI Interiors shows you how!
- Rear Arm Rest Covers
-
Rear Arm Rest Covers (we call them RARCs) are essential for finishing up your interior if you have them. Take a look at this video to get all the tips and tricks to get them done right! And don’t forget, you need “3M Rubber & Vinyl” Glue, so make sure you have this before you start.
- Installation - 1982-92 GM F-Body Upholstery
-
In 1982 GM got smart. Well a little! 1982-92 Camaros and Firebirds employed a new system for creating bolsters in their seats, and PUI Interiors shows you how it works! Check this video out to see not only the installation, but PUI’s EXCLUSIVE 1984-92 Camaro Deluxe seat foam.
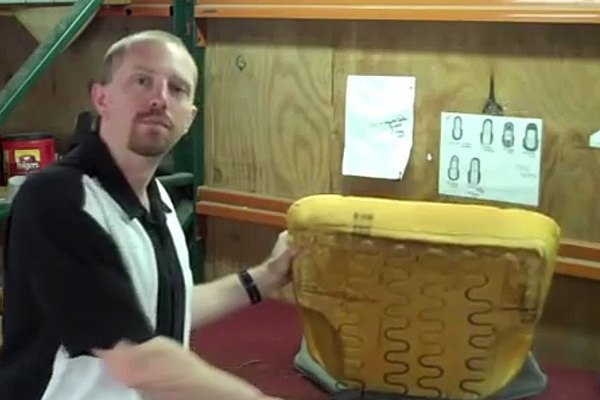
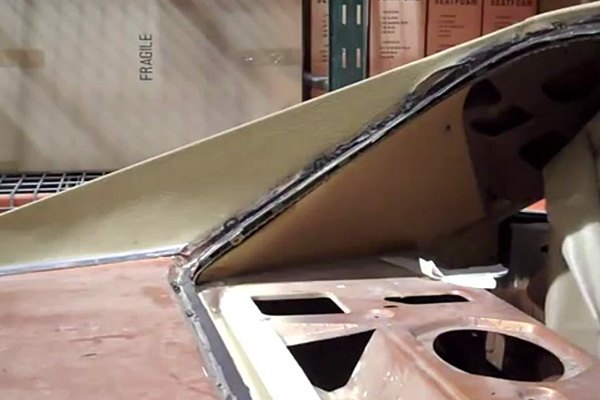
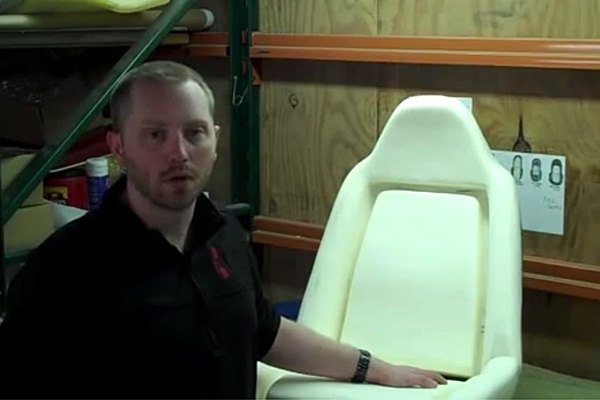
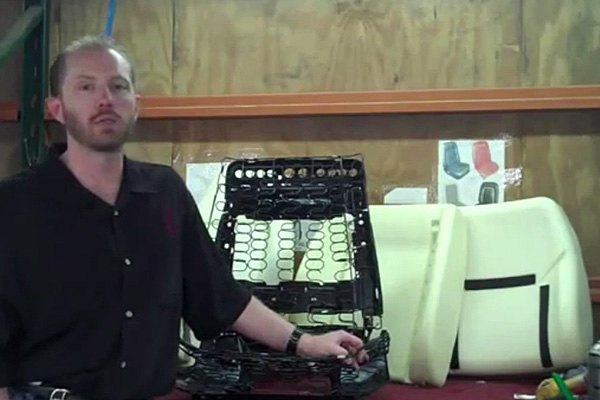
- Seat Foam Types
-
Seat foam has been manufactured and used in many different ways. From thin, over-the-springs foam like 1966-70 GM A-Body buckets to floating foam with hog ring rods instead of wires like 1982-92 Camaros and Firebirds, PUI has more selection and exclusive applications than anyone in the world!
- 1962-64 Impala Pre-Assembled Door Panels
-
PUI Interiors made 1962-64 Impala PAD’s even better for you and your customers. Take a look!

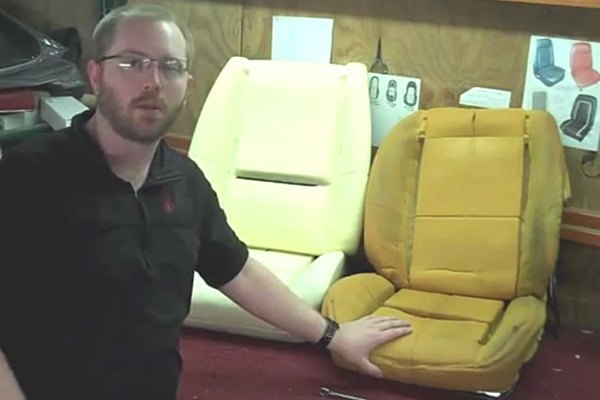
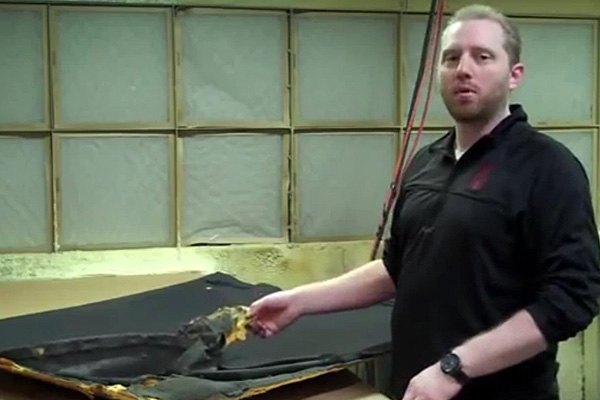
- Seat Foam: Old vs. New
-
If you are unsure about whether your original seat foam is still good enough to use for your restoration, take a look at this. In this video, we show you the difference between new upholstery over NEW foam and new upholstery over OLD foam. Take a look, you only want to cover your seats once don’t you?

- Listings
-
You’ve probably received seat upholstery at one time or another that had the listings or sleeves sewn down. There’s a reason for that, and procedure to ready the upholstery for installation.
- 1968 Camaro Seat Back Button/Emblem Placement
-
Need to install your seat emblems in your 1968 Camaro Deluxe seats? Here’s what you need to know!

- Seat Foam, What You Need To Know
-
Unsure about your original seat foam? Take a look here to see why you may need to replace it.
1970 Chevelle Seat Emblem Placement
We don’t have a video for this yet, but this guide should help you if you’re installing the seat emblems yourself in 1970 Chevelle/Malibu seats:
1969 Chevelle Seat Emblem Placement:
This guide should help you if you’re installing the seat buttons yourself in 1969 Chevelle/Malibu seats. Note that the buttons need to be installed prior to installing the upholstery:

